Indulge in adorable Strawberry Heart Hand Pies made with flaky pie crust, sweet strawberry jam, and a drizzle of vanilla glaze. Perfect for Valentine’s Day or summer parties!
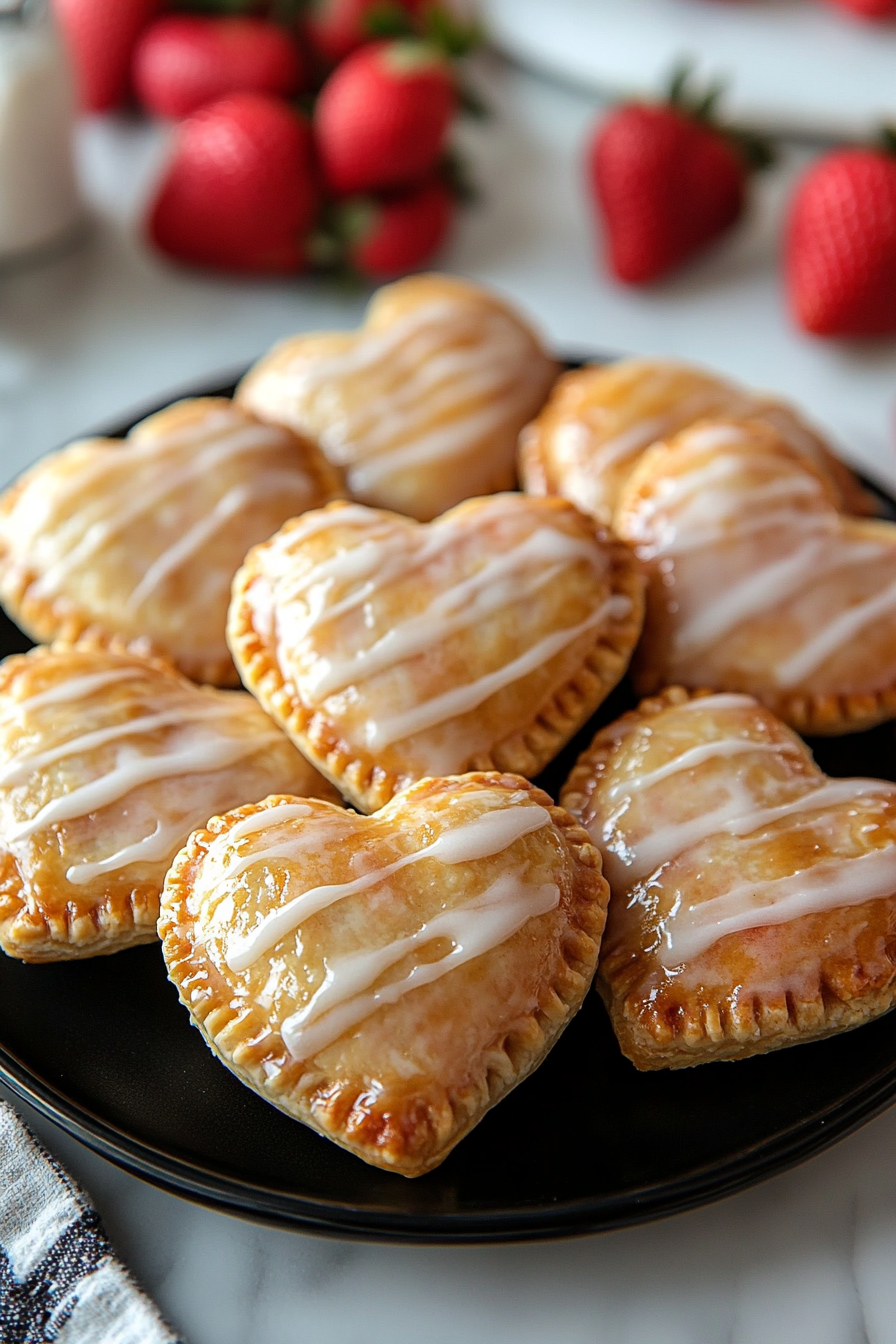
Looking for a dessert that’s equal parts cute and delicious? Say hello to Strawberry Heart Hand Pies! These little handheld treats are the perfect blend of flaky crust, gooey strawberry filling, and a sweet vanilla glaze that ties it all together. Whether you’re planning a romantic Valentine’s Day celebration or a fun summer picnic, these pies are a crowd-pleaser. They’re versatile, easy to make, and oh-so-instagrammable. Ready to dive into the world of mini pies? Let’s explore what makes this recipe a must-try!
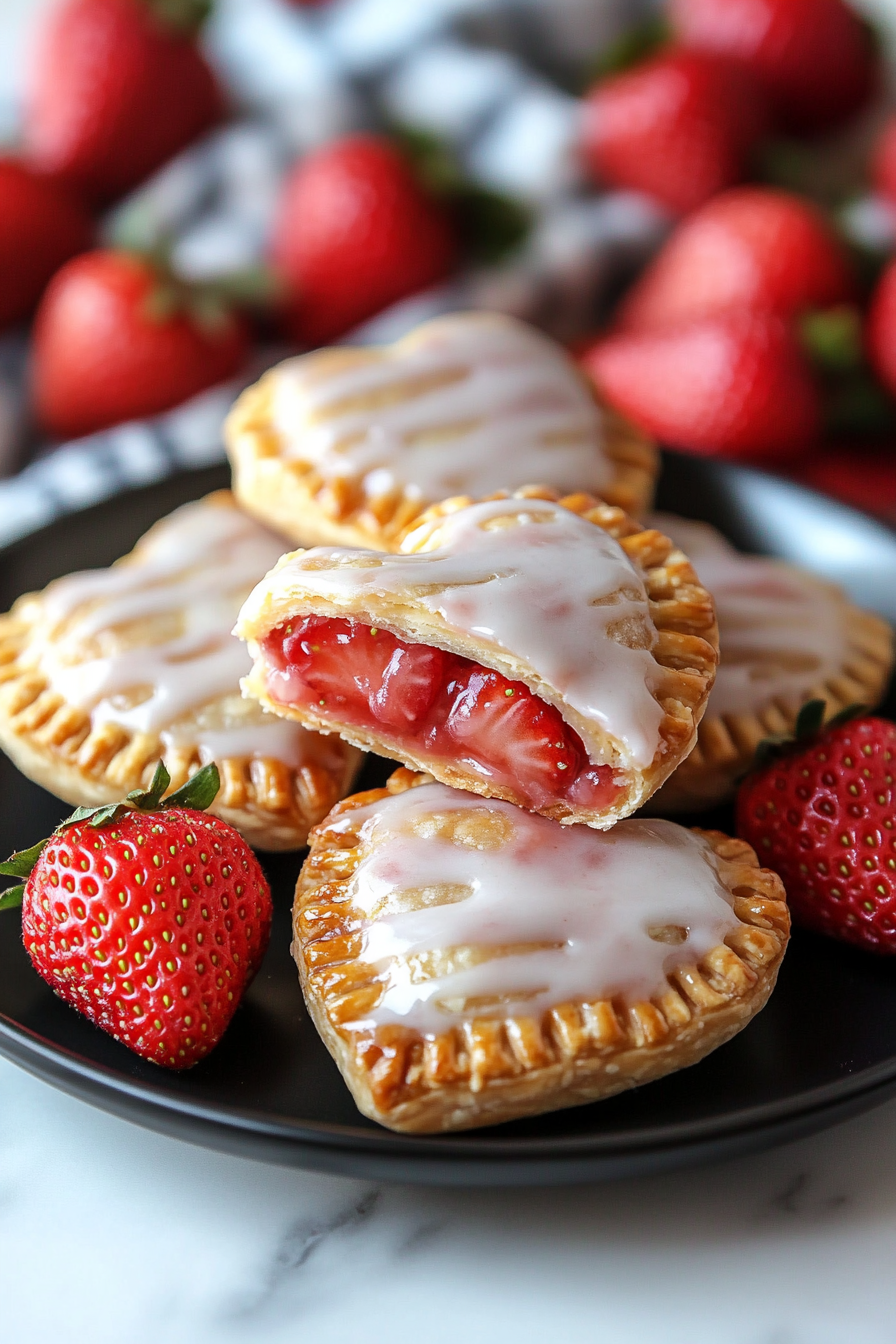
What Makes These Strawberry Heart Hand Pies Special?
These Strawberry Heart Hand Pies aren’t just another dessert—they’re a delightful experience! From their charming heart shape to their irresistible flavor, these pies are designed to impress. But what really sets them apart? Let’s break it down.
- Adorable Presentation: The heart shape makes these pies perfect for special occasions like Valentine’s Day, anniversaries, or even bridal showers.
- Perfect Portion Control: Individual-sized pies mean no messy slicing—just grab and enjoy!
- Homemade Vibes, Minimal Effort: Using premade pie crust keeps things simple, while the homemade glaze adds a touch of elegance.
- Versatile Filling: Strawberry jam is just the beginning—this recipe is a blank canvas for your favorite fillings.
- Crowd-Pleasing Glaze: The vanilla glaze isn’t just pretty; it adds a sweet, creamy finish that balances the tartness of the strawberries.

Ingredient Notes
Before we get baking, let’s talk ingredients. Each component of these Strawberry Heart Hand Pies plays a crucial role in creating the perfect bite. Here’s what you need to know:
- Premade Pie Crusts: A time-saving hero! If you’re short on time, store-bought crusts work like a charm. For the overachievers, homemade dough is always an option.
- Strawberry Jam: The star of the show! Opt for a high-quality jam with real fruit for the best flavor. Feel free to swap in your favorite jam or preserves.
- Egg Wash: This golden glaze gives the pies their beautiful, shiny finish. Don’t skip it—it’s the secret to that bakery-worthy look.
- Vanilla Glaze: Simple yet transformative. The combination of powdered sugar, milk, and vanilla creates a smooth, sweet drizzle that’s impossible to resist.
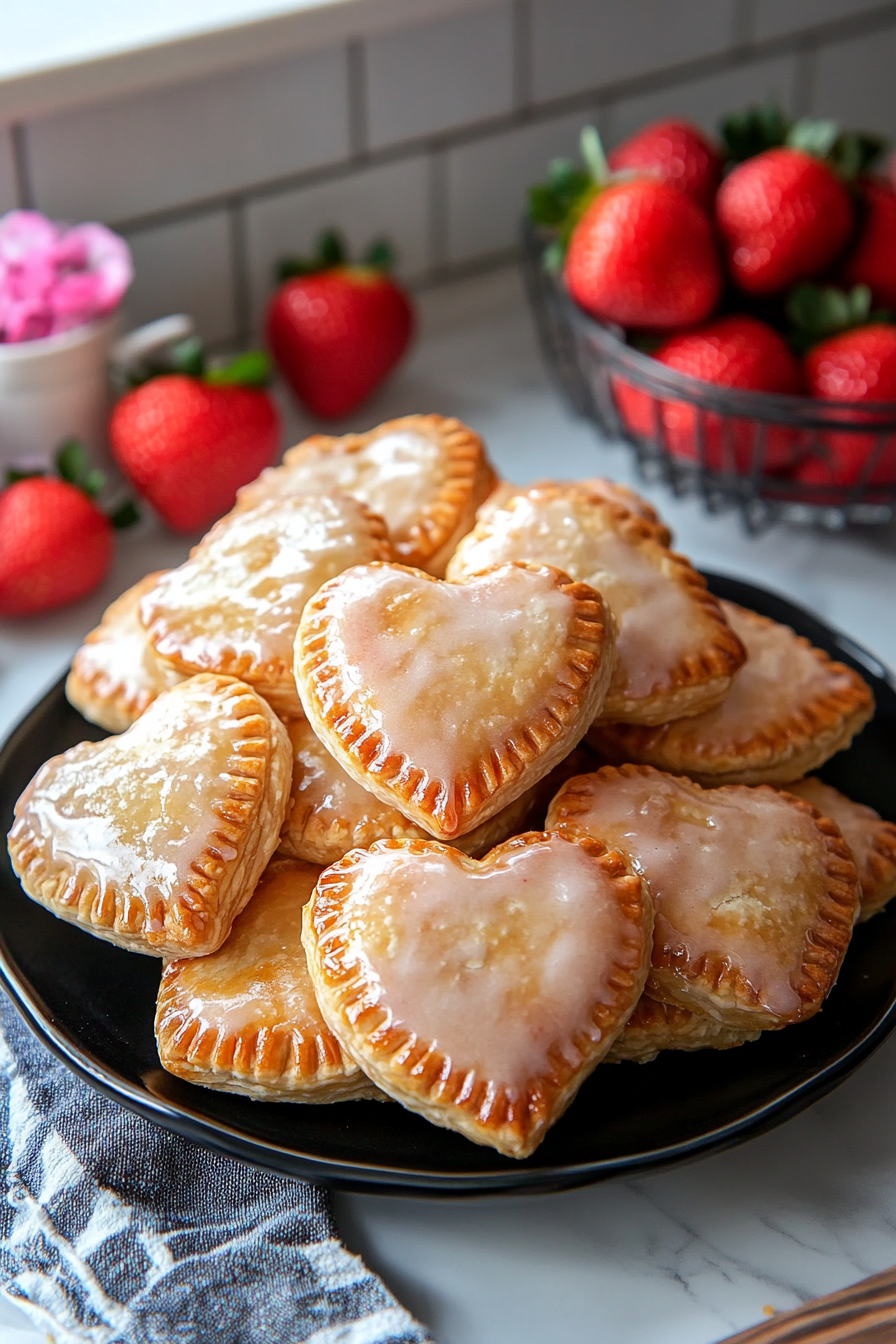
How To Make Strawberry Heart Hand Pies
Ready to roll up your sleeves and get baking? Don’t worry—this recipe is as fun to make as it is to eat. Follow these easy steps, and you’ll have a batch of adorable hand pies in no time!
WANT TO SAVE THIS RECIPE?
- Preheat and Prep: Start by preheating your oven to 400°F and lining your baking sheets with parchment paper. This ensures your pies won’t stick and makes cleanup a breeze.
- Make the Egg Wash: Whisk together an egg and a tablespoon of water in a small bowl. This will give your pies that gorgeous golden sheen. Set it aside for now.
- Roll and Cut the Dough: Lightly flour your work surface and roll out your pie crusts. Use a 3.5-inch heart-shaped cookie cutter to cut out 24 pieces. Don’t stress if you need to re-roll the scraps—perfection is overrated!
- Prep the Tops: Use a fork to prick the top crust pieces. This step is crucial—it lets steam escape during baking, so your pies don’t explode (yes, pie explosions are a thing).
- Fill and Seal: Place the bottom crusts on your work surface and add a tablespoon of strawberry jam to the center of each. Top with the pricked crusts, then use a fork to crimp and seal the edges. Brush the tops with your egg wash for that golden finish.
- Bake to Perfection: Carefully transfer the pies to your prepared baking sheets and bake for about 20 minutes, or until they’re golden brown. Your kitchen will smell amazing—consider this your reward for all the hard work.
- Cool and Glaze: Once baked, let the pies cool on a wire rack. While they’re cooling, whisk together the powdered sugar, milk, and vanilla to make the glaze. Drizzle it over the pies and let it set for about 2 hours.

Storage and Reheating Options
So you’ve made these adorable pies, but what if you have leftovers (unlikely, but let’s pretend)? Here’s how to store and reheat them to keep them tasting fresh and delicious.
Storage Tips:
- Room Temperature: Store the pies in an airtight container at room temperature for up to 2 days.
- Refrigerator: For longer storage, keep them in the fridge for up to 5 days. Let them come to room temperature before serving.
- Freezer: These pies freeze beautifully! Place them in a single layer on a baking sheet to freeze, then transfer to a freezer-safe bag. They’ll keep for up to 3 months.
Reheating Tips:
- Oven: Reheat in a 350°F oven for 5-10 minutes to restore the flaky crust.
- Microwave: For a quick fix, microwave for 10-15 seconds, but be warned—the crust won’t be as crisp.
Variations and Substitutions
Love the idea of these hand pies but want to put your own spin on them? Go for it! This recipe is incredibly versatile, so feel free to get creative.
- Filling Swap: Not a strawberry fan? Try raspberry, blueberry, or even chocolate hazelnut spread.
- Crust Upgrade: Add a sprinkle of cinnamon sugar to the crust before baking for an extra layer of flavor.
- Glaze Alternatives: Swap the vanilla glaze for a lemon or almond glaze for a tangy twist.
- Shape It Up: No heart-shaped cutter? Use circles, squares, or even stars—it’s all about having fun!

Let’s be real—these Strawberry Heart Hand Pies are more than just a dessert. They’re a love letter to baking, a celebration of creativity, and a guaranteed way to make someone’s day a little sweeter. Whether you’re a seasoned baker or a newbie in the kitchen, this recipe is approachable, fun, and downright delicious. So grab your rolling pin, channel your inner pastry chef, and get ready to fall in love with every bite. Trust me, your taste buds will thank you!

Strawberry heart Hand Pies
Ingredients
For the Pies:
- All-purpose flour for dusting
- 2 premade 9-inch pie crusts or homemade pie dough
- ¾ cup strawberry jam
For the Egg Wash:
- 1 large egg
- 1 tablespoon water
For the Vanilla Glaze:
- 1 cup powdered sugar
- 2 tablespoons milk
- 1 teaspoon vanilla extract
Instructions
- Preheat the Oven: Begin by preheating your oven to 400°F (200°C). Line two baking sheets with parchment paper and set them aside.
- Prepare the Egg Wash: In a small bowl, whisk together one large egg and one tablespoon of water until fully combined. Set the egg wash aside for later use.
- Roll Out the Dough: Lightly dust your work surface with all-purpose flour. Roll out the two prepared pie crusts onto the floured surface. If using homemade dough, roll it to approximately 13 inches in diameter.
- Cut the Dough: Using a 3.5-inch heart-shaped cookie cutter, cut out 24 pieces from the rolled dough. Each crust should yield about 8 cut-outs initially. Gather the remaining dough scraps, gently roll them out again, and cut additional pieces as needed. You will require 12 cut-outs for the bottom crusts and 12 for the tops.
- Vent the Top Crusts: Using a fork, prick the 12 top crust pieces to create small vents. This step allows steam to escape during baking, preventing the pies from bursting.
- Assemble the Pies: Place the 12 bottom crust pieces on your work surface. Spoon one tablespoon of strawberry jam into the center of each piece. Carefully place the pricked top crusts over the jam-filled bottoms. Use a fork to crimp and seal the edges securely.
- Apply the Egg Wash: Lightly brush the tops of each assembled pie with the prepared egg wash. This will give the pies a golden, glossy finish once baked.
- Bake the Pies: Using a flat spatula, transfer the pies to the parchment-lined baking sheets, ensuring they are evenly spaced. Bake in the preheated oven for approximately 20 minutes, or until the pies are golden brown.
- Cool the Pies: Once baked, remove the pies from the oven and transfer them to a wire cooling rack. Allow them to cool completely before adding the glaze.
- Prepare the Vanilla Glaze: In a medium bowl, combine one cup of powdered sugar, two tablespoons of milk, and one teaspoon of vanilla extract. Whisk until the mixture is smooth and forms a thick but pourable glaze.
- Glaze the Pies: Drizzle the vanilla glaze over the cooled pies using a spoon or piping bag. Allow the glaze to set for approximately two hours before serving.


