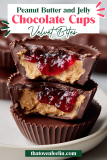
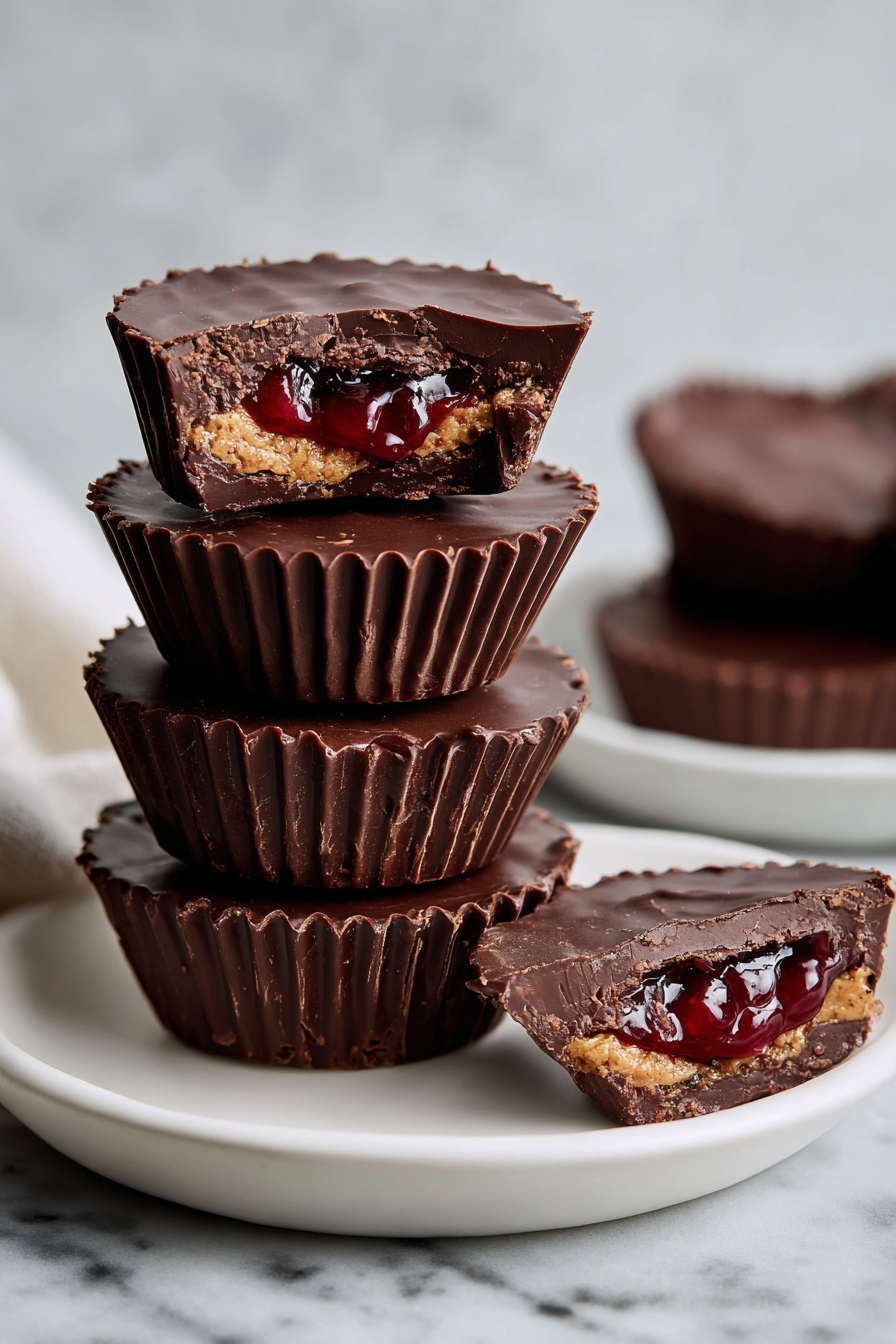
Peanut Butter and Jelly Chocolate Cups—snappy dark chocolate, creamy peanut butter, and real fruit jam. Easy no-bake, gluten-free, kid-friendly, freezer-friendly treat.
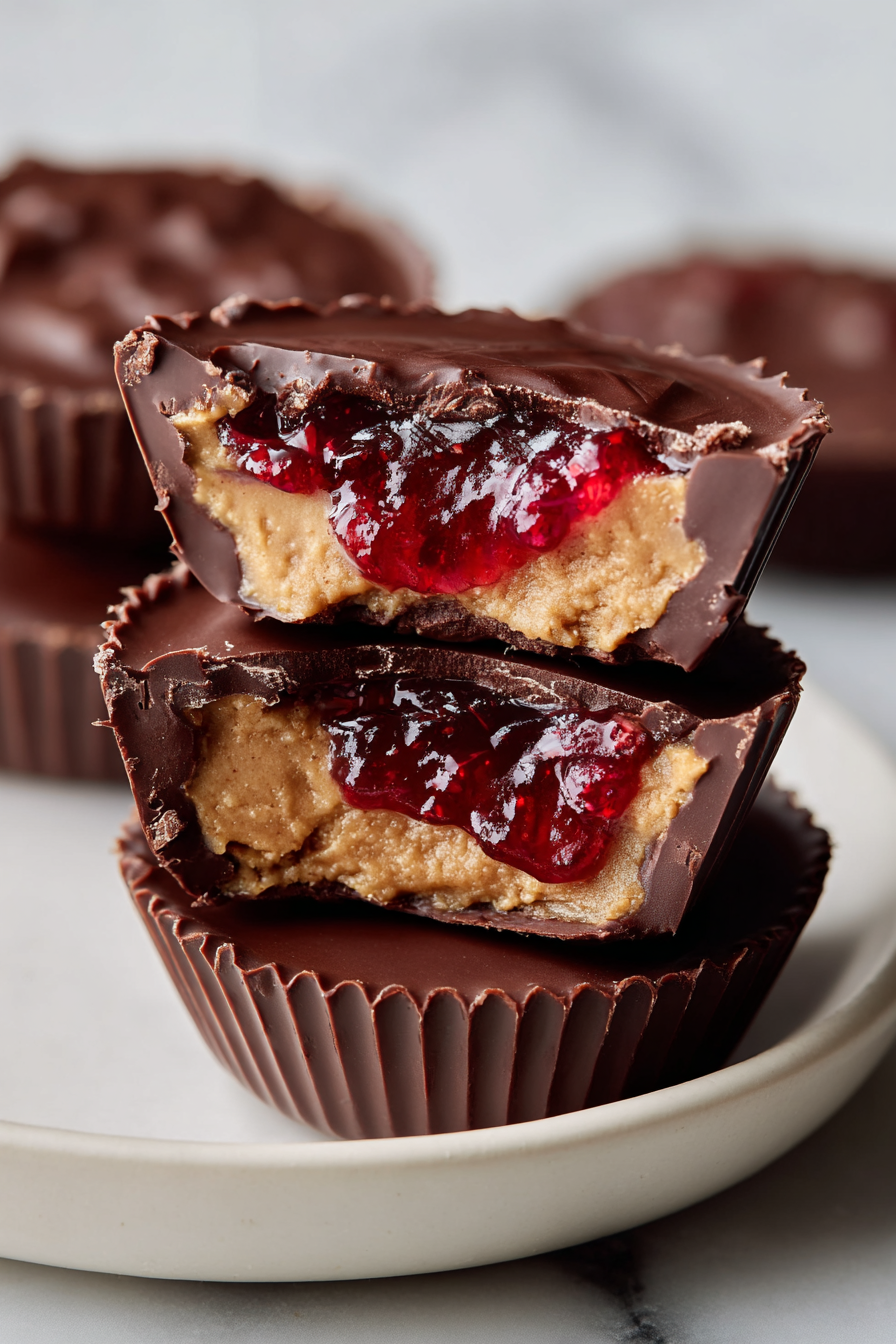
Think of these Peanut Butter and Jelly Chocolate Cups as your childhood PB&J glow-up. With a glossy chocolate shell, a creamy peanut butter layer, and a pop of berry jam, they’re the no-bake dessert that never fails. They’re naturally gluten-free, easily dairy-free/vegan, and perfect for lunchboxes, movie nights, bake sales, or that 3 p.m. “I deserve something sweet” moment. Ready to discover all the little tricks that make these PB&J chocolate cups irresistible and mess-free?
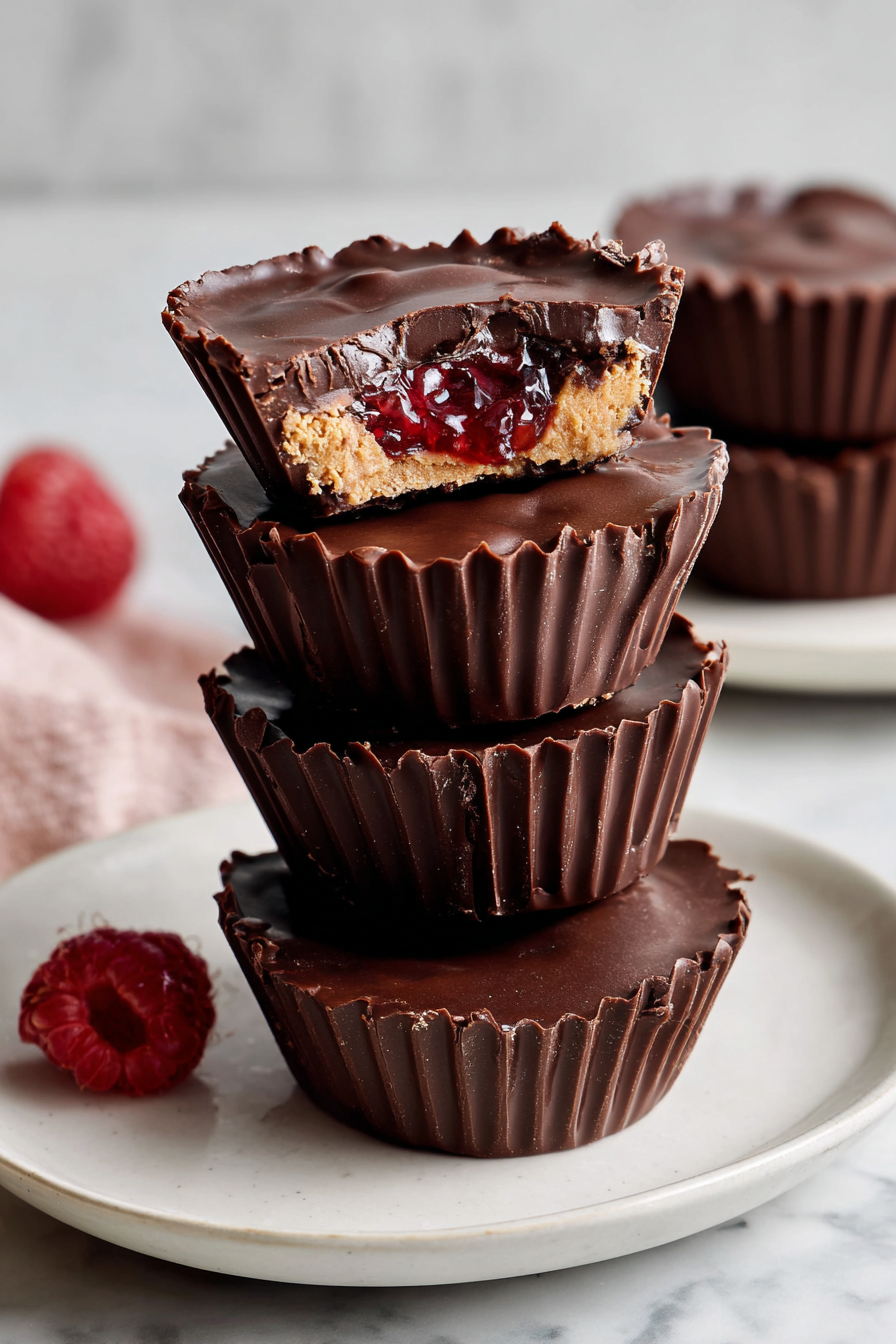
What Makes These Peanut Butter and Jelly Chocolate Cups Special?
Beyond the classic combo, this recipe is designed for maximum snap, minimal mess, and easy customization—hello, dairy-free and nut-free options. Here’s why you’ll love them:
- No-bake magic: Quick to assemble with zero oven time—perfect for warmer months and busy weeknights.
- Snappy shell + creamy center: Tempered (or gently melted) chocolate gives that candy-bar crack against a silky peanut butter filling.
- Jam that stays put: Thickened jam means no leaks, no ooze, just a clean PB&J bite every time.
- Gluten-free + easily vegan: Use dairy-free dark chocolate for vegan peanut butter cups that taste like the fancy store-bought kind.
- Freezer-friendly: Make-ahead dessert for parties, holidays, or late-night chocolate emergencies.
- Customizable sweetness: Dial the sugar up or down with maple syrup, powdered sugar, or sugar-free options.
- Kid-approved, adult-worthy: Crowd-pleasing flavor with that artisan chocolate vibe.
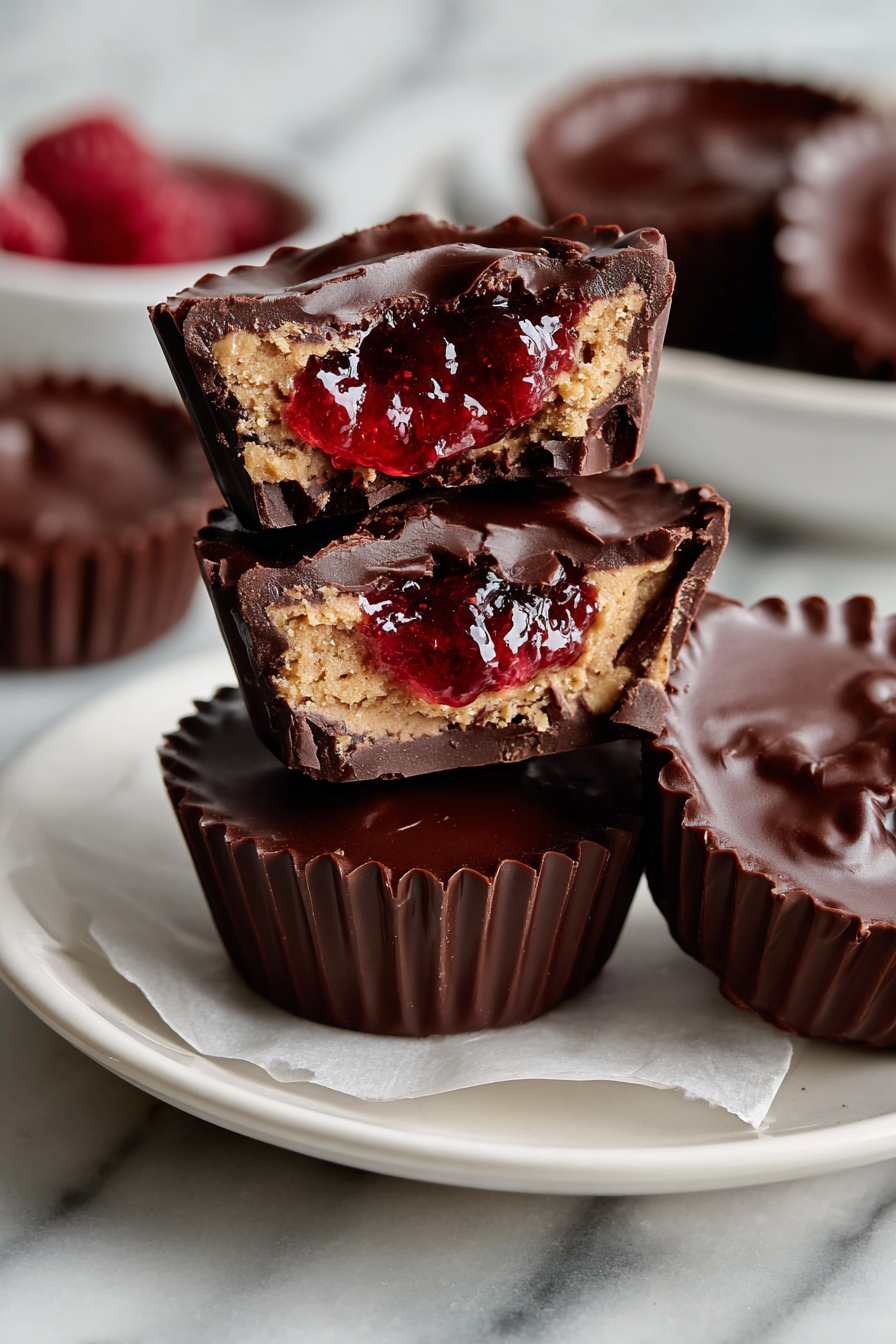
Ingredient Notes
Keep it simple, but make it good. Here’s what you’ll need for the best homemade Peanut Butter and Jelly Chocolate Cups:
- Chocolate: Use good-quality dark, semisweet, or milk chocolate. Baking bars melt smoother than chips. For shine and snap, temper or add a tiny bit of coconut oil for ease.
- Peanut butter: Creamy works best. No-stir peanut butter makes a firmer filling; natural PB is delicious but softer—chill it longer.
- Jam or jelly: Grape, strawberry, or raspberry are classics. Choose a thick jam to prevent leaks. Seedless or homemade chia jam both work.
- Sweetener: Powdered sugar keeps the PB filling smooth; maple syrup adds warmth. Go sugar-free if needed.
- Vanilla + salt: A pinch of flaky salt and a splash of vanilla bring the candy-shop flavor.
- Flaky sea salt (optional): For that chef’s-kiss finish on top.
- Crunch factor (optional): Crushed peanuts or crisped rice for texture.
- Mini liners or silicone molds: Mini muffin liners make easy, clean releases—silicone is the move for perfect edges.
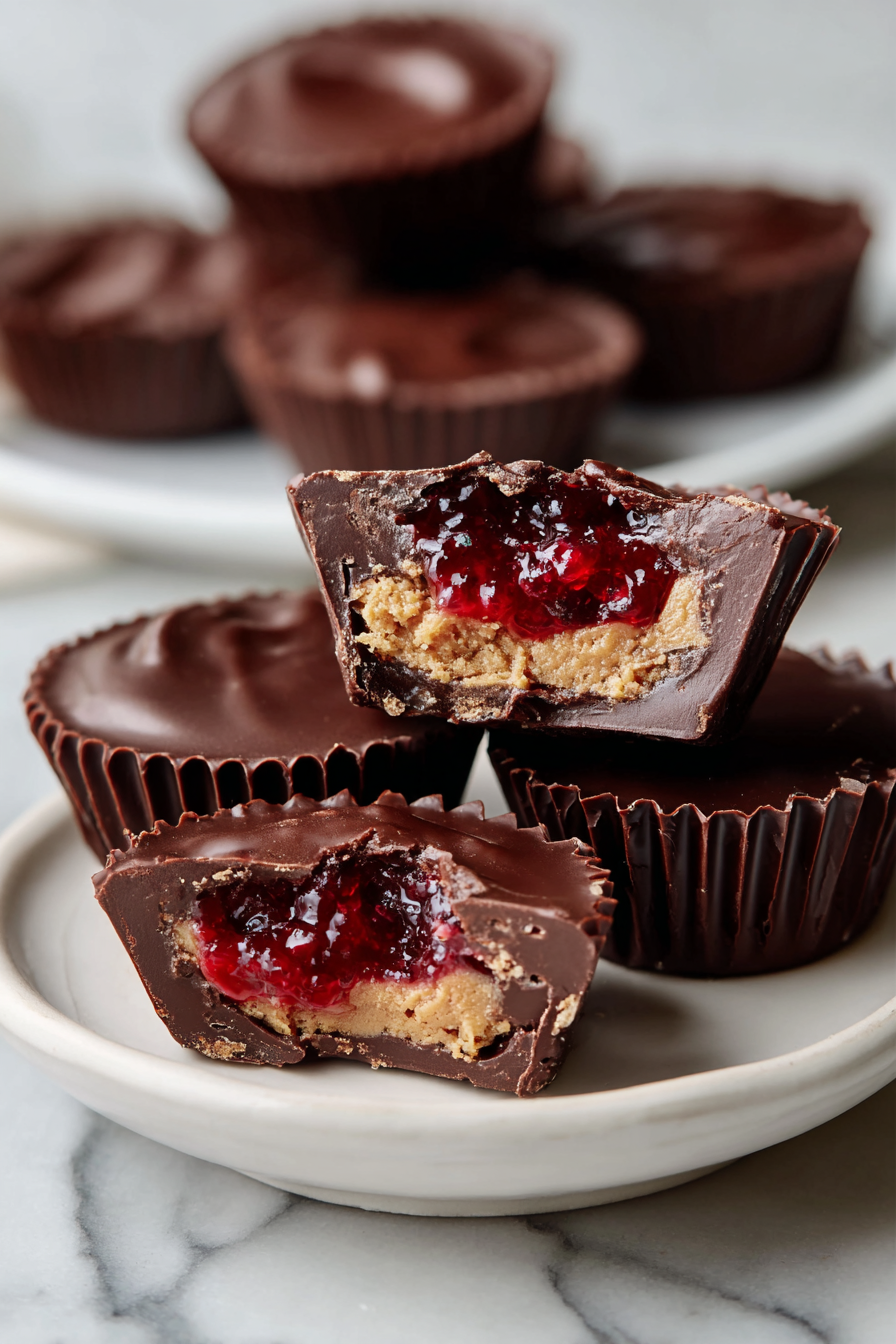
How To Make Peanut Butter and Jelly Chocolate Cups
These PB&J cups come together in layers. Work in small batches so everything stays neat and melt-y where it should. Here’s the game plan for homemade PB&J cups (aka PB&J chocolate cups, mini peanut butter cups no bake):
- Prep the pan: Line a mini muffin tin with paper liners or set out silicone cups on a tray. Clear space in the fridge/freezer.
- Melt or temper the chocolate: Microwave in 20–30 second bursts, stirring often, or use a double boiler. For the glossiest, snappiest shell, temper the chocolate (seed method) and keep it warm but not hot.
- Make the PB filling: Stir peanut butter with a pinch of salt, vanilla, and powdered sugar (or maple) until thick but spreadable. If it’s runny, chill briefly.
- Pour the chocolate bases: Spoon or pipe a teaspoon into each cup. Tilt or tap to coat the bottom evenly. Chill 5–10 minutes until just set.
- Add the peanut butter layer: Roll or scoop small discs of PB, then press gently on top of the chocolate base, leaving a small border around the edges.
- Dollop the jam: Add a tiny spoonful (about 1/4–1/2 teaspoon) of thick jam in the center. Don’t overfill to avoid ooze.
- Cap with chocolate: Cover each cup with more melted chocolate, making sure it seals all the way to the liner. Tap the tray to release bubbles.
- Finish and set: Sprinkle with flaky salt or crushed peanuts. Chill until fully set—about 20 minutes in the fridge or 10 in the freezer.
- Unmold and serve: Peel off liners and enjoy that snappy shell and gooey PB&J middle.
Pro Tips
- Choose the right chocolate: 60–72% dark chocolate keeps the sweetness balanced. Milk chocolate = sweeter, kid-fave version.
- Work with thick jam: If your jam is runny, simmer 1–2 minutes to reduce, or stir in 1/2 teaspoon chia seeds and rest 10 minutes.
- Keep layers tidy: Leave a small chocolate border so the top layer can seal completely—no jelly leaks.
- Avoid seized chocolate: Keep water away; stir gently. If it thickens, add 1/2 teaspoon neutral oil and rewarm lightly.
- Snap factor: Tempered chocolate gives that professional shine. Not into tempering? Chill fast and enjoy anyway—still delicious.
- Scale it: Use a small cookie scoop or piping bags for bakery-level neatness.
- Allergen-friendly swaps: Sunflower seed butter for nut-free; dairy-free chocolate for vegan peanut butter cups.
WANT TO SAVE THIS RECIPE?
Storage & Reheating
These PB&J chocolate cups store like a dream and taste even better the next day.
- Fridge storage: Keep in an airtight container up to 2 weeks. Separate layers with parchment to protect the tops.
- Freezer friendly: Freeze up to 3 months. Thaw 10–15 minutes at room temp for the perfect bite.
- Room temp: If your home is cool (under 70°F/21°C), they’re fine for a few hours. Warm kitchens = chocolate bloom risk.
- “Reheating” reality check: No actual reheating needed—just let chilled cups sit 5 minutes for a softer center.
Variations & Substitutions
Make these your own with easy twists—and yes, we’re sneaking in some tasty long-tail keywords to help you find this later.
- Vegan Peanut Butter Cups: Use dairy-free dark chocolate and maple syrup for sweetness.
- Nut-free sunflower cups: Swap peanut butter for sunflower seed butter; use seedless jelly for school-safe treats.
- Low-sugar/Keto: Use sugar-free chocolate and powdered erythritol or allulose in the PB layer; choose no-sugar-added jam.
- Almond or cashew butter: For a gourmet twist, fill with almond butter and raspberry jam—editor-fave.
- White chocolate swirl: Half dark, half white for a marbled top—so pretty for holidays.
- Crunchy center: Stir in crushed peanuts or crisped rice for texture.
- Small-batch PB&J cups: Halve the recipe for date night or a cozy movie marathon.
- Protein boost: Mix 1–2 teaspoons vanilla protein into the PB for a snackable energy bite.
- Grown-up spice: Add a pinch of cinnamon or chili powder to the chocolate for a subtle kick.
- Bar version: Press into a parchment-lined loaf pan and slice into squares—perfect for parties.
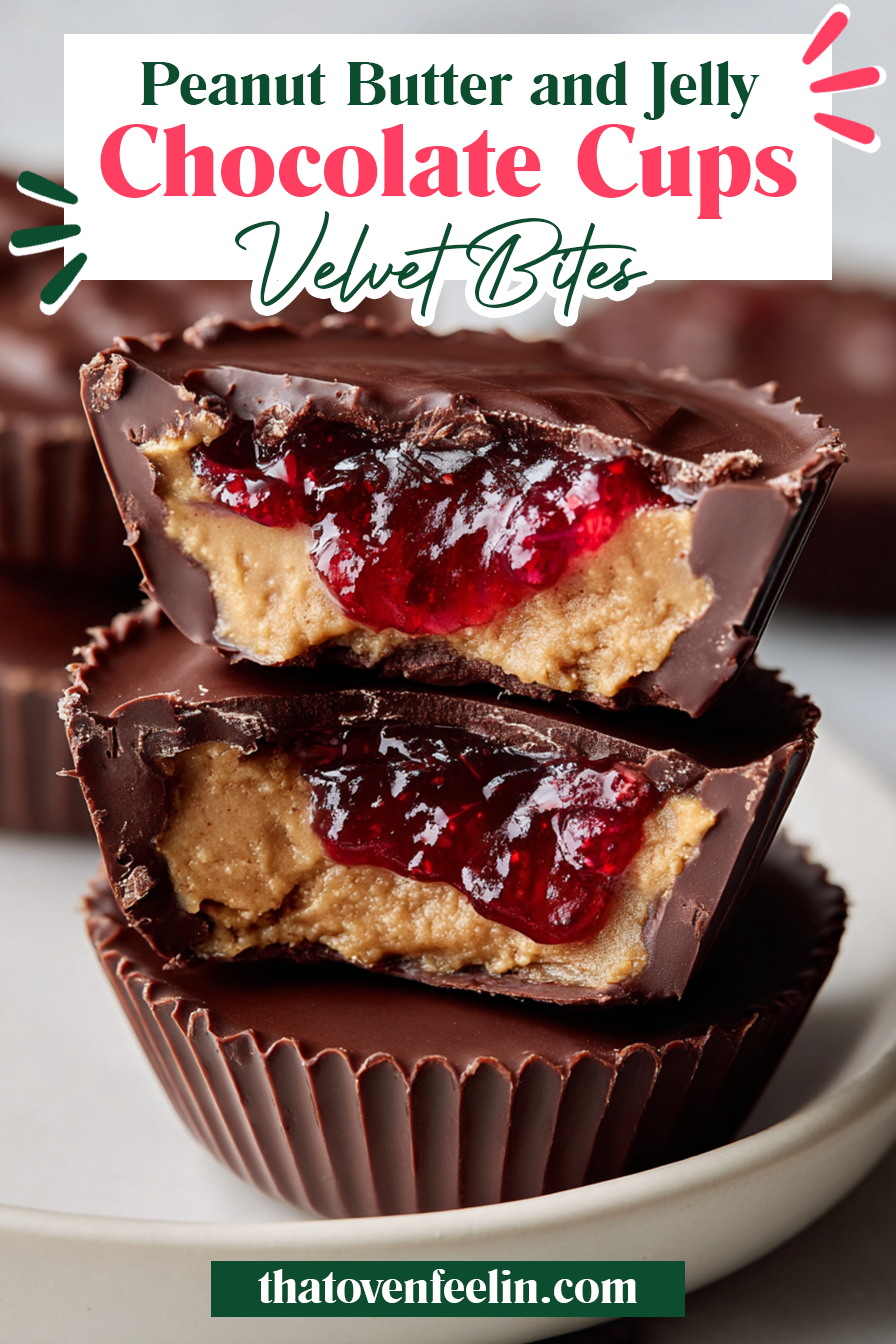
These Peanut Butter and Jelly Chocolate Cups pack that nostalgic PB&J flavor into a glossy, bakery-level bite—no oven, no fuss. Whether you call them PB&J chocolate cups, homemade peanut butter cups with jelly, or the best five-minute no-bake dessert, they’re the kind of treat that disappears the second you set them down. Want more chocolate inspo? Browse more recipes here: chocolate, peanut butter, no-bake, and jam.
FAQ
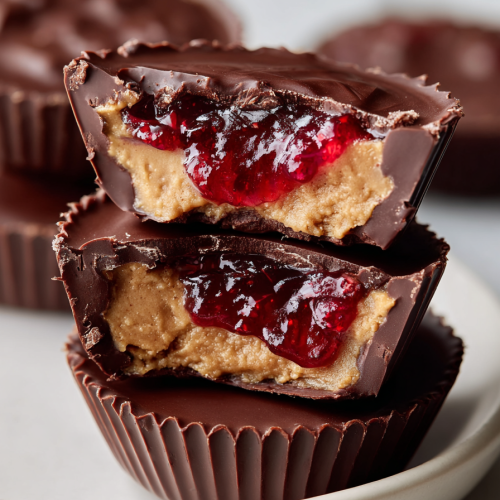
No-Bake Peanut Butter & Jelly Cups
Equipment
- Mini muffin pan
- Mini paper liners
- Microwave-safe bowl
- Measuring spoons
- Teaspoon or small cookie scoop
Ingredients
Ingredients
- 2 cups milk chocolate chips (or chopped milk chocolate)
- 1/2 cup creamy peanut butter
- 1/3 cup strawberry jam (or jelly)
- 1 tbsp coconut oil optional, helps thin the chocolate
Instructions
- Line a 12-cup mini muffin pan with paper liners.
- Add half of the chocolate (and coconut oil, if using) to a microwave-safe bowl. Heat in 20–30 second bursts, stirring between each, until smooth.
- Spoon about 1 teaspoon of melted chocolate into each liner and tilt or tap the pan so it spreads to the edges. Chill for 5 minutes, just until the bases are set.
- Place about 1 teaspoon peanut butter in the center of each cup and gently flatten so it sits on the chocolate base, leaving a small border around the edge. Top with roughly 1/2 teaspoon jam on each.
- Melt the remaining chocolate. Spoon enough over each cup to fully cover the filling (about 1 to 1 1/2 teaspoons per cup). Tap the pan lightly to level the tops.
- Refrigerate 20–30 minutes or until firm. Serve chilled or let stand a few minutes for softer centers.

