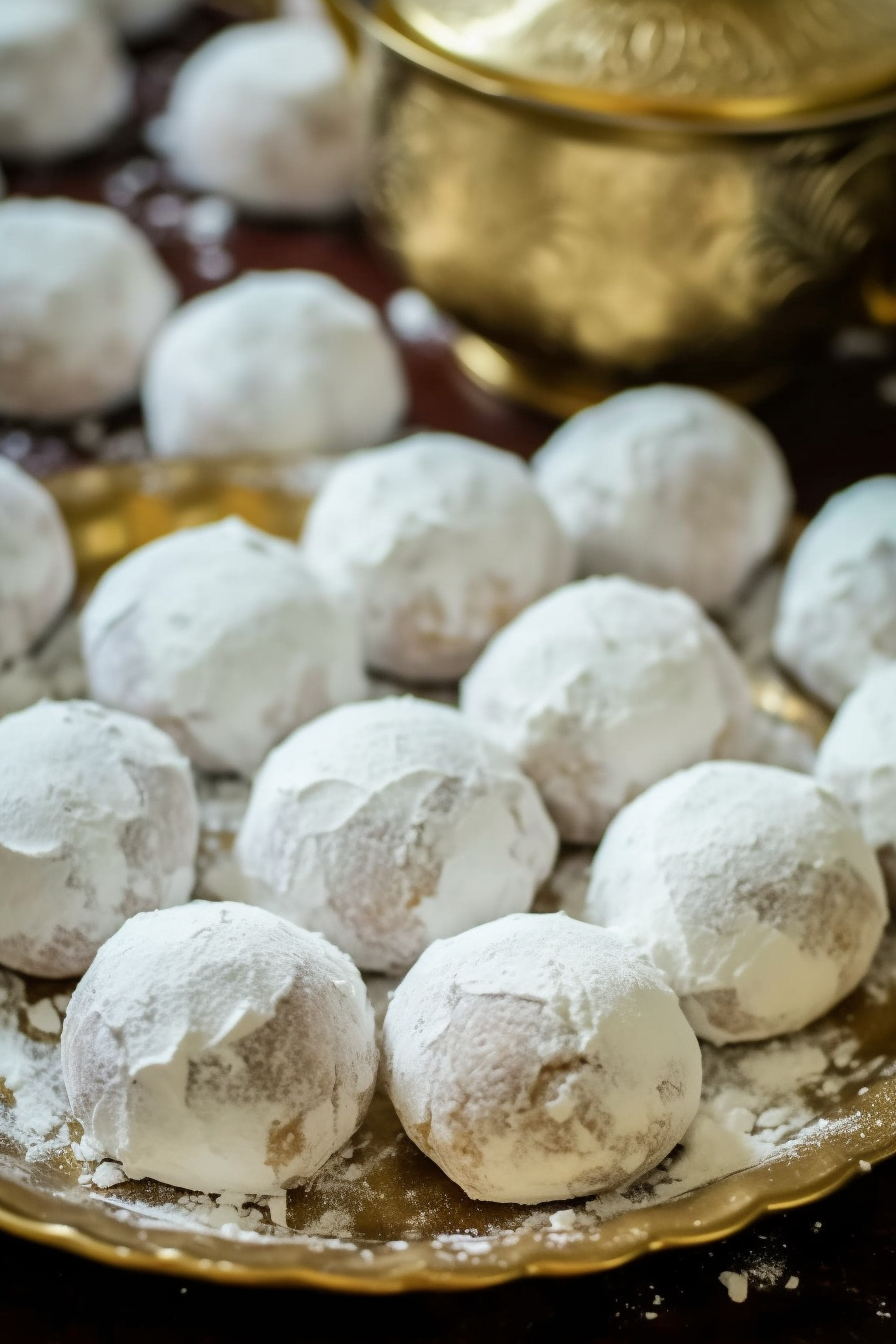
Savor the festive season with these delightful Russian Tea Balls! Made with rich butter, crunchy walnuts, and a generous dusting of powdered sugar, these cookies are a Christmas cookie platter essential. They’re simple to prepare and boast a melt-in-your-mouth texture that’s sure to be a hit at any holiday gathering.
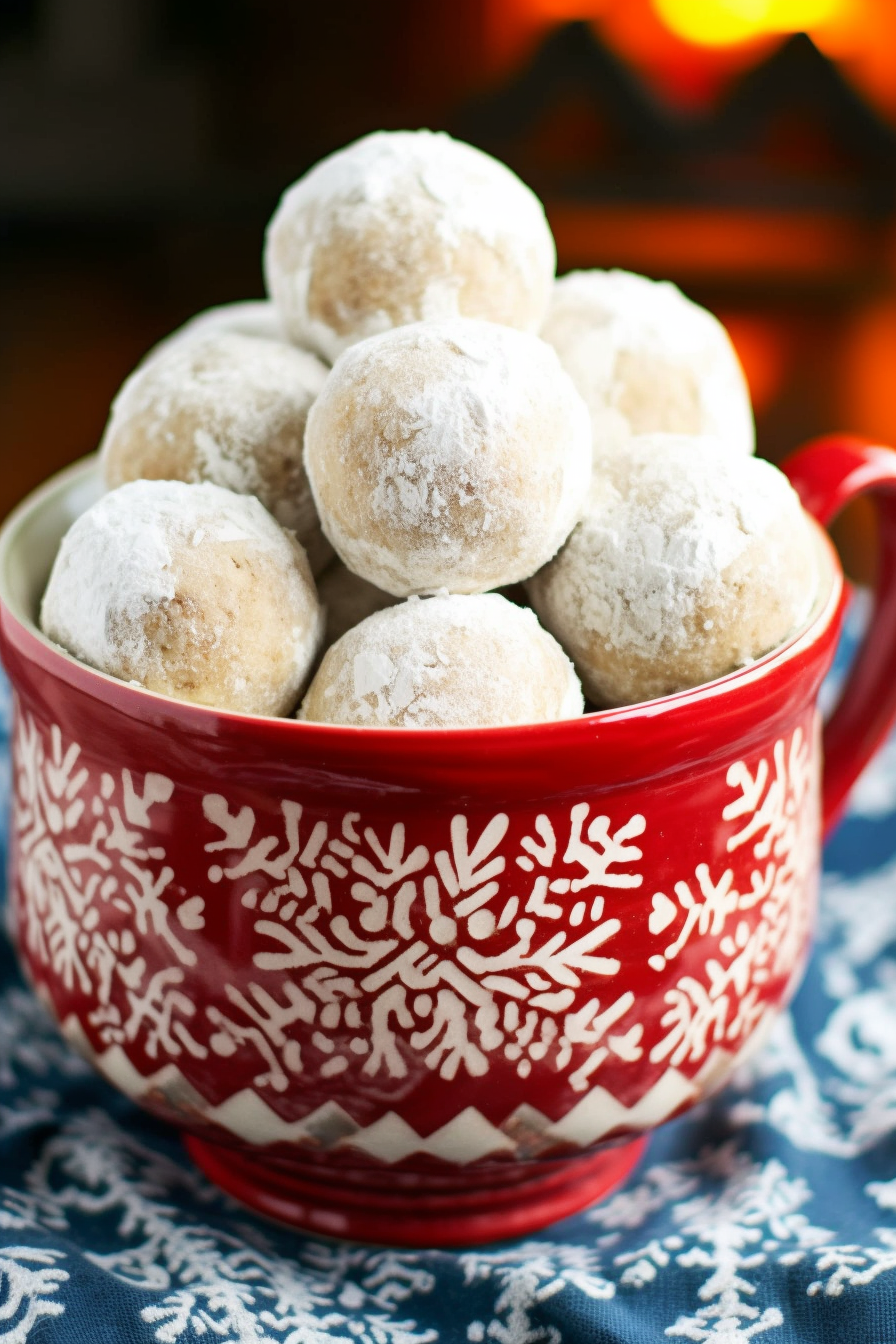
There’s something about the aroma of Russian Tea Balls baking in the oven that takes me right back to my grandmother’s kitchen. I remember her hands, always warm and flour-dusted, expertly shaping these little snowballs. She’d share stories of old Russian winters, her voice blending with the clink of tea cups. These cookies aren’t just a recipe; they’re a cherished holiday tradition, a timeless tale of family and the magic of simple ingredients coming together to create something extraordinary.
Why This Russian Tea Balls Recipe Stands Out
- Buttery Perfection: The use of unsalted butter ensures a rich, creamy base that makes these cookies irresistibly soft and melt-in-your-mouth.
- Nutty Delight: Toasted walnuts add a delightful crunch and depth of flavor, setting these tea balls apart with their rustic, nutty charm.
- Festive and Versatile: Perfect for Christmas or any festive occasion, these cookies are a versatile treat that pairs wonderfully with tea, coffee, or even a glass of milk.
- Easy and Foolproof: With simple, straightforward steps, this recipe is perfect for bakers of all levels, promising success every time.
- Keeps Well: These cookies not only taste better as they age but also have a great shelf life, making them ideal for gifting.
Ingredients Notes for Russian Tea Balls Recipe
Dive into the heart of baking with these essential ingredients for Russian Tea Balls. Each component plays a vital role in creating these buttery, nutty delights.
- All-Purpose Flour: The foundation of the cookies, providing structure and tenderness.
- Unsalted Butter: Offers a creamy, rich base that’s crucial for the melt-in-your-mouth texture.
- Walnuts: Toast them to enhance their nutty flavor, adding a delightful crunch to each bite.
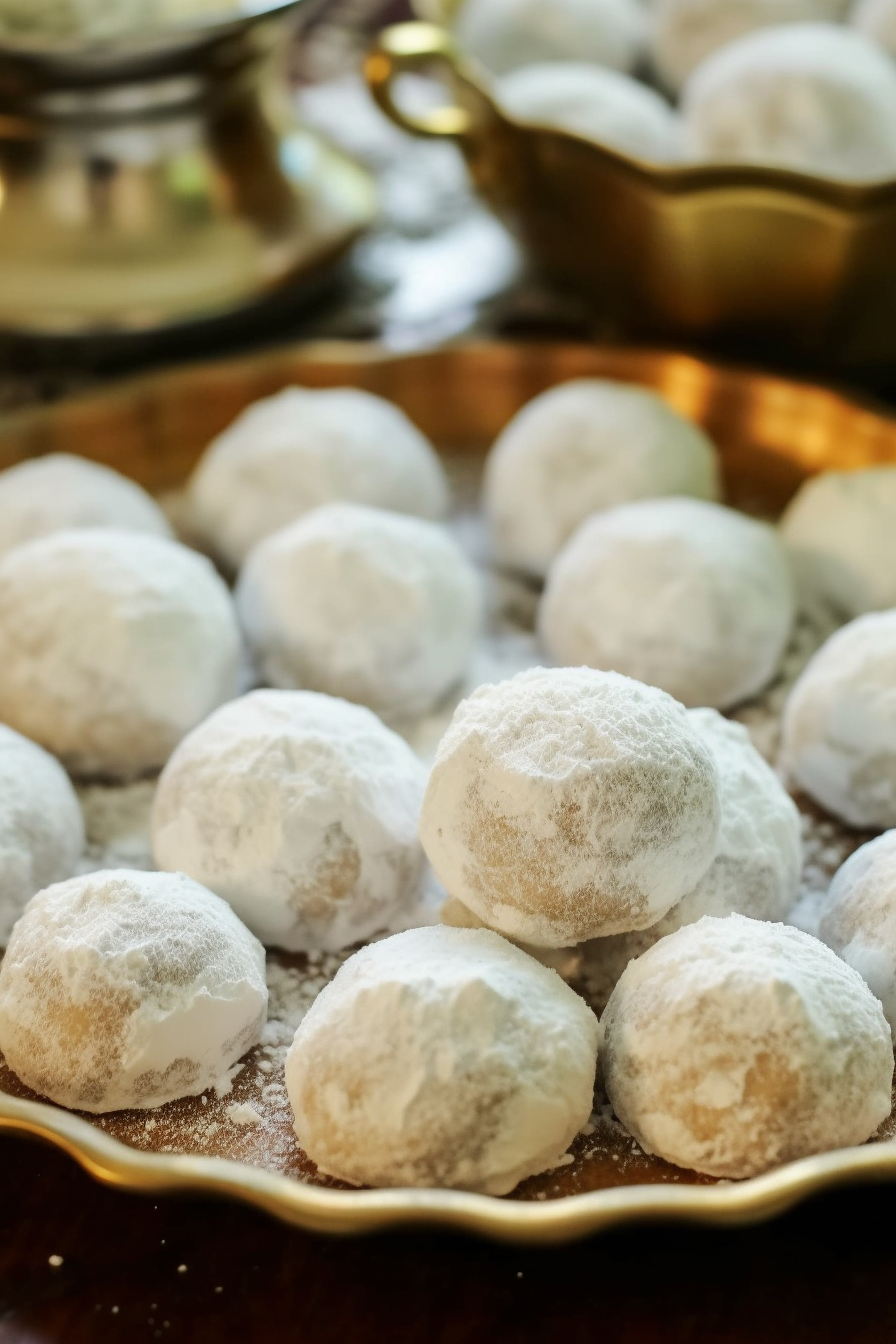
- Confectioners Sugar: A fine, sweet cloak for the cookies, giving them their characteristic snowy appearance.
- Vanilla Extract: A dash of vanilla brings a warm, aromatic depth to the flavor profile.
- Salt: Just a pinch to balance the sweetness and elevate the overall taste.
WANT TO SAVE THIS RECIPE?
How To Make Russian Tea Balls
Let’s embark on the delightful journey of making Russian Tea Balls, where each step brings us closer to buttery, nutty perfection.
- Getting Started: Preheat your oven and prepare your baking sheet. This ensures a perfect environment for your cookies to bake evenly.
- Toasting the Nuts: Gently toast the walnuts to unlock a deeper, more complex flavor. Remember, a little patience here goes a long way.
- Creaming the Base: Combine butter, sugar, and vanilla, whipping them into a smooth, creamy mixture. This is where the magic begins, as these ingredients form the heart of your cookies.
- Incorporating the Dry Ingredients: Gradually mix in the flour and salt, watching as the dough takes shape. The key is to blend without overworking the dough.
- Folding in the Nuts: Gently fold in the toasted walnuts, ensuring they are evenly distributed. This step marries the textures and flavors beautifully.
- Shaping and Baking: Shape the dough into small balls, and bake until golden. It’s crucial not to overbake, as the cookies continue to cook slightly even after being removed from the oven.
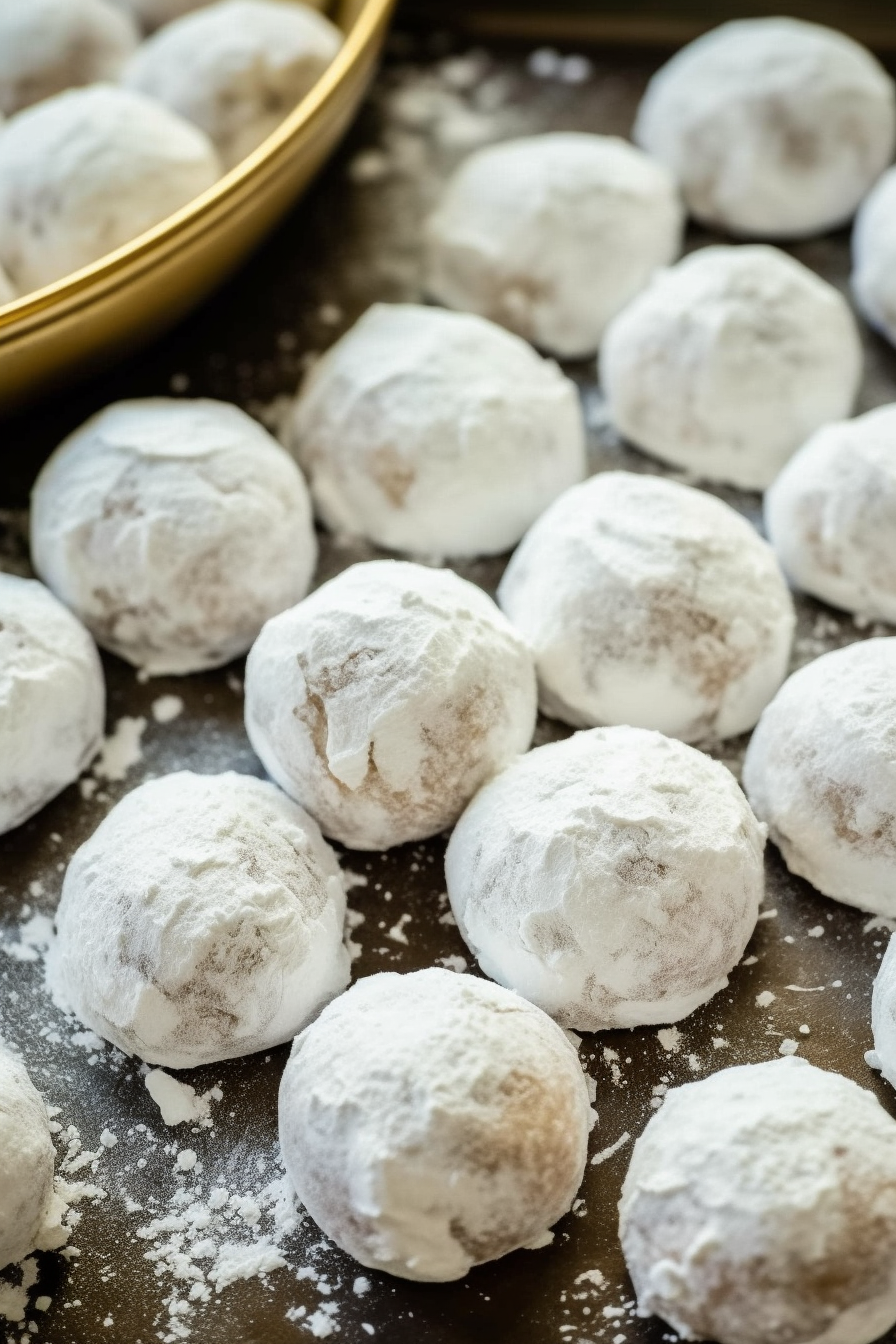
- Rolling in Sugar: While warm, roll the cookies in powdered sugar. This not only adds sweetness but also gives them their signature snowy look.
Storage Options for Russian Tea Balls
Russian Tea Balls can be stored in an airtight container for up to a week, making them ideal for early holiday prep. The powdered sugar acts as a natural preservative, keeping them fresh and delicious. For longer storage, they can be frozen, either before or after baking, for up to 3 months. Just remember to bring them to room temperature before serving, for that perfect buttery texture.
Variations and Substitutions for Russian Tea Balls
Personalize your Russian Tea Balls with these creative variations and substitutions. There’s always room for a little twist in every tradition!
- Nut Variations: Swap walnuts for pecans, almonds, or even a mix of nuts for a different flavor profile.
- Flavor Twists: Add a hint of citrus zest, cinnamon, or nutmeg to the dough for a festive flavor boost.
- Vegan Adaptation: Use plant-based butter and ensure your powdered sugar is vegan-friendly.
- Gluten-Free Option: Substitute all-purpose flour with a gluten-free blend to cater to dietary needs without compromising on taste.
- Chocolate Chip Inclusion: For a chocolatey surprise, fold in mini chocolate chips along with the nuts.
- Dipping in Chocolate: Half-dip the baked cookies in melted chocolate for a decadent finish.
Russian Tea Balls
Ingredients
- 2 cups of All-Purpose Flour
- 1/2 pound of Unsalted Butter equivalent to 16 tablespoons, at room temperature
- 1 cup of Walnuts toasted and coarsely chopped
- ½ cup of Confectioners’ Sugar Powdered Sugar, plus an additional 2 cups for rolling the cookies
- 1 teaspoon of Vanilla Extract
- ¼ teaspoon of Salt
Instructions
Preliminary Preparation:
- Oven Preheating: Commence by setting the oven to a temperature of 400°F (204°C). Concurrently, line a rimmed baking sheet with either parchment paper or a silicone liner.
- Toasting Walnuts: Utilize a dry skillet placed over medium heat to toast the walnuts. This should be conducted for approximately 5 minutes, with frequent tossing to ensure the nuts become fragrant and attain a lightly golden hue.
Method for Making Russian Tea Cakes:
- Creaming Process: In a large bowl, utilize an electric hand mixer to cream together the butter, 1/2 cup of powdered sugar, and 1 teaspoon of vanilla extract until the mixture achieves a smooth consistency.
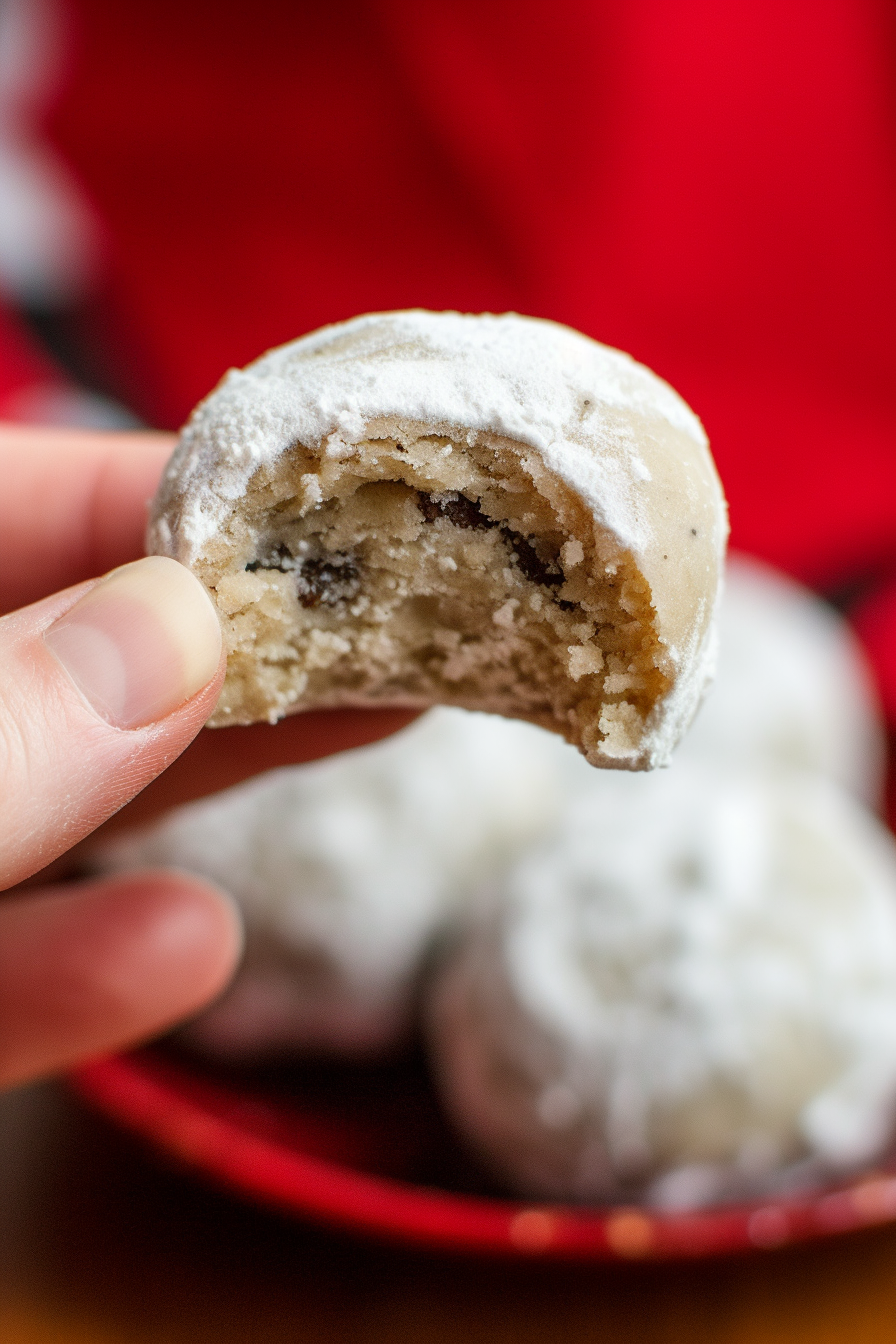
- Incorporating Flour and Salt: Gradually add the flour and salt to the creamed mixture, continuing to mix until the flour is fully integrated and no streaks remain. The resulting mixture will exhibit a lumpy texture. Use a firm spatula to fold in the toasted walnuts, ensuring they are evenly dispersed throughout the mixture.
- Shaping the Dough: Proceed to shape the dough into balls, each approximately 1 inch in diameter. For consistency and ease, a small cookie scoop can be employed to portion the dough. Place the formed balls on the prepared baking sheet, maintaining a minimum distance of 1 inch between each ball. Bake in the preheated oven for a duration of 12 to 15 minutes, or until the base of the balls begins to display a golden coloration.
- Coating with Powdered Sugar: Prepare a bowl containing 1 cup of powdered sugar. While the cookie balls are still notably warm, roll them in the sugar, ensuring a thorough coating. Following this, transfer the coated balls onto a platter to cool completely.
- Final Sugar Coating: Once the cookies have reached room temperature, undertake a second rolling in powdered sugar to achieve a fully coated, snowball-like appearance. For storage, the cookies may be placed in an airtight container, where they will remain suitable for consumption for up to 1 week.

