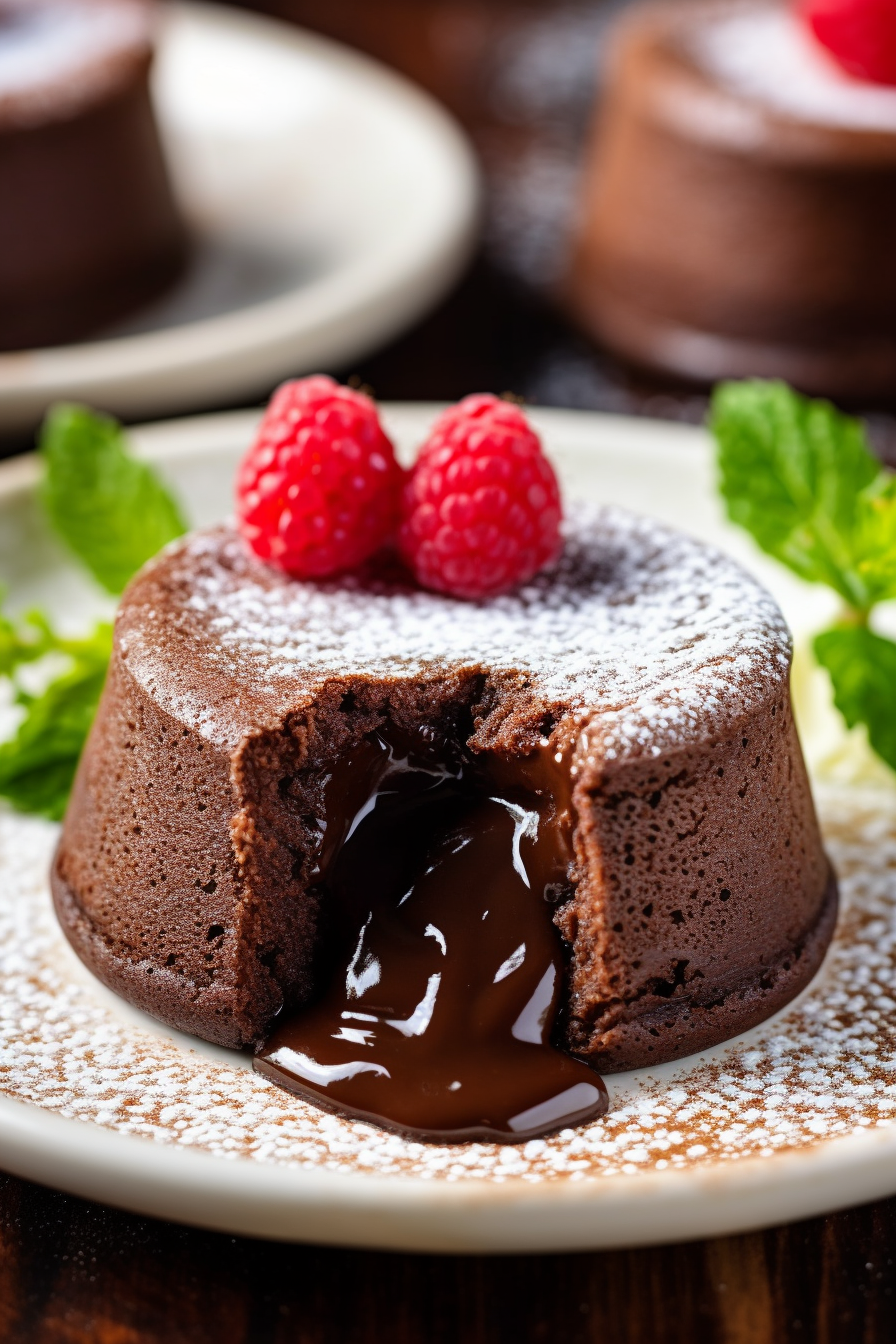
Dive into the heart of these Molten Chocolate Lava Cakes made with semisweet chocolate chips, creamy butter, and a hint of vanilla. It’s pure, gooey chocolate decadence!
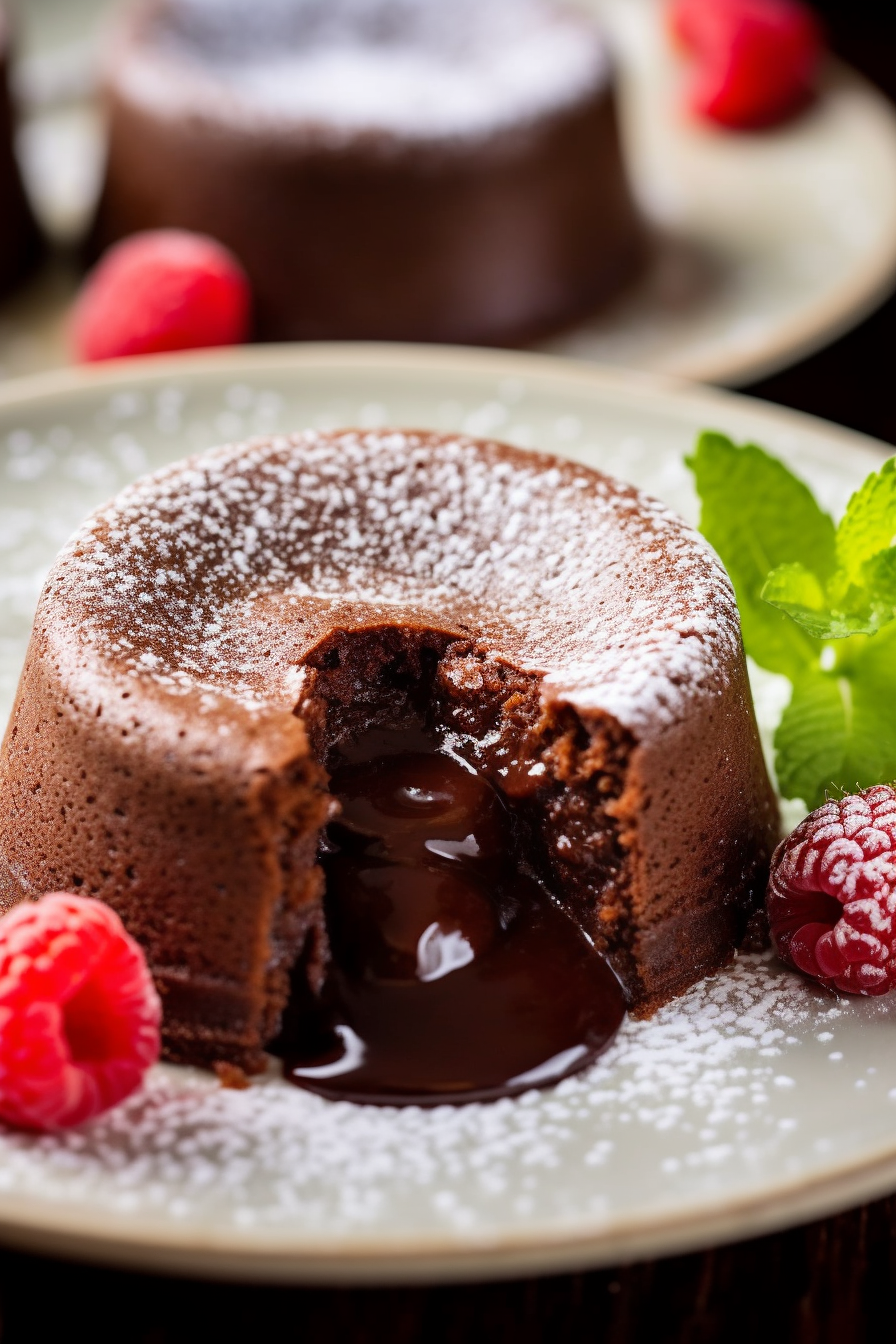
The first time I encountered a molten chocolate lava cake was during an anniversary dinner at a swanky uptown restaurant. I remember the surprise of cutting into what I thought was just a normal chocolate cake, only to be met with a river of warm, gooey chocolate. It was like discovering a secret chocolate treasure! I left the restaurant determined to recreate that same magic in my own kitchen. After a few (okay, several) attempts and a number of chocolate emergencies, I finally perfected the recipe I’m sharing today. These homemade molten chocolate lava cakes not only bring back that memorable night but are a testament to the idea that the best surprises often come in the most delightful forms – or, in this case, flavors!
Why You’ll Love Molten Chocolate Lava Cakes:
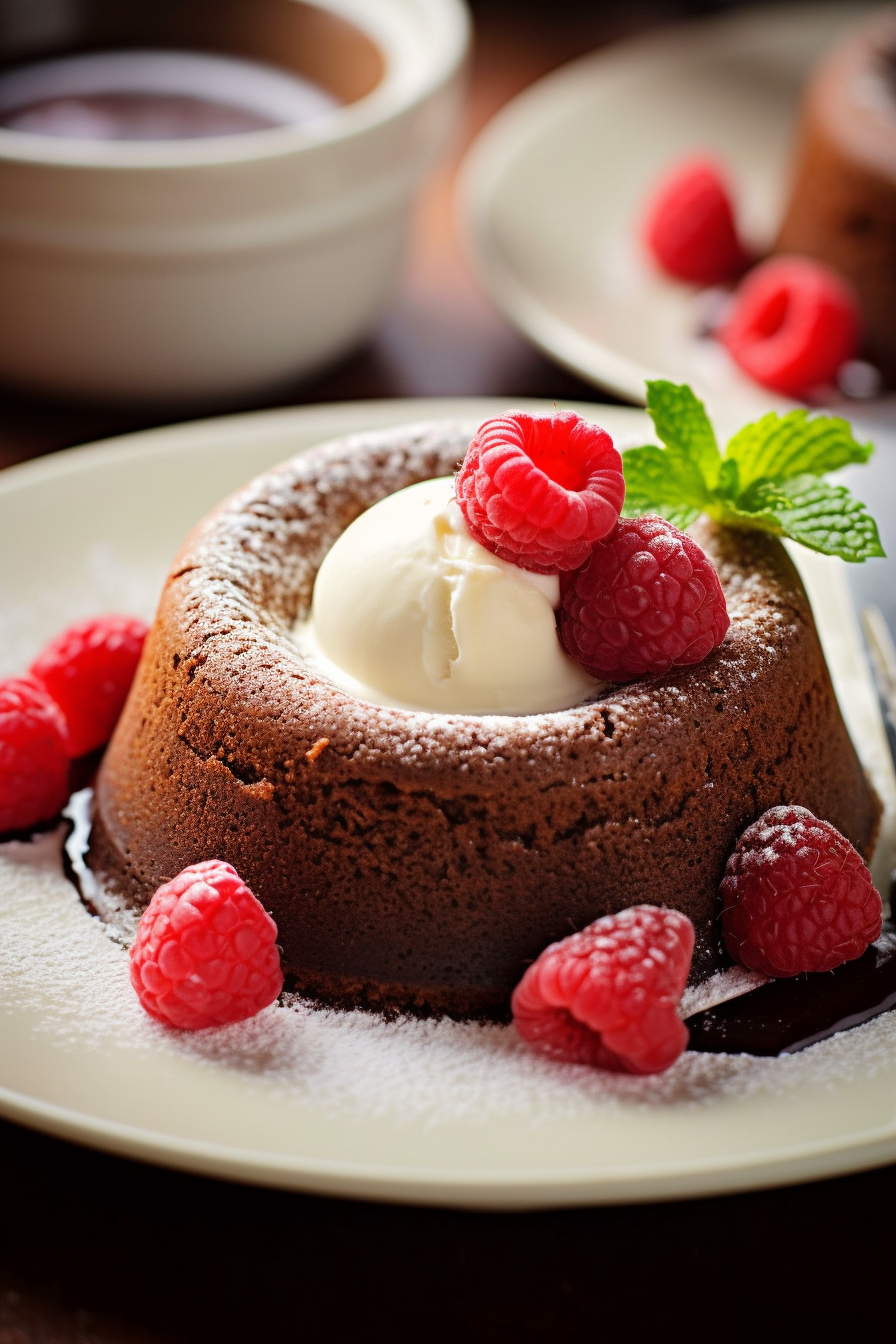
These Molten Chocolate Lava Cakes are the epitome of effortless luxury. While many fancy restaurant versions can be overly rich or too sweet, this homemade version strikes the perfect balance: a tender outer crust encasing a luscious, molten core. And the best part? They’re ready in just 30 minutes! No more waiting around for that indulgent dessert. Moreover, our recipe simplifies the process, meaning even baking novices can achieve that sought-after liquid center every time. Plus, the presentation is a show-stopper – dust a little powdered sugar, and you’ve got a dessert that looks like it came straight out of a gourmet patisserie!
Ingredients Notes For Molten Chocolate Lava Cakes:
- Butter: Using unsalted butter allows you to control the salt content. Plus, butter isn’t just there for the rich flavor; it’s also essential for the perfect cake texture.
- Semisweet Chocolate Chips: This is the star! Quality matters. Opt for a good brand to ensure that rich, decadent chocolate taste.
- Eggs & Egg Yolks: They’re not just there to bind; they give the cake its structure and contribute to the molten center.
- All-Purpose Flour: Just a tad for structure, so your cake doesn’t collapse into a puddle of chocolate (though that doesn’t sound too bad!).
- Vanilla Extract: A hint to elevate the chocolatey goodness. Think of it as the trusty sidekick to our hero, chocolate.
FULL RECIPE CARD BELOW
Detailed Steps To Make Molten Chocolate Lava Cakes:
Step 1: Start by greasing the ramekins generously. Imagine you’re giving them a mini spa treatment. Ensure no spot is left untouched. Then, give them the flour dusting treatment to ensure our cakes slide out effortlessly later.
Step 2: The double boiler method! It sounds fancy, but it’s easy. The steam from the simmering water gently melts the chocolate and butter. It’s the spa day of the chocolate world, ensuring no harsh direct heat.
Step 3: This is where we channel our inner fitness instructor. Whip those eggs, yolks, sugar, and salt until they’re puffing with pride – thick and boasting a sunny yellow shade.
Step 4: Gently fold in the warm, melted chocolate mixture. Think of this step as a dance – be gentle and graceful. Then, add vanilla and fold again. Finally, incorporate the flour. Don’t overmix; we want light, airy cakes!
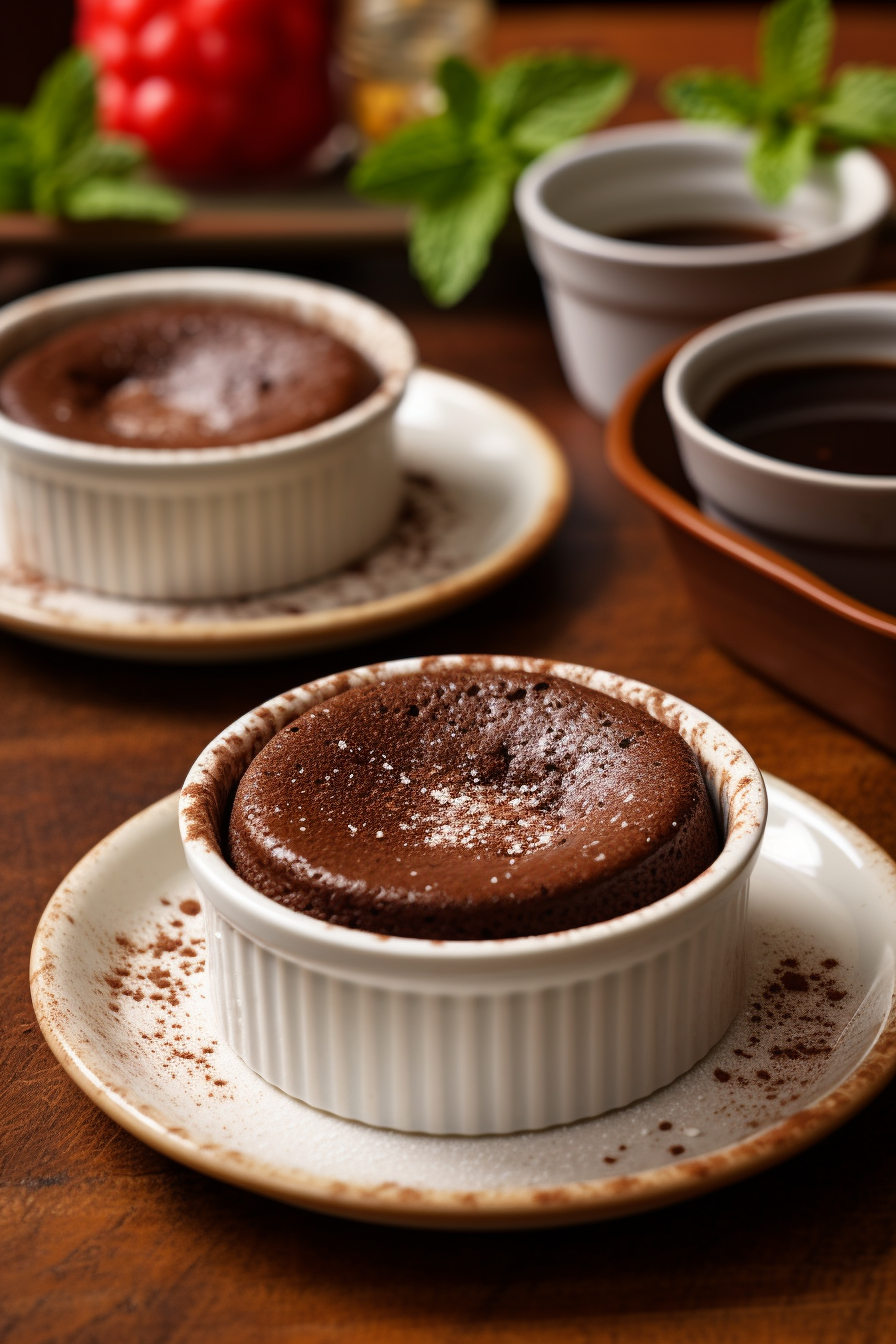
Step 5: Pour the batter into the ramekins, ensuring an even distribution. As they bake, watch for the signs – a firm exterior with a slight wiggle in the middle – the signature of the perfect molten center.
WANT TO SAVE THIS RECIPE?
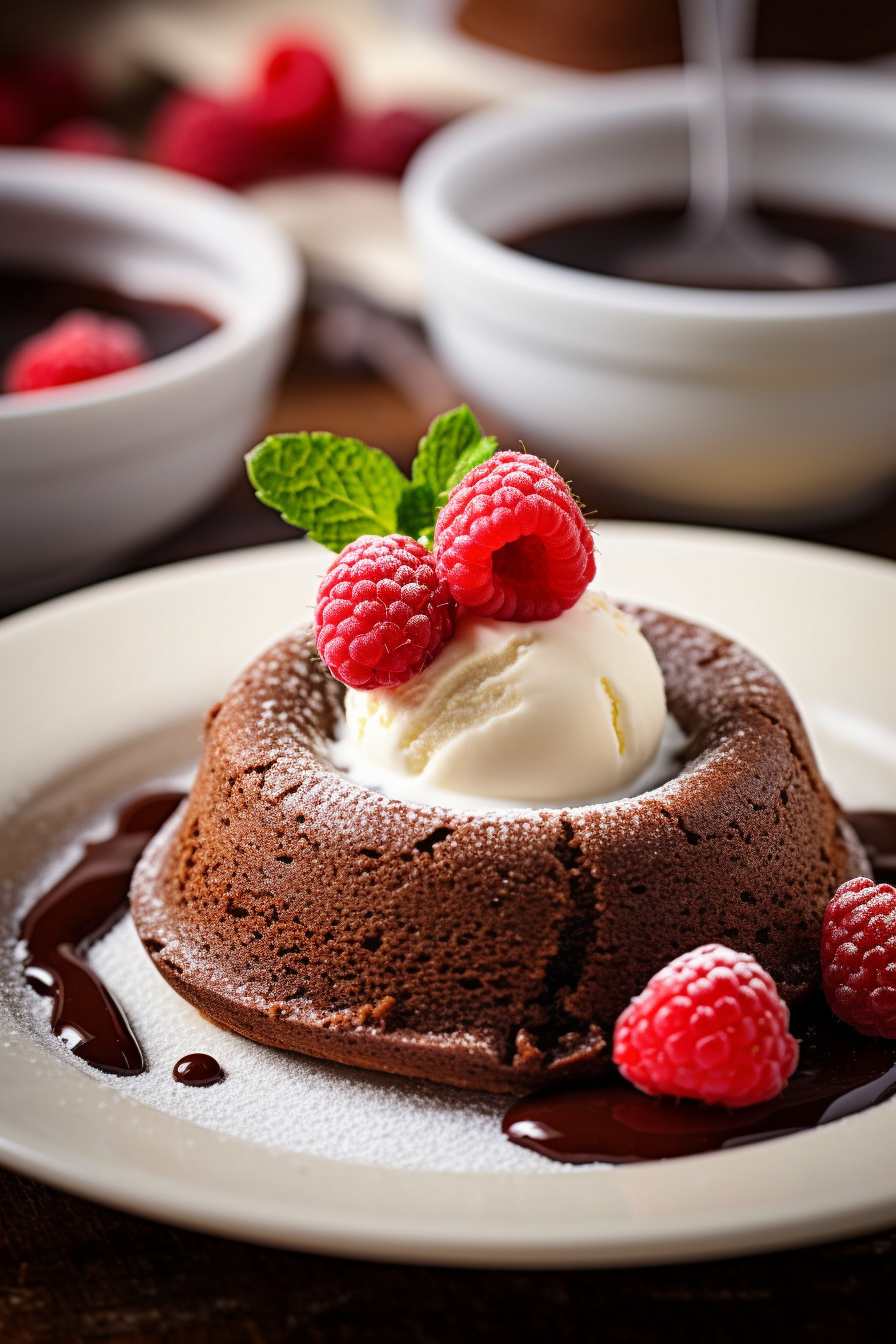
Step 6: This is the suspenseful bit. After a minute’s rest, invert the cakes onto plates. If all steps were followed with love and care, you’ll be rewarded with the perfect molten chocolate lava cake.
Storage Options:
While these lava cakes are best enjoyed immediately (because who can resist?), if you must store them, let them cool completely and then refrigerate. Reheat in the microwave for that molten center experience again. But honestly, I challenge you to have leftovers!
Variations & Substitutions:
Chocolate: Feel like going darker? Use dark chocolate chips instead.
Flour: For gluten-free versions, substitute with almond flour or a gluten-free flour blend.
Fillings: Add a little twist by placing a small piece of caramel or a raspberry in the center of the batter before baking.
Flavors: Swap vanilla extract for almond or orange extract for a flavor twist.
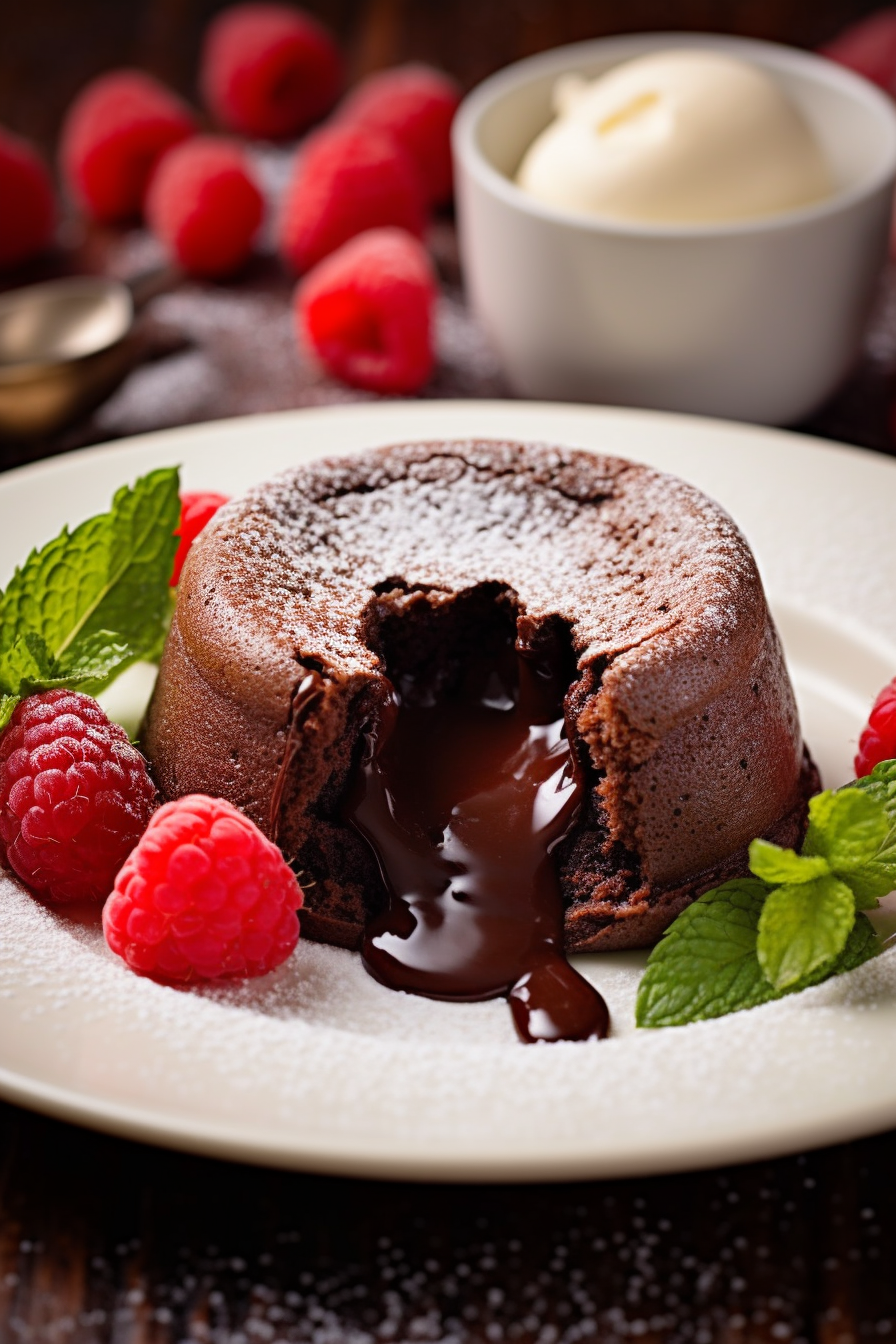
And there you have it, folks! From an uptown dining experience to your very own kitchen – molten chocolate lava cake goodness is just 30 minutes away. Let the chocolate flow! 🍫🌋
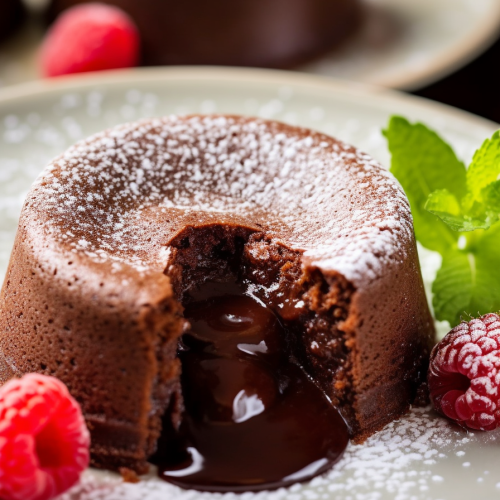
Molten Chocolate Lava Cakes
Ingredients
- 8 Tablespoons of unsalted butter sliced, with additional for greasing the ramekins
- 6 ounces of semisweet chocolate chips
- 2 large whole eggs
- 2 large egg yolks
- 1/4 cup granulated sugar
- 1/4 teaspoon salt
- 1 teaspoon pure vanilla extract
- 3 Tablespoons of all-purpose flour with additional for dusting the ramekins
Instructions
- Thoroughly grease four 8-ounce ramekins with unsalted butter. Proceed by dusting the insides of the ramekins with all-purpose flour, ensuring the removal of any excess flour.
- Position a mixing bowl above a medium saucepan filled with approximately 1 cup of water, ensuring that the bottom of the bowl does not make contact with the water. Place the 6 ounces of semisweet chocolate chips and sliced butter into the bowl. Maintain the water at a gentle simmer and stir the chocolate and butter consistently until both are melted and amalgamated. Once combined, remove the mixture from heat and set it aside to cool slightly.
- In a separate mixing bowl, amalgamate the two whole eggs, two egg yolks, 1/4 cup granulated sugar, and 1/4 teaspoon salt. Using an electric mixer at high speed, beat the mixture for approximately 5 minutes, or until the result is a thick, light yellow consistency.
- Gradually introduce the slightly cooled chocolate mixture into the egg mixture, followed by the addition of the pure vanilla extract. Gently fold to combine. Subsequently, introduce the 3 Tablespoons of all-purpose flour and fold until the mixture is homogenized.
- Distribute the batter evenly among the prepared ramekins. Place the ramekins in a preheated oven at 450°F (232°C) and bake for 10-12 minutes. The cakes should display a firm and dry exterior, with a soft center that exhibits minimal movement.
- Upon removal from the oven, allow the cakes to cool for 1 minute. If necessary, use a small knife to gently loosen the edges of the cakes. Promptly invert each cake onto serving plates. Dust with powdered sugar if desired, and serve while warm.

