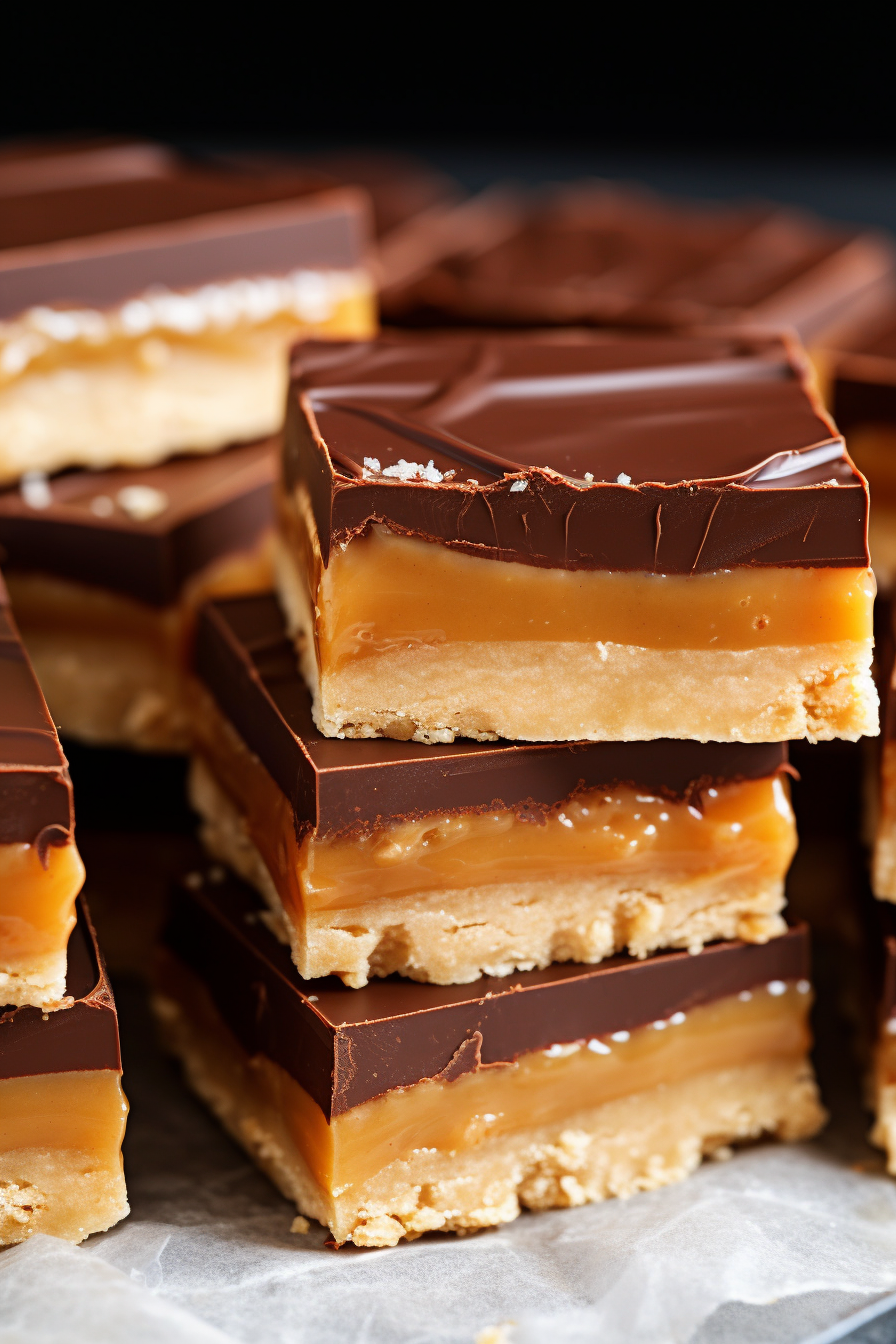
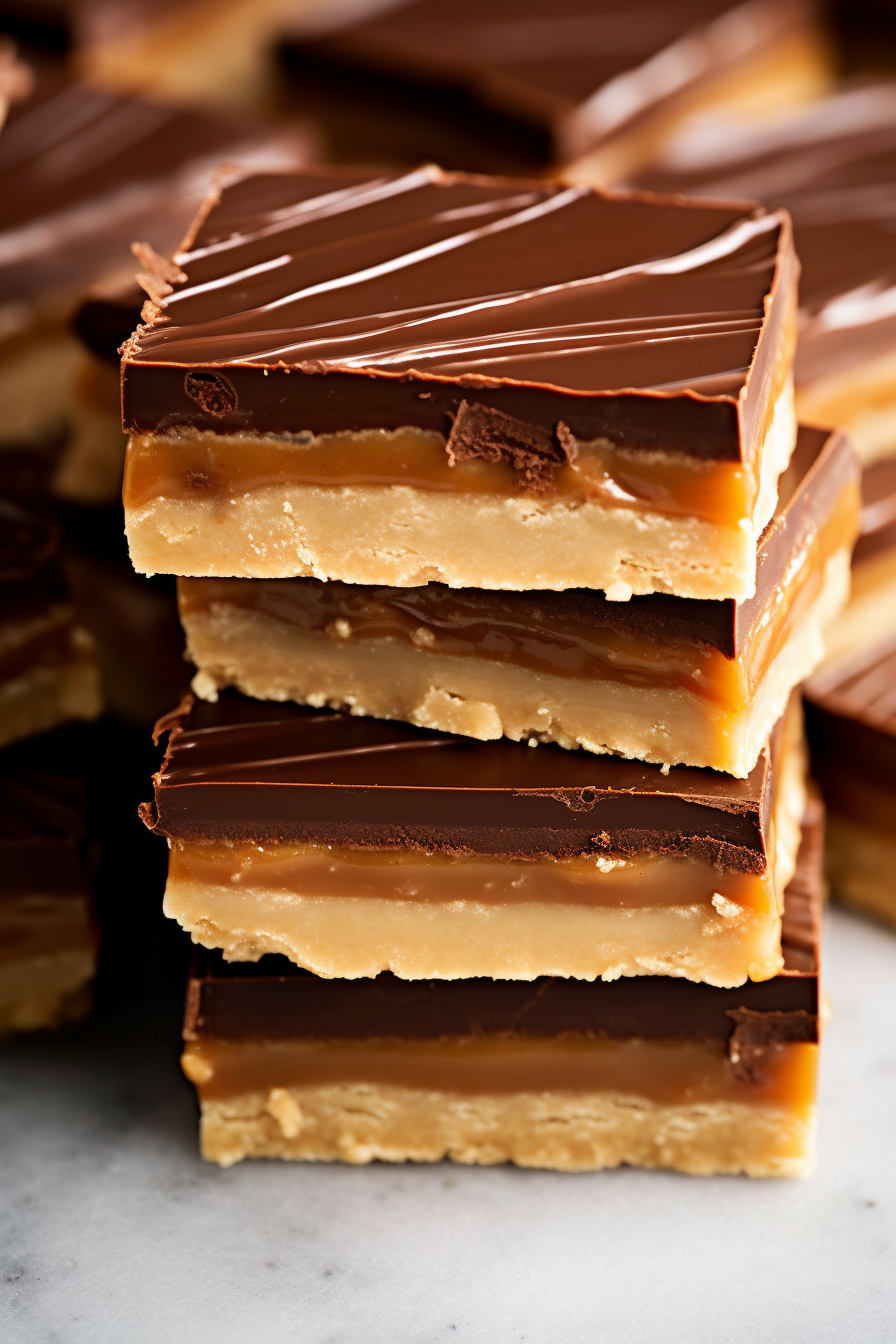
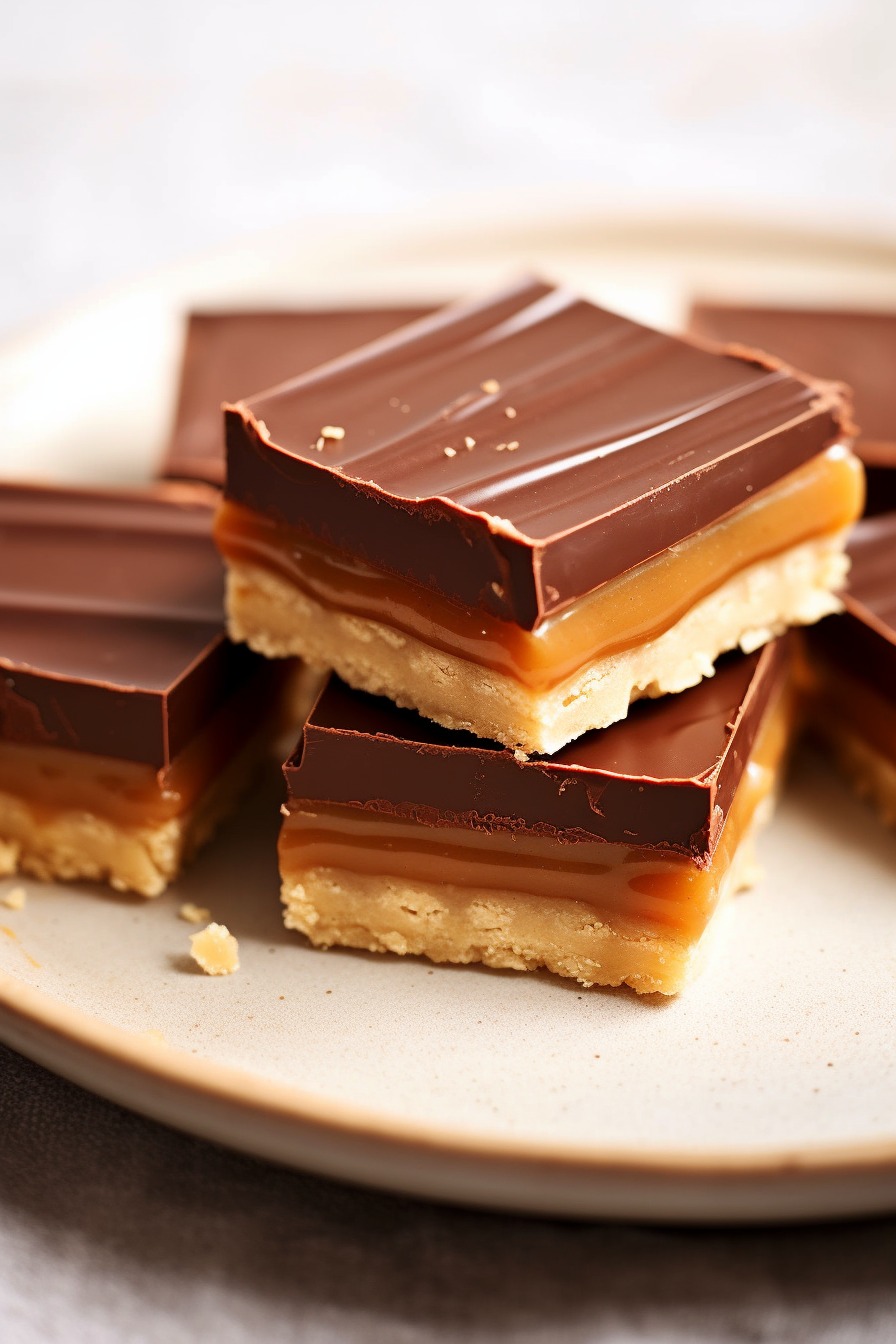
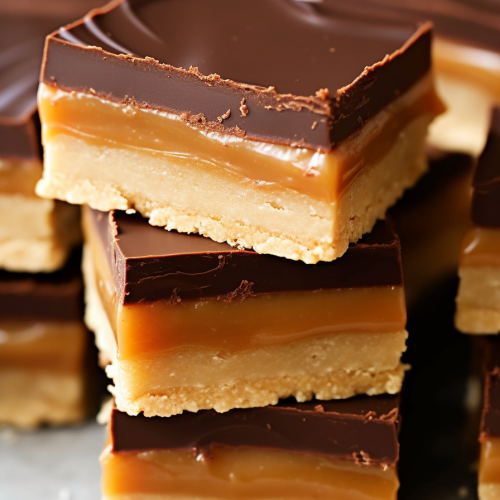
Dive into a Caramel Slice made with a coconut-flour base, a luscious caramel filling, and topped with a rich layer of chocolate. A dessert that perfectly balances sweetness with a touch of crunch!

Oh, the Caramel Slice! It takes me back to childhood, visiting my grandma’s little kitchen on Sunday afternoons. While she had a knack for creating all kinds of sweet treats, this was the pièce de résistance, the one we grandchildren would go bananas over. She would often tell us about how this recipe was passed down from her own grandmother, and how it was her secret weapon for winning over grandpa’s heart. I remember sneaking into the kitchen just to steal a bite before dinner, the rich caramel mingling with the chocolaty goodness, leaving me in sheer bliss. Today, I’m sharing this treasured family recipe with all of you. While I might not have inherited grandma’s magic touch in other areas, I sure did master her Caramel Slice. So, let’s make memories together, one slice at a time!
Why You’ll Love Caramel Slice:
What makes this Caramel Slice stand out from the rest? Well, three things.
Firstly, we’re looking at a caramel filling that sets to absolute perfection – say goodbye to those messy, runny caramel disasters.
Secondly, ever felt the frustration of cracked chocolate? With this recipe, you’ll enjoy a chocolate topping that remains crack-free and looks professionally done.
Lastly, the inclusion of desiccated coconut in the base offers a unique texture and flavor that dances perfectly with the caramel and chocolate, making each bite utterly unforgettable.
Ingredients Notes For Caramel Slice:
- Flour: Plain or all-purpose flour works best for the base, giving it that classic texture.
- Desiccated Coconut: If you’re in the US, opt for the sweetened finely shredded coconut. This adds a delightful texture and subtle sweetness to the base.
- Butter: Always go for unsalted butter. This allows you to control the saltiness, especially since our caramel also contains butter.
- Sweetened Condensed Milk: This is the heart of our caramel filling. Ensure you have the full 395g or 14oz; any less and your caramel might not set correctly.
- Chocolate: Whether you’re a dark chocolate aficionado or a milk chocolate lover, choose a good quality melting chocolate. And for our US friends, semi-sweet chocolate chips are the way to go!
FULL RECIPE CARD BELOW

Detailed Steps To Make Caramel Slice:
BASE:
- Preparation: Always start by preheating your oven. For this recipe, aim for 180°C/350°F. If you have a fan option, it’s 160°C. This ensures even baking.
- Pan Prep: Using the right pan is crucial. Go for a 28x 18cm or a 7″ x 11″ rectangle pan. Grease it lightly and line with parchment paper, letting it overhang. This makes your life easier when you’re removing the slice later on.
- Mixing the Base: Combine all the base ingredients in a bowl. Once mixed well, press this mixture into your prepared pan. Pro tip: An egg flip or spatula works wonders here!
- Baking: Pop it in the oven and let it bake till golden. This usually takes about 15 minutes. Once done, cooling it in the fridge helps, especially if you’re eager to get to the caramel part!
CARAMEL:
- Adjust Oven Temp: Before starting the caramel, lower your oven to 160°C/320°F (or 140°C for fan ovens).
- Melt and Mix: Using a saucepan on medium-low heat, melt the butter, sugar, and vanilla together. When it starts to simmer, that’s your cue to add in the condensed milk.
- Whisking: Now, this part is a mini workout. Whisk constantly for around 5 minutes until you start seeing big, lazy bubbles. Once they appear, keep whisking for another minute.
- Pour and Bake: Pour your caramel over your base. Make sure it’s spread evenly by tilting your pan. Now, back into the oven it goes for roughly 12 minutes. Uneven heat in some ovens may cause brown splotches, but that’s just character!
- Cooling: Once out of the oven, let it cool at room temperature for about 20 minutes. Then, a quick chill in the fridge for another 30 will set the caramel nicely.
CHOCOLATE:
- Melting: Chocolate can be a tad tricky, but with patience, it’s a breeze. Using a microwave-safe bowl, melt your chocolate and vegetable oil in 30-second intervals, stirring between each until smooth and silky.
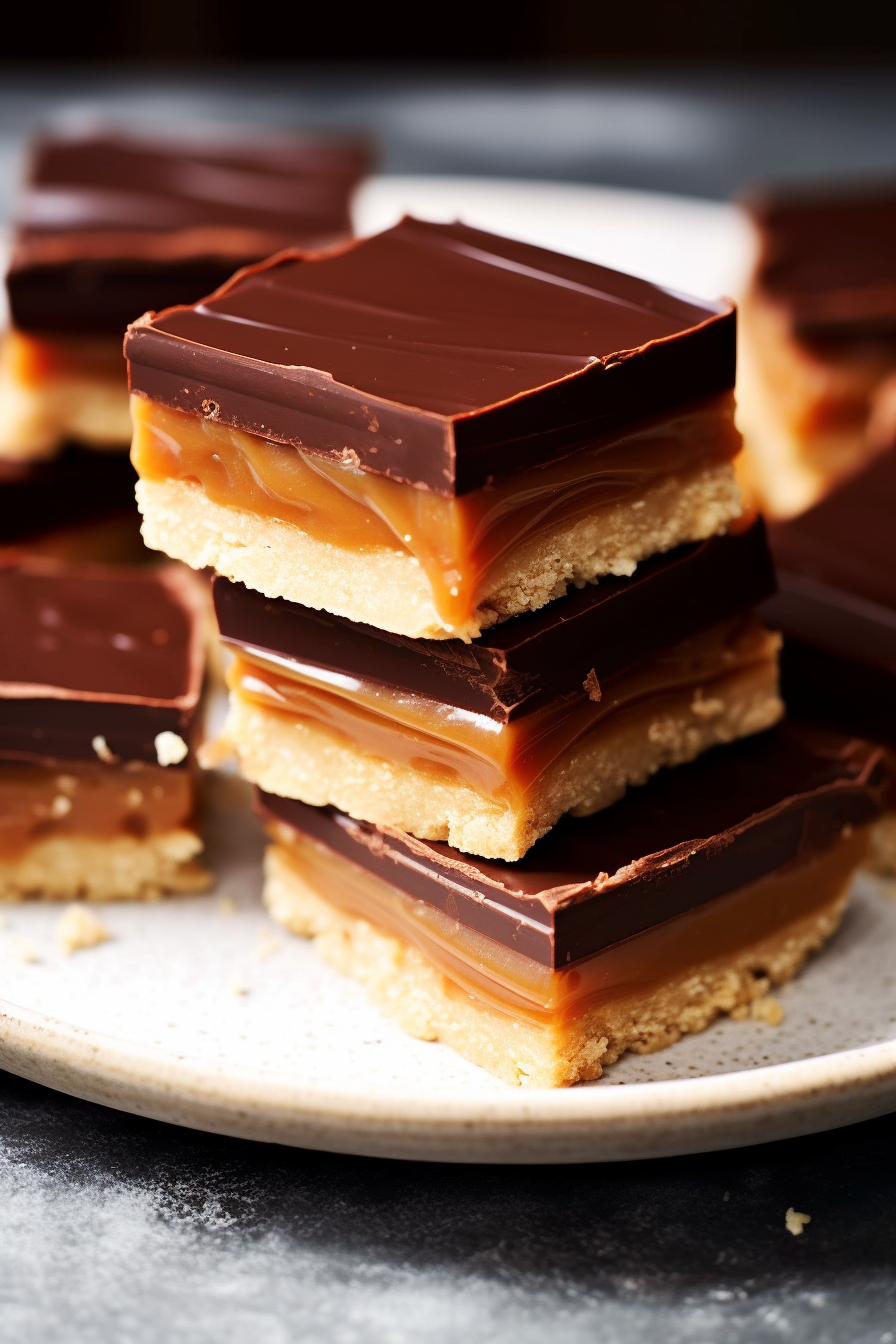
- Pour, Set, and Cut: Once melted, pour over your caramel layer, spreading evenly with a spatula. A little shake can help flatten the surface. Into the fridge it goes for about an hour. When set, take it out, wait for 5 minutes, and cut into your desired shape. Voila!
Storage Options:
The best way to store your Caramel Slice is in an airtight container in the fridge. This keeps the caramel set and the chocolate firm. Planning on devouring it within a week? The fridge is your best friend. But if you’re thinking of storing it longer (which, let’s be real, would be a surprise), you can freeze individual slices in airtight bags for up to 3 months. Just thaw in the fridge overnight before indulging.
Variations and Substitutions:
Vegan Option: Substitute regular butter for vegan butter, use a dairy-free condensed milk alternative, and opt for vegan chocolate.
Nutty Base: Add some crushed almonds or walnuts to the base for an added crunch.
Spiced Caramel: For a hint of warmth, consider adding a pinch of cinnamon or nutmeg to the caramel mixture.
White Chocolate Topping: If dark or milk chocolate isn’t your thing, white chocolate is a heavenly alternative! Just be cautious as it can be sweeter, so you might want to reduce the sugar in the base a tad.
I hope this takes your Caramel Slice game to the next level. Remember, it’s not just about eating; it’s about creating memories, one slice at a time! 🍰😋
Caramel Slice
Ingredients
For the Base:
- 1 cup plain flour
- 1/2 cup brown sugar measured without pressing
- 1/2 cup desiccated coconut for those in the United States, it is recommended to use sweetened finely shredded coconut
- 125 g unsalted butter melted
For the Caramel Filling:
- 125 g unsalted butter coarsely chopped
- 1/2 cup brown sugar measured without pressing
- 1 tsp vanilla extract
- 395 g sweetened condensed milk approximately one 300ml can
For the Chocolate Topping:
- 200 g dark or milk melting chocolate for those in the United States, semi-sweet chocolate chips are recommended
- 1 tbsp vegetable oil
Instructions
Base Preparation:
- Preheat the oven to 180°C (or 160°C for fan ovens).
- Prepare a 28x 18cm rectangular pan by greasing it and lining it with baking paper, ensuring that there is an overhang on the sides to facilitate easy removal later.
- In a mixing bowl, combine all the base ingredients until well incorporated. Transfer this mixture to the prepared pan and press it down uniformly.
- Place the pan in the preheated oven and bake for approximately 15 minutes or until the top turns golden. It is advised to cool the base in a refrigerator if time permits.
Caramel Filling Preparation:
- Adjust the oven temperature to 160°C (or 140°C for fan ovens).
- In a saucepan, combine the butter, sugar, and vanilla extract. Place this over medium-low heat. Once the butter has melted, whisk the mixture to ensure sugar integration. Leave the mixture undisturbed until it begins to simmer.
- Upon observing bubbles, incorporate the sweetened condensed milk into the saucepan. Continuously whisk this mixture for about 5 minutes, ensuring it doesn’t burn. Once larger bubbles start forming at the bottom, whisk for an additional minute.
- Pour the caramel mixture over the pre-baked base, ensuring an even spread.
- Place the pan in the oven and bake for 12 minutes. Any browning or splotches on the surface are typical and not a cause for concern. Allow the caramel to cool at room temperature for 20 minutes. Subsequently, place it in the refrigerator for 30 minutes.
Chocolate Topping Preparation:
- In a microwave-safe bowl, combine the chocolate and vegetable oil. Melt the chocolate in the microwave using 30-second intervals, stirring in between each interval until the chocolate is completely melted and smooth.
- Pour the melted chocolate over the cooled caramel layer, ensuring a uniform spread.
- Refrigerate the Caramel Slice for a minimum of 1 hour, allowing it to set. Once set, remove from the refrigerator and allow it to temper for 5 minutes before cutting it into desired shapes.