Delight in the festive spirit with Grinch Cookies! A simple and fun holiday treat made with white cake mix, peppermint extract, and green food coloring. Decorated with red heart sprinkles, they’re perfect for spreading Christmas cheer!”
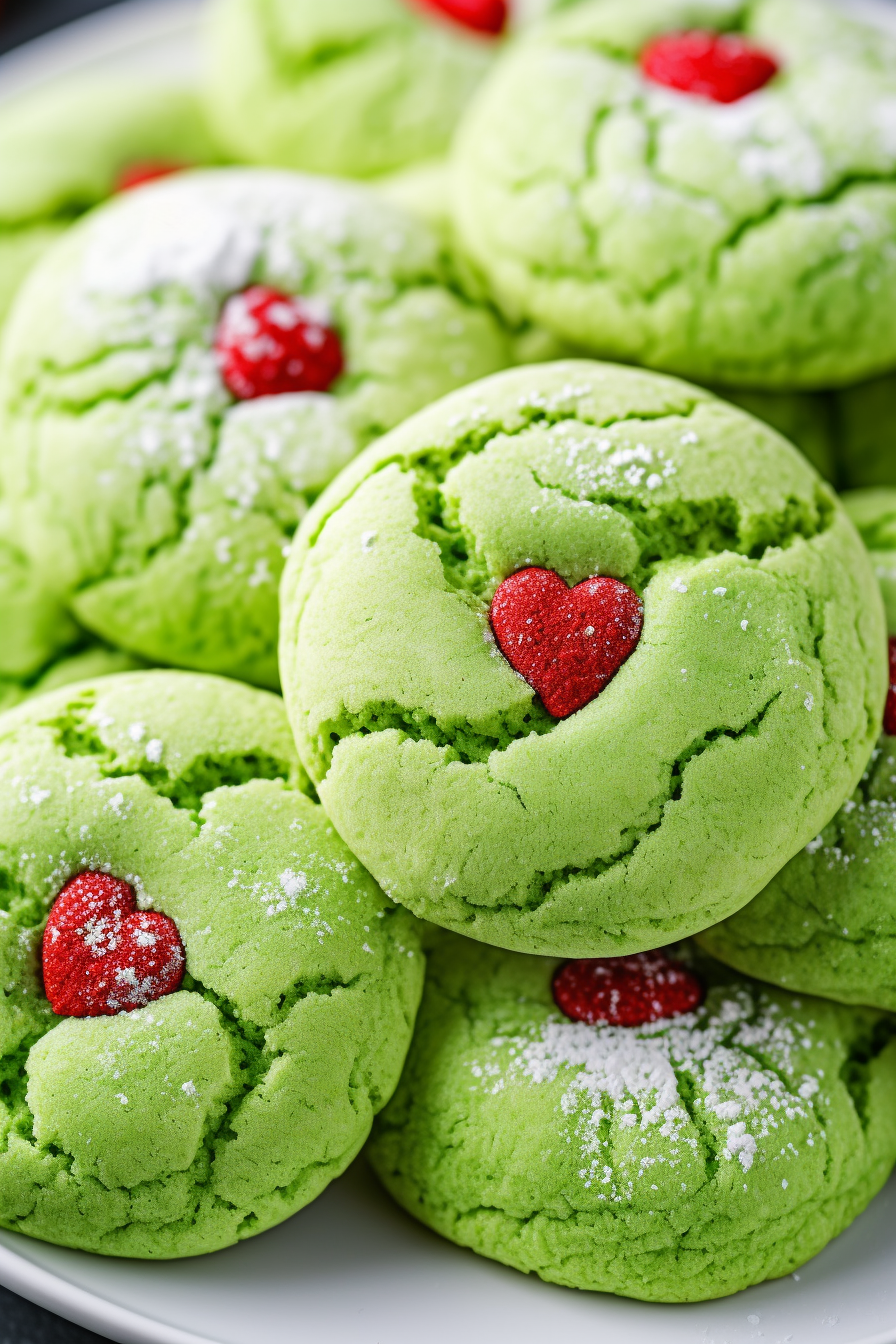
Every year, as the holiday season rolls in, my kitchen transforms into a wonderland of festive treats, but the star has always been the Grinch Cookies. Inspired by my childhood love for Dr. Seuss’s whimsical tales, these cookies became a family tradition. I remember the first batch I made with my grandmother, laughing as we turned the dough a vibrant green and debating how many heart sprinkles were too many. Now, as I bake them with my own children, each cookie not only tastes of peppermint but also of cherished memories and the warmth of family love during the holidays.
Why You’ll Love Grinch Cookies
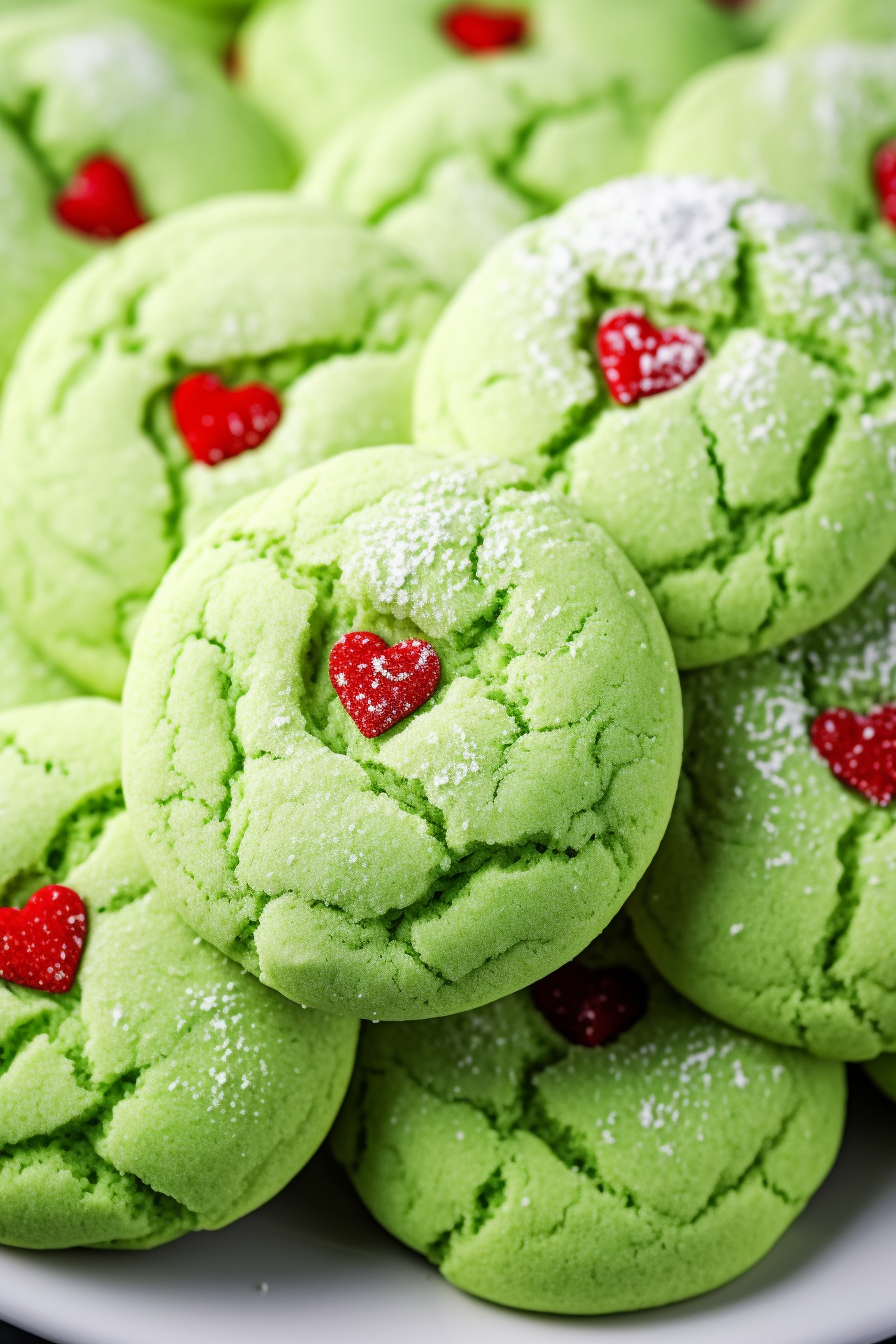
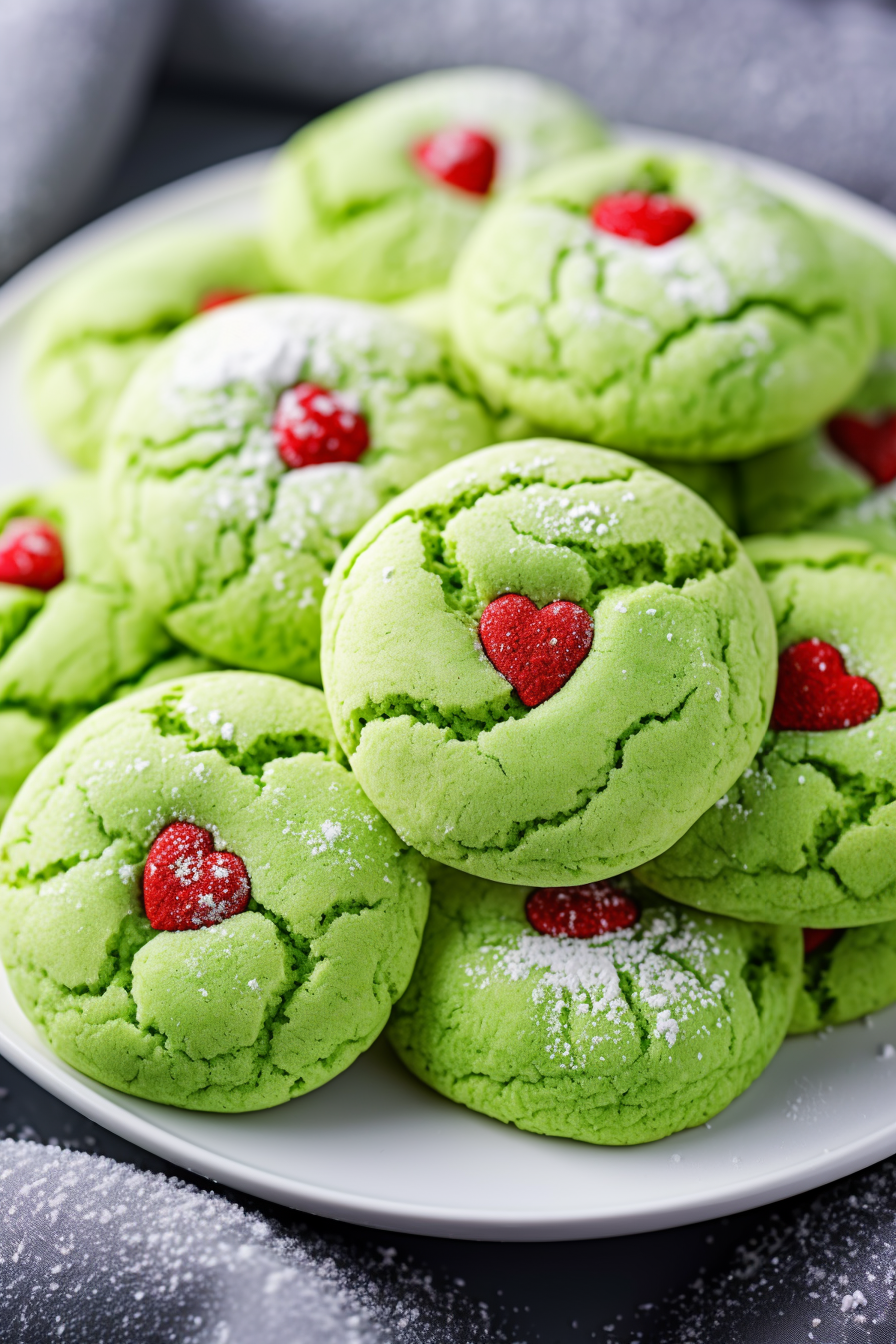
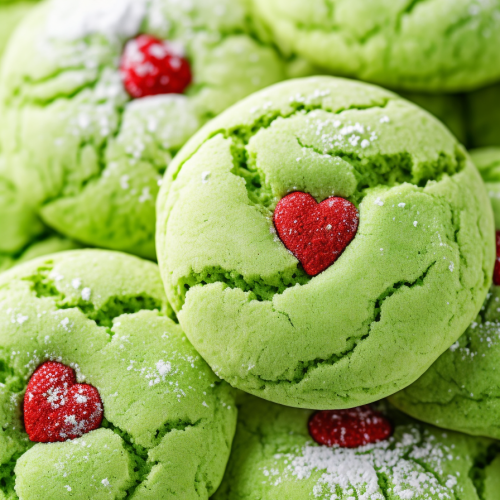
- Festive & Fun: The vibrant green color and heart sprinkle capture the essence of the holiday season, making these cookies a visually delightful treat.
- Easy & Quick: With a prep time of just 15 minutes and a simple process, these cookies are ideal for last-minute holiday preparations or baking with kids.
- Flavorful Twist: The combination of peppermint and vanilla extracts provides a refreshing and unique taste that stands out from typical holiday cookie flavors.
Ingredients Notes For Grinch Cookies
Baking Grinch Cookies is a joyous journey, and the key to their magic lies in the ingredients. Let’s dive into their roles!
- White Cake Mix: Acts as a convenient and reliable base, ensuring soft and tender cookies every time.
- Butter: Unsalted butter brings richness and helps in creating the perfect texture.
- Eggs: Essential for binding the ingredients together and adding moisture.
- Peppermint Extract: The star flavor that adds a festive, minty zing.
- Vanilla Extract: Balances the flavors and adds a classic, sweet aroma.
- Green Food Coloring: For that iconic Grinch green – the more vibrant, the better!
- Powdered Sugar & Cornstarch: Creates a light coating on the cookies, adding a subtle sweetness and helping in achieving the right texture.

WANT TO SAVE THIS RECIPE?
How To Make Grinch Cookies
Let’s embark on the delightful process of making Grinch Cookies. Here’s a step-by-step guide to ensure your cookies are as charming as the Grinch himself!
- Preparation: Start by preheating your oven to 375°F and lining a baking sheet with parchment paper. This simple step is crucial for a smooth baking experience.
- Mixing the Dough: Use your mixer to blend the cake mix, butter, and eggs. The goal is to achieve a well-combined and uniform mixture, setting the stage for the perfect cookie dough.
- Flavoring: Now for the fun part – adding peppermint and vanilla extracts along with the green food coloring. This step is where the cookies begin to take on their festive character. Remember, the color intensity is up to you!
- Coating Preparation: Whisk together powdered sugar and cornstarch in a small bowl. This mixture will coat your cookies, giving them a delicate, sweet exterior.
- Forming Cookies: With a cookie scoop, shape the dough into balls and roll them in the sugar mixture. The dough will be sticky, but that’s just part of the charm!
- Baking: Place the dough balls on the baking sheet and bake for 10 to 12 minutes. You’re looking for set edges and a dry top, signs of perfectly baked cookies.
- Final Touch: Immediately after baking, press a heart-shaped sprinkle onto each cookie. It’s the quintessential Grinch touch!
- Cooling: Let the cookies cool on the baking sheet for 5 minutes before transferring them to a wire rack. Patience is key here – it ensures your cookies will hold their shape and texture.
Storage Options
Grinch Cookies, with their tender texture and delicate flavor, need proper storage. Once completely cooled, store them in an airtight container at room temperature. They’ll remain fresh and delightful for up to a week, making them perfect for gradual holiday snacking or as a ready-to-go treat for unexpected guests!
Variations and Substitutions
Experimenting with variations and substitutions can add your personal touch to these Grinch Cookies!
- Cake Mix Substitute: No white cake mix? Use a yellow mix and adjust the coloring accordingly.
- Butter Alternatives: For a lighter version, try using half butter and half unsweetened applesauce.
- Egg-Free Option: Use a suitable egg replacer if you’re catering to dietary restrictions.
- Extract Variations: Experiment with different extracts like almond or coconut for a twist in flavor.
- Color Options: If green isn’t your thing, feel free to play around with other colors. How about a red Grinch for a change?
- Sprinkle Varieties: Instead of heart sprinkles, use other festive shapes or even a dusting of cinnamon for a different aesthetic and flavor profile.
Grinch Cookies
Ingredients
- White Cake Mix: One 432-gram box approximately 15.25 ounces of white cake mix.
- Unsalted Butter: Eight tablespoons softened to room temperature.
- Eggs: Two large eggs also at room temperature.
- Peppermint Extract: Two teaspoons alternatively mint extract may be used.
- Vanilla Extract: Half a teaspoon.
- Green Gel Food Coloring: Quantity as required to achieve desired hue.
- Powdered Sugar: A quarter cup 32 grams.
- Cornstarch: Three tablespoons.
- Decorative Element: Red heart-shaped sprinkles or cinnamon for garnishing.
Instructions
- Oven Preparation: Commence by preheating the oven to a temperature of 375°F (190°C). Simultaneously, prepare a large baking sheet by lining it with parchment paper.
- Dough Formation: Utilize either a hand-held mixer or a stand mixer to thoroughly combine the cake mix, butter, and eggs until a uniform mixture is achieved.
- Adding Flavor and Color: Introduce the peppermint (or mint) and vanilla extracts into the mixture, followed by a judicious addition of green food coloring to attain the desired coloration. Continue to mix at a low speed until just combined, ensuring that the batter attains a thick and sticky consistency.
- Coating Mixture Preparation: In a separate, smaller bowl, proceed to whisk together the powdered sugar and cornstarch.
- Shaping Cookies: Employing a 1 1/2 tablespoon cookie scoop, shape the dough into balls. Roll each dough ball in the powdered sugar mixture to achieve an even coating. Bear in mind the inherent stickiness of the dough during this process. Arrange the coated dough balls on the prepared baking sheet, spaced approximately one inch apart.
- Baking Process: Insert the baking sheet into the preheated oven, allowing the cookies to bake for a duration of 10 to 12 minutes. The criterion for completion is the cookies' edges becoming set and the tops appearing dry.
- Final Touch: Promptly upon removal from the oven, adorn each cookie with a single heart-shaped sprinkle, gently pressing it to ensure adhesion to the cookie surface.
- Cooling: Allow the cookies to rest on the baking sheet for a five-minute interval before transferring them to a wire rack for complete cooling. This step is crucial to maintain the structural integrity and textural quality of the cookies.

