A perfect loaf of bread needs just four to six simple ingredients from your pantry. The foundations of that aromatic, crusty, soft-centered loaf are available to anyone ready to start baking.
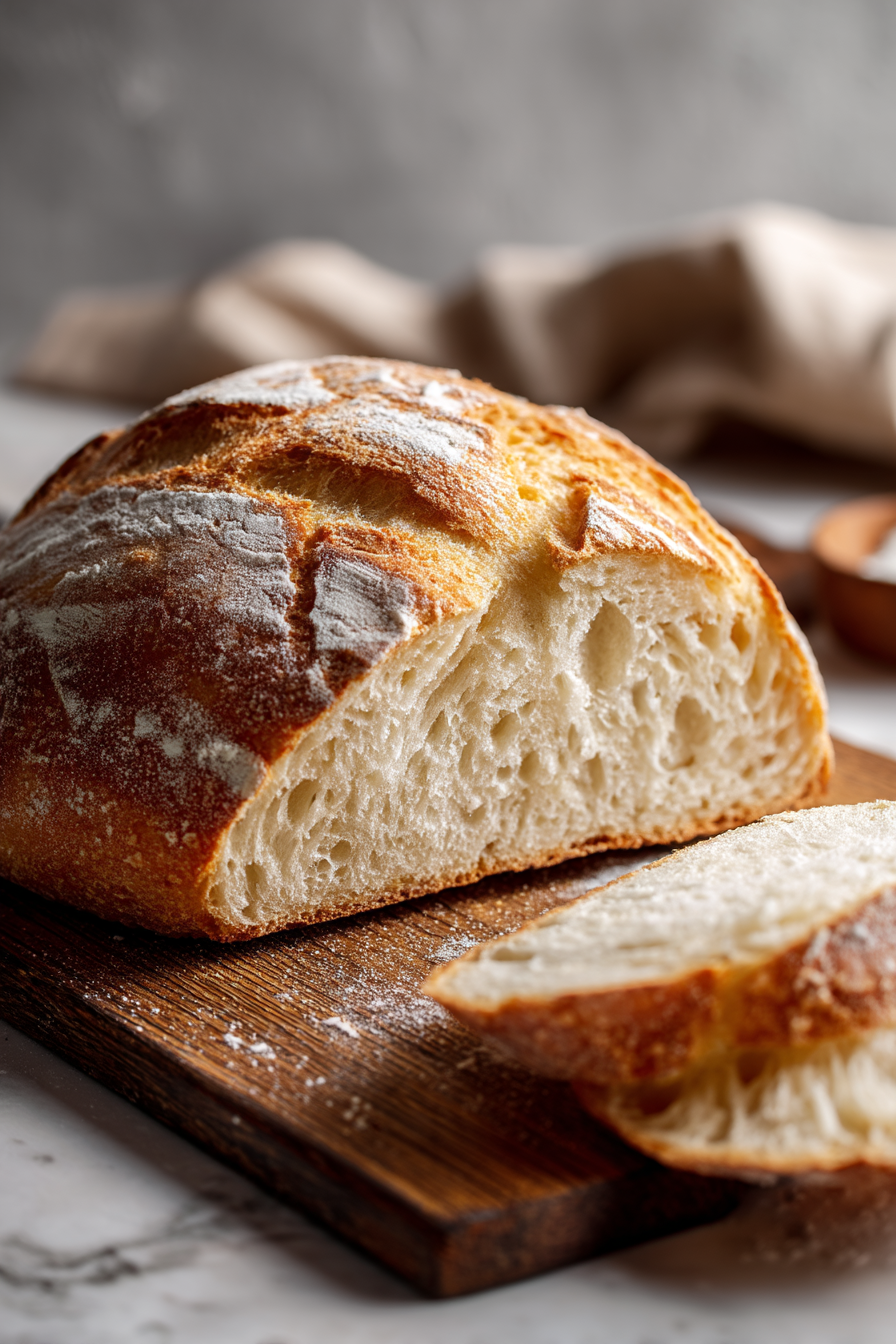
Homemade bread isn’t exclusive to professional bakers with fancy equipment. Many bread recipes work well without a bread maker or stand mixer, which makes them ideal for both novices and seasoned bakers. The process is more forgiving than most people think, whether you want a simple white loaf, a rustic sourdough with that perfect chewy crumb, or a sweet banana bread for breakfast.
Your homemade bread gives you options that store-bought varieties can’t match. Each loaf can become something special with additions like cinnamon swirl, raisins, or nuts. The bread stays fresh for several days at room temperature or up to five days in your refrigerator, which makes it perfect for daily meals.
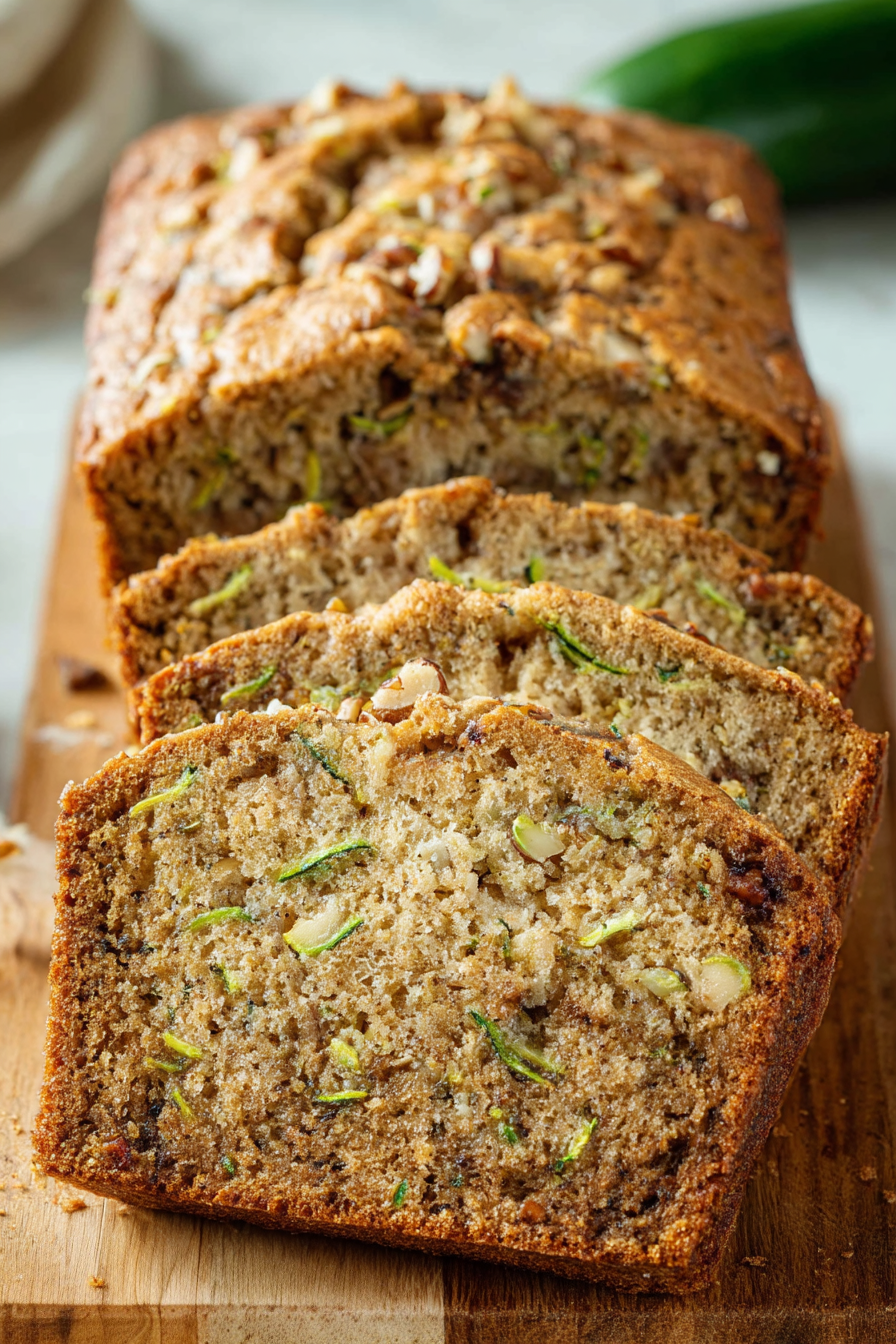
These bread recipes suit every skill level and occasion – from no-knead artisan loaves to seasonal favorites like pumpkin bread and focaccia. The simple steps of bread baking will help you pull perfect loaves from your oven quickly. A little patience is all you need!
Getting Started with Bread Baking
“Bread – like real love – took time, cultivation, strong loving hands and patience. It lived, rising and growing to fruition only under the most perfect circumstances.” — Melissa Hill, International bestselling author
The art of bread baking starts with simple fundamentals. Let’s look at what you need to make perfect homemade loaves before you start your first recipe.
Essential tools and ingredients
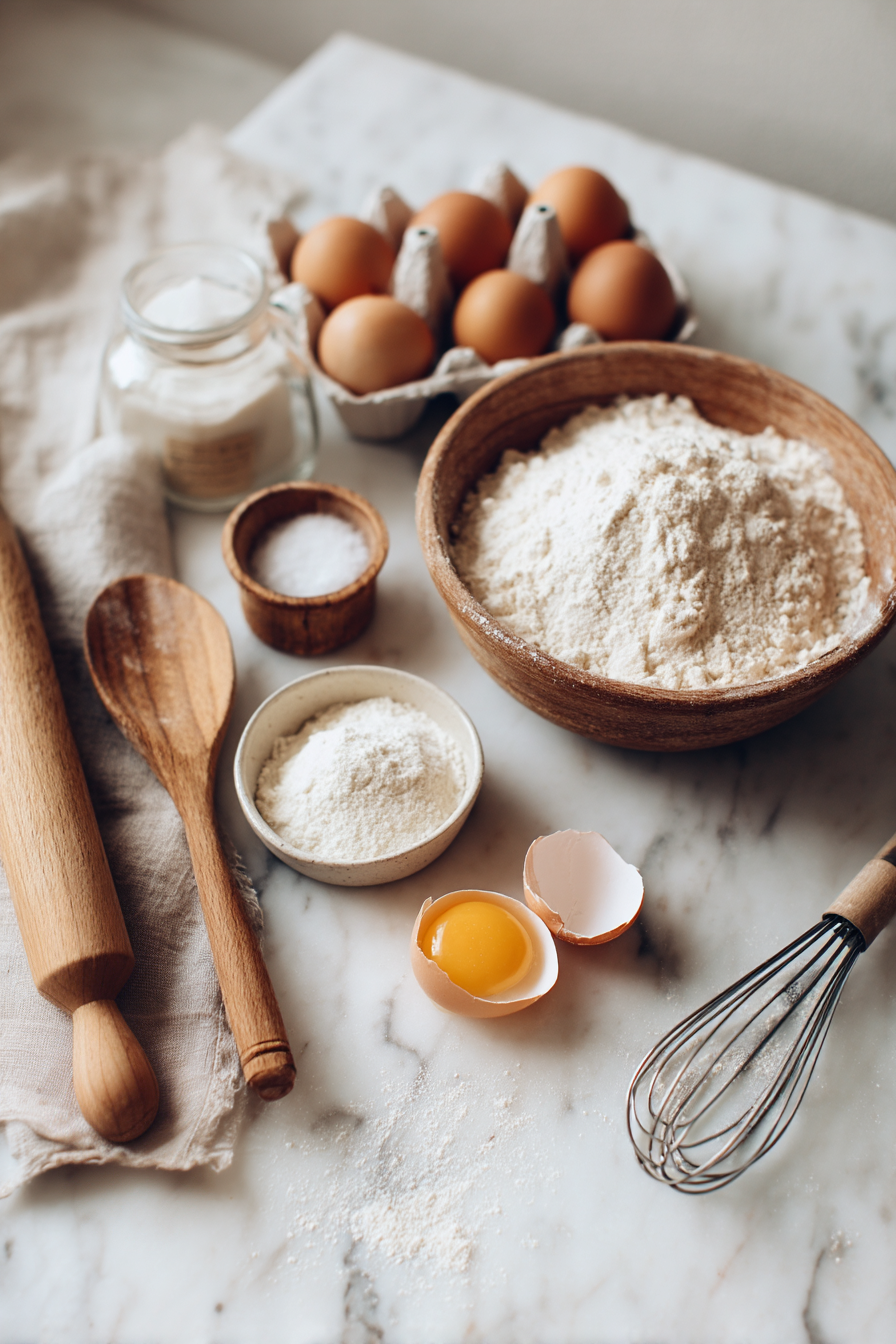
Bread making is beautifully simple. You only need four basic ingredients to make a simple loaf: flour, water, salt, and a leavening agent (usually yeast). You don’t need fancy equipment to start, but some simple tools will make your trip into baking easier.
A digital scale is the most valuable tool you can buy to get consistent results. Baking experts say weighing ingredients instead of using volume measurements improves bread quality by a lot because flour measurements can vary when using cups. A large mixing bowl, bench scraper, and dough whisk will also change your bread-making experience.
Airtight containers help keep flour fresh for months. You should refrigerate whole wheat flour to keep it fresh. As your skills grow, tools like proofing baskets (bannetons) and bread lames for scoring can lift your baking to new levels.
Understanding yeast and flour types
Yeast gives your bread its rise and flavor. Here are the main types you should think about:
Active Dry Yeast: You need to dissolve it in warm water (105-115°F) before using. It’s accessible to more people and forgiving for beginners.
Instant Yeast: This is what I recommend for beginners. You can mix it straight into dry ingredients without proofing first. It works faster and gives more reliable results than active dry yeast. Its finer granules dissolve faster in dough.
Fresh Yeast: Bakers call it cake or compressed yeast, and it comes in a block form. Though harder to find, it gives faster rises and some bakers prefer it for enriched doughs that have more sugar.
Your choice of flour changes your bread’s texture and flavor:
All-Purpose Flour: This has 9-11% protein and works well for many bread recipes.
Bread Flour: With 12-15% protein, it creates stronger gluten development for chewier breads with better structure.
Whole Wheat Flour: This has the entire wheat kernel with 13-14% protein content. It offers more nutrition but needs different handling techniques.
Protein content matters because when wet, proteins called glutenin and gliadin form gluten networks. These networks trap gas bubbles that let bread rise and give it structure.
Tips for first-time bakers
- Mind your measurements: A scale gives you precision that volume measurements can’t match. Experts say accurate measurements are the best way to avoid dense, flat loaves.
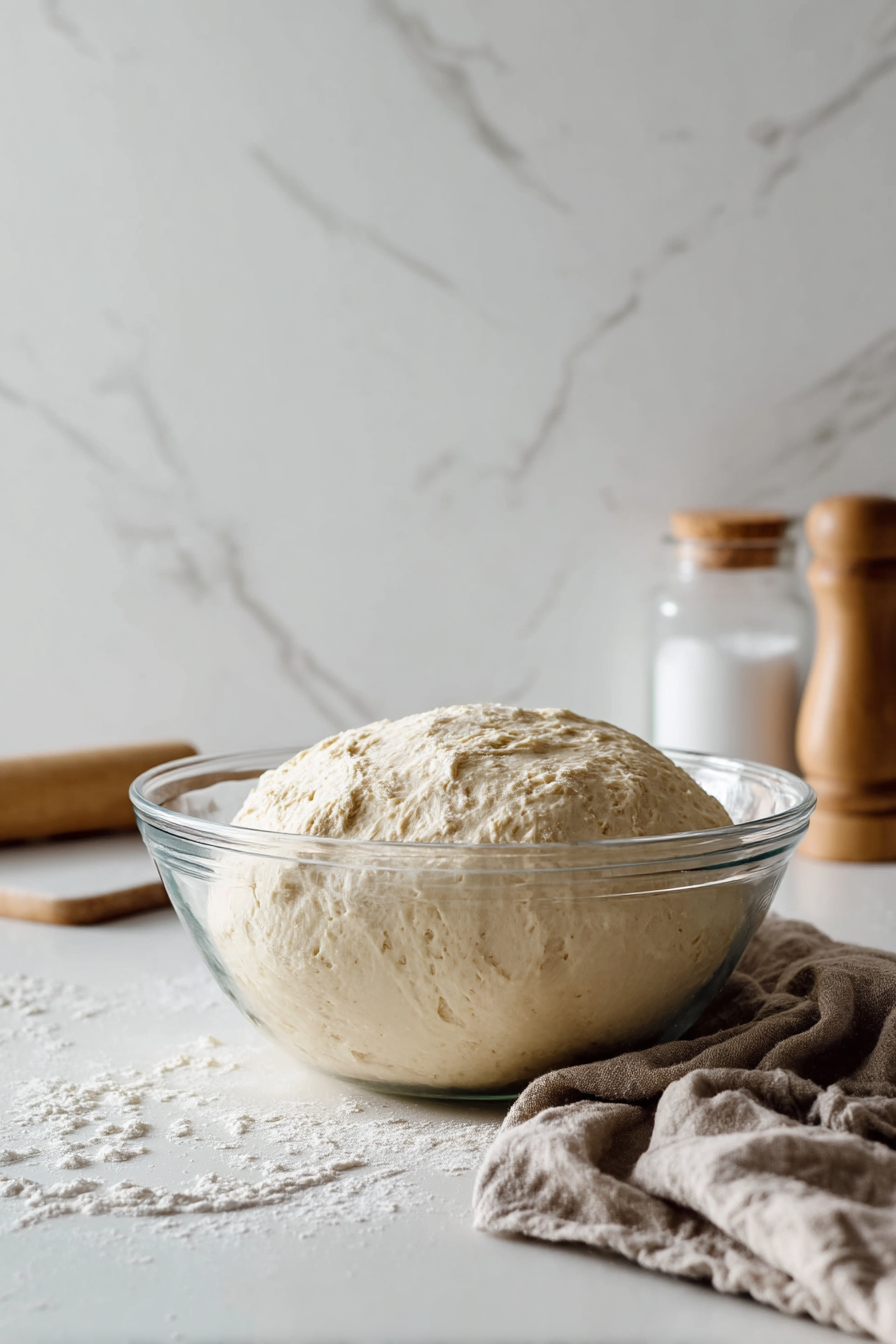
- Watch dough consistency: Good dough feels smooth and slightly tacky but not sticky. Add flour if it’s too wet, or water if it’s too dry.
- Control temperature: Yeast works best between 70-100°F. Cooler temperatures mean slower rises but often better flavor. If your house is cold, turn on your oven for 2-3 minutes, then turn it off and put your dough inside to rise.
- Understand proofing: Good rising develops flavor and texture. Your loaf will be dense if under-proofed or might collapse if over-proofed.
- Start with simple recipes: Try no-knead bread before moving to complex sourdough bread recipes or enriched doughs.
The sort of thing I love about bread making is that every attempt teaches you something new. Even experienced bakers sometimes make imperfect loaves.
Classic White Bread Recipe (Tastes Better From Scratch)
The smell of fresh bread baking in your home is unbeatable, especially when you make it from scratch. This classic white bread recipe from Tastes Better From Scratch helps you create two perfect loaves without much fuss. You’ll love using this bread for sandwiches or toast.
Make-ahead and freezing tips
Your homemade bread won’t last as long as store-bought because it doesn’t have preservatives. You can make the dough through step 4 and keep it in an airtight container in the fridge for up to a day.
You can also freeze the shaped unbaked loaves after step 6. Put them in freezer-safe pans, wrap tightly with double-layered foil, and freeze for up to 3 months. When you’re ready to bake, let them thaw at room temperature for about 5 hours to complete the second rise, then bake as directed.
Let your baked bread cool completely, then slice it before freezing in resealable freezer bags for up to 3 months. This way, you can grab just the slices you need without thawing the whole loaf.
Find the original recipe at: https://tastesbetterfromscratch.com/homemade-bread/
No-Knead Artisan Bread (RecipeTin Eats)
You can create bakery-quality artisan bread with just four ingredients and almost no hands-on effort. The no-knead bread recipe from RecipeTin Eats helps you make a loaf with a thick, crispy crust and chewy interior filled with beautiful air pockets—just like sourdough bread.
Why it works for beginners
The recipe’s brilliance comes from its simplicity and scientific approach. Traditional methods need physical kneading, but this recipe lets time do the work. The dough develops gluten naturally as it sits through a process called “passive gluten development”. This scientific principle makes the recipe really forgiving.
Beginners can create impressive results with just flour, water, salt, and yeast. The loose, sticky dough (a key characteristic of no-knead recipes) rises more easily than firmer dough. The method is practically mistake-proof—your dough seems too stiff? Add water. Too wet? Add flour. Not rising fast enough? Move it somewhere warmer.
The long rising time (18-24 hours) develops gluten and creates deeper flavors through slow fermentation. The recipe needs only about 3 minutes of active effort, which makes it available to the busiest bakers.
Dutch oven vs. baking tray method
Prominent bakeries use steam-injected ovens to create that perfect artisan crust. A Dutch oven works as a great substitute at home. An empty preheated pot becomes “a miniaturized version of a professional steam-injected oven” and distributes heat more evenly than regular ovens.
The sort of thing I love about the science: the dough’s moisture creates steam in a hot, covered pot. Steam keeps the crust soft longer during the original baking and allows maximum rise before the crust sets. On top of that, it gelatinizes starches on the surface to create that glossy, blistered appearance artisan bread is known for.
Dutch oven bread shows better height, crust color, and overall appeal compared to loaves baked on baking sheets in side-by-side tests. The trapped steam inside the pot makes the difference—it works better than pouring water into a pan at the bottom of your oven.
WANT TO SAVE THIS RECIPE?
No Dutch oven off the top of my head? You can still make this bread using a baking tray. RecipeTin Eats offers a simple alternative: place a pan of boiling water on the bottom rack of your oven to create steam, then bake your bread on a tray. The results might not match the Dutch oven method exactly, but you’ll still end up with a delicious artisan-style loaf.
Link: https://www.recipetineats.com/easy-yeast-bread-recipe-no-knead/
Sweet and Moist Banana Bread (AllRecipes)
Those spotty bananas on your counter deserve a better fate – they’re perfect candidates for a delicious banana bread recipe. The AllRecipes Banana Banana Bread stands out as a community favorite that has earned over 2,000 ratings. This recipe delivers the perfect balance of sweetness and moisture every time.
Best banana bread recipe tips
Your banana bread’s exceptional moisture starts with picking the right bananas. Yellow bananas with brown spots work best since they pack more sugar and give that classic banana flavor. Green bananas won’t work – they lack sweetness and might leave hard chunks in your loaf.
Brown sugar creates better texture than white sugar by adding more moisture. Butter gives better flavor than vegetable oil. Adding sour cream or Greek yogurt results in an incredibly tender crumb.
A clever technique involves freezing overripe bananas first. The thawed bananas release extra liquid that makes ultra-moist bread when mixed into your batter. Some bakers prefer to reduce five mashed bananas on the stovetop to concentrate flavor without excess moisture.
The golden rule of mixing is simple: fold ingredients gently until they combine. Your bread becomes dense and rubbery if you overmix because it develops too much gluten.
Add-ins like nuts or chocolate chips
Banana bread shines through its versatility. Popular mix-ins include:
- Chocolate chips: Semi-sweet chips create perfect pockets of melty goodness. Mini chips spread more evenly throughout the loaf. You can try swirling in Nutella for extra decadence.
- Nuts: Traditional walnuts provide a pleasant crunch against the soft bread. Pecans add sweetness with southern flair. Toasted cashews or hazelnuts bring unique flavors.
- Unexpected additions: Cream cheese creates incredible richness. Dried fruits, coconut shavings, or a swirl of peanut butter take your banana bread to new heights.
Your finished banana bread stays fresh when wrapped tightly at room temperature for about four days. You can freeze it for up to three months.
Link: https://www.allrecipes.com/recipe/20144/banana-banana-bread/
Savory and Seasonal Bread Ideas
“The smell of good bread baking, like the sound of lightly flowing water, is indescribable in its evocation of innocence and delight.” — M.F.K. Fisher, American food writer and founder of the ‘Art of Eating’
Simple loaves are great, but seasonal bread recipes are a great way to get variety in your baking throughout the year. These flavorful creations pair perfectly with different cuisines and celebrations that showcase the best ingredients each season offers.
Pumpkin bread for fall gatherings
The magic of autumn brings pumpkin bread to center stage in seasonal baking. The Downeast Maine Pumpkin Bread recipe from AllRecipes has earned over 8,000 five-star ratings from home bakers. This moist, flavorful bread brings together canned pumpkin puree with warm spices like cinnamon, cloves, and nutmeg.
The sort of thing i love about this recipe is how it makes two perfect loaves—one to enjoy now and one to save or gift. The bread stays moist for days with a wonderfully tender crumb. You’ll get the best results by baking it at 325°F for about 65-75 minutes until a toothpick comes out clean.
Find the recipe at: https://www.allrecipes.com/recipe/6820/downeast-maine-pumpkin-bread/
Zucchini bread for summer brunches
Summer gardens burst with zucchini, making zucchini bread a perfect solution. Mom’s Zucchini Bread recipe creates a beautifully spiced loaf with 2 cups of grated zucchini and optional walnuts that add crunch. Each slice contains just 256 calories with 13g of fat and 3g of protein.
The bread’s texture improves if you squeeze excess moisture from grated zucchini before mixing it into the batter. Many bakers improve this versatile recipe by adding whole wheat flour or using less sugar to make it healthier.
Find the recipe at: https://www.allrecipes.com/recipe/6698/moms-zucchini-bread/
Focaccia for Italian dinners
We used focaccia that stands out from other flatbreads through its generous olive oil use and signature dimpled surface. RecipeTin Eats’ version includes a secret ingredient—potato—that creates an exceptionally soft, fluffy interior with perfect chew.
This no-knead recipe forgives mistakes, making it perfect for beginners. The high hydration dough creates a springy, airy texture with an open crumb, and olive oil creates a deliciously crispy crust.
Find the recipe at: https://www.recipetineats.com/focaccia/
Naan for Indian meals
Homemade naan lifts any curry or Indian dish to new heights. Traditional recipes use a cast iron skillet to replicate a tandoor oven’s intense heat, creating signature blistered bubbles and chewy texture. Most recipes include yogurt and ghee (clarified butter) to achieve authentic flavor.
You can make a garlic version by brushing the hot bread with melted ghee mixed with minced garlic and fresh cilantro right after cooking.
Conclusion
Becoming skilled at bread baking can turn ordinary kitchens into aromatic bakeries filled with wholesome goodness. This trip has helped us explore everything from simple white bread to artisanal no-knead loaves and sweet banana bread variations. We have found that homemade bread needs just a few ingredients to deliver incomparable flavor and satisfaction.
The beauty of bread making lies in its accessibility. A simple mixing bowl or a stand mixer is all you need to create that perfect loaf. You can customize recipes with nuts, chocolate chips, or seasonal ingredients as your bread evolves with your tastes through changing seasons.
Bread baking is as much about the process as the result. The therapeutic nature of kneading dough, the satisfying scent of yeast developing, and your pride when pulling a golden-brown loaf from the oven make it special. Don’t worry about perfection—even “imperfect” homemade bread tastes better than store-bought alternatives.
Bread baking connects us to centuries of human tradition and provides practical, delicious nourishment for our families. Start with whichever recipe speaks to you most—maybe even the forgiving no-knead artisan bread or the comforting banana bread—and gradually expand your repertoire. Nothing compares to slicing into a warm loaf you’ve created with your own hands.
Grab your flour and yeast, clear some counter space, and begin your bread baking adventure today. The trip proves as rewarding as the destination!
FAQs
What are the essential ingredients needed to make bread?
The basic ingredients for most bread recipes are flour, water, salt, and yeast. Some recipes may also include additional ingredients like sugar, oil, or milk to enhance flavor and texture.
What are some key tips for successful bread baking?
Some important tips include measuring ingredients accurately, kneading the dough properly, allowing sufficient time for rising, and baking at the correct temperature. It’s also crucial to look at the dough rather than strictly following time guidelines, as factors like room temperature can affect rising times.
How does the hydration level affect bread texture?
The hydration level (percentage of water to flour) greatly impacts bread texture. Lower hydration (around 60%) produces denser bread like bagels, while higher hydration (80% or more) results in airier breads with larger holes, like focaccia.
What’s the purpose of kneading bread dough?
Kneading develops gluten in the dough, which gives bread its structure and chewiness. It also distributes ingredients evenly and incorporates air. However, some no-knead recipes rely on longer fermentation times to develop gluten instead.
Why is it important to let bread cool before slicing?
Allowing bread to cool for at least an hour after baking is crucial. During this time, the bread’s structure sets and moisture redistributes. Cutting into hot bread too soon can result in a gummy, underbaked texture and make it difficult to slice cleanly.

