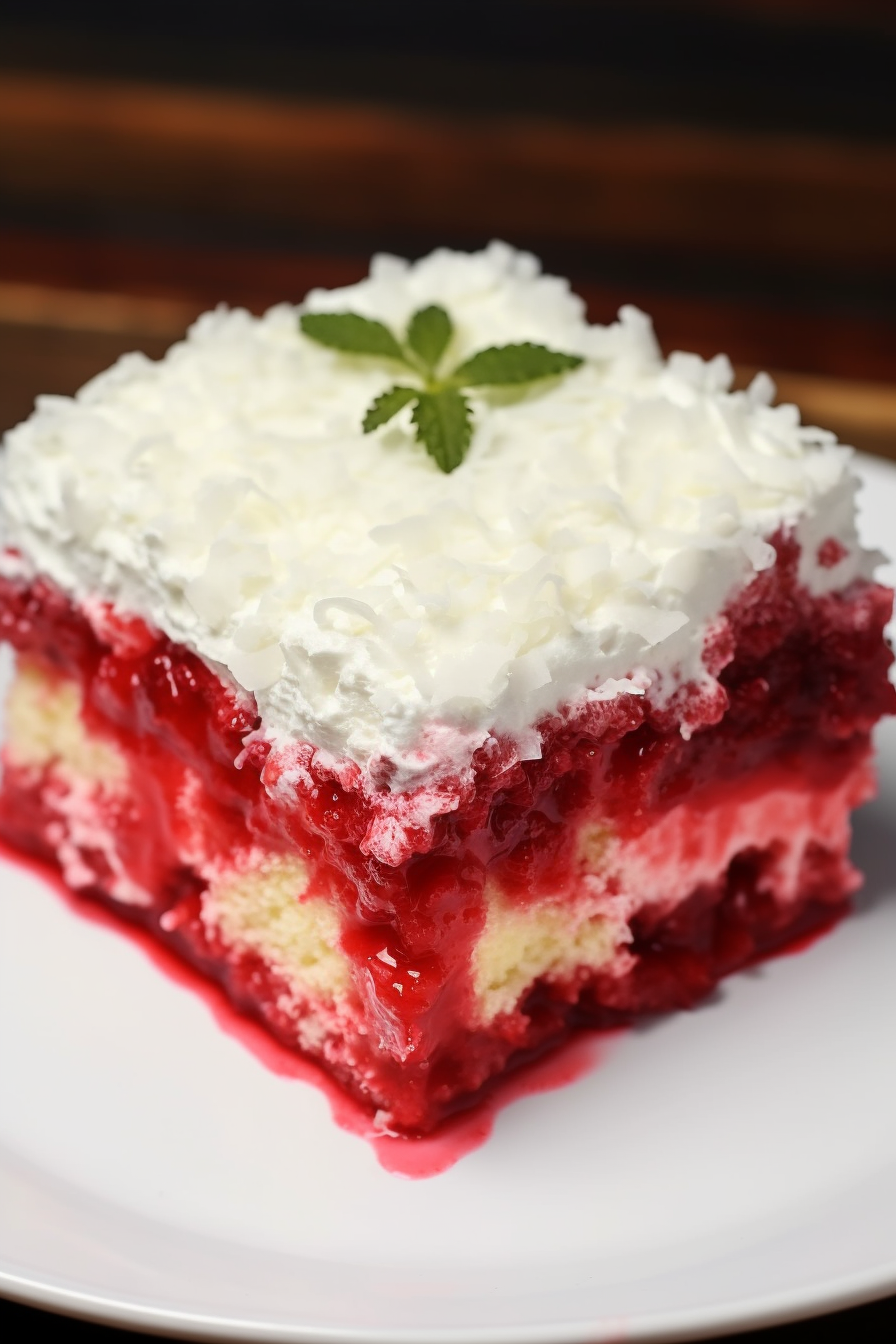
Dive into a sumptuous white cake fused with raspberry gelatin and preserves, capped off with Cool Whip and a coconut flourish – the ultimate Raspberry Zinger Poke Cake experience awaits!
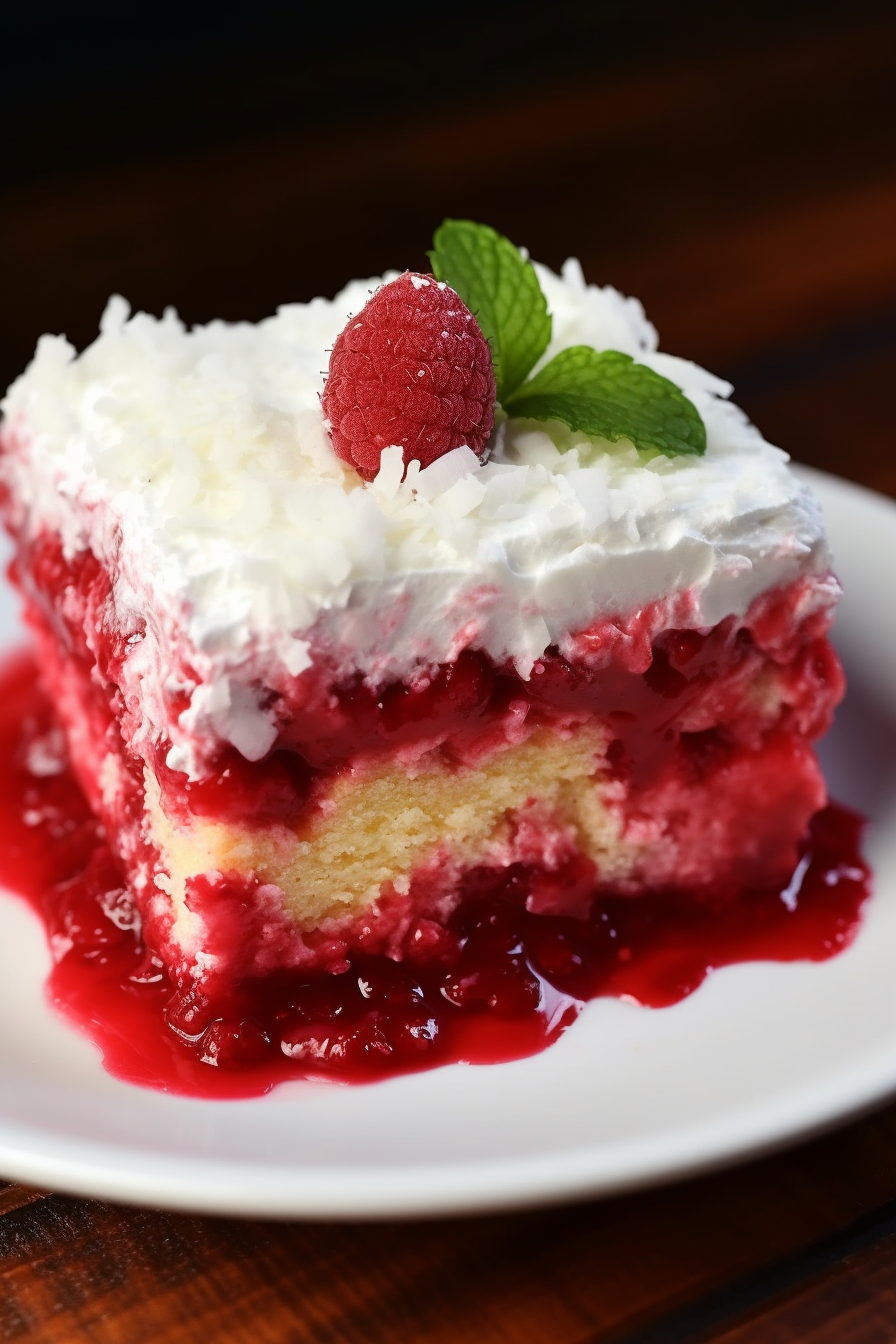
Oh, the memories! The first time I had a Raspberry Zinger was during one of those nostalgic family picnics when Aunt Mabel, with her big floral apron and even bigger heart, whipped out her mysterious pinkish cake. The crowd went wild! Over time, I discovered her secret – it was all about the poke! It turns out this was her famous Raspberry Zinger Poke Cake. Ever since that day, I’ve carried on the tradition, making it for every family event. It’s now my turn to share this age-old family gem with you. Who knew so much love could be packed into a 9×13-inch pan?
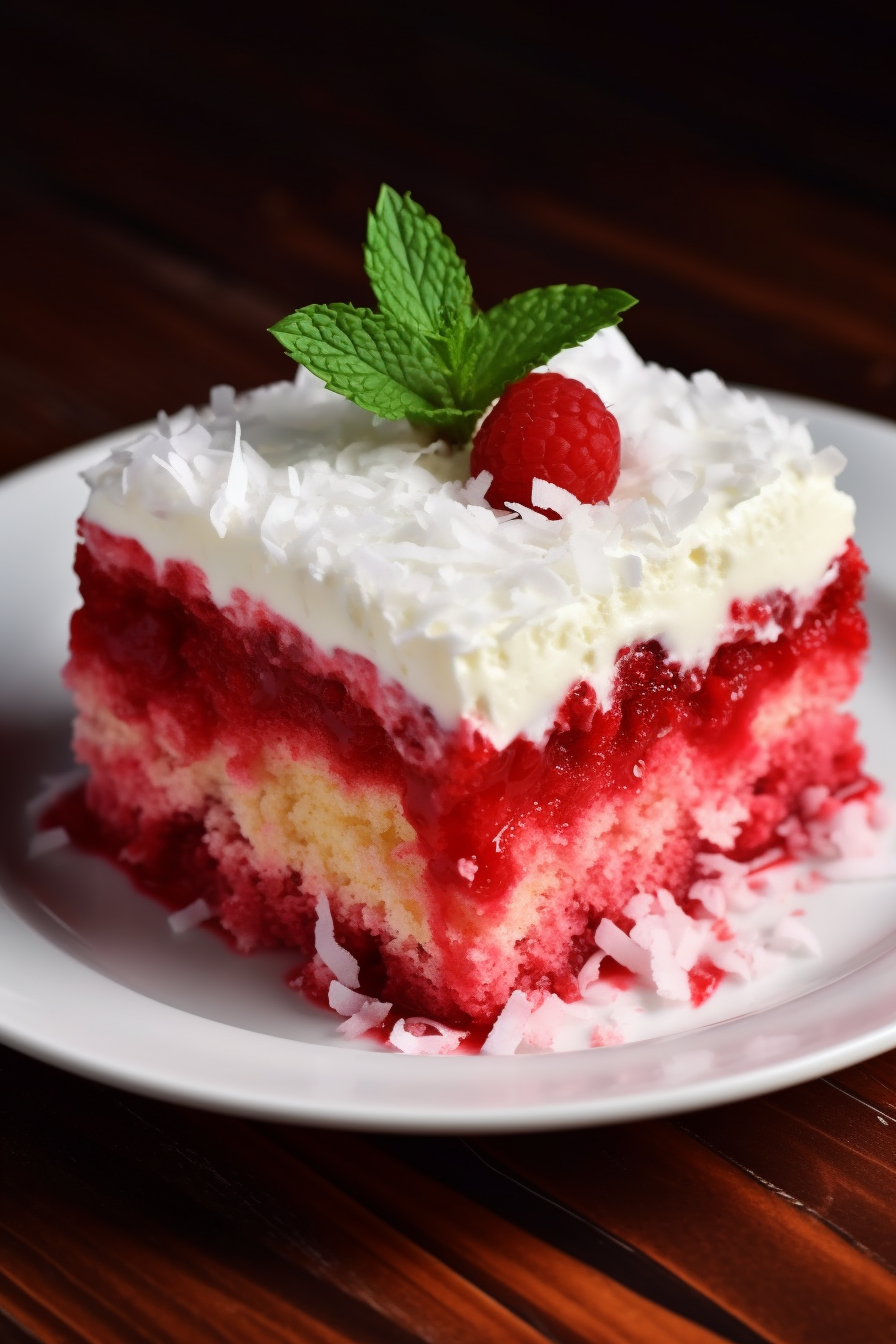
Why You’ll Love Raspberry Zinger Poke Cake:
Boring old cake? Not today! Our Raspberry Zinger Poke Cake:
Unrivalled Fusion: Combines white cake’s fluffiness with the zesty zing of raspberry.
Texture Extravaganza: From creamy Cool Whip to the crispy shredded coconut, every bite offers a new texture sensation.
Potluck Winner: The talk of every gathering – it’s aesthetically pleasing, scrumptiously satisfying, and ridiculously easy to make.
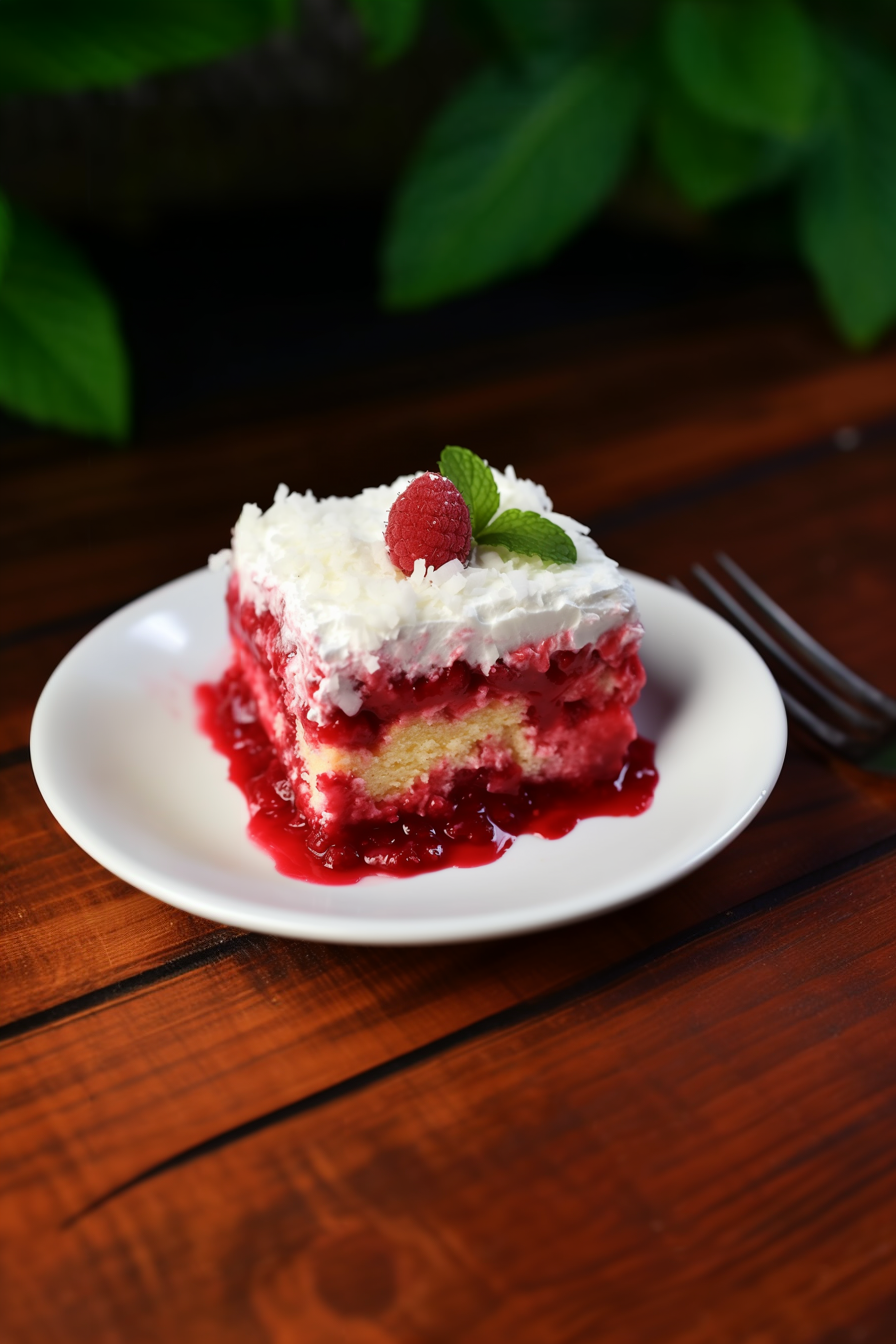
Ingredients Notes For Raspberry Zinger Poke Cake:
White Cake Mix: Opt for a good quality mix for the best outcome. Feel free to use homemade if you’re feeling extra.
Raspberry Gelatin: Jello is our star, but any raspberry gelatin will do the trick. A fan of another fruit? Give it a go!
Raspberry Preserves: This adds a concentrated raspberry flavor. The chunkier, the better!
Cool Whip: Gives the cake its light, airy finish. Fresh whipped cream is an alternative, but Cool Whip remains the classic choice for this recipe.
Shredded Coconut: Adds a tropical crunch. Make sure it’s unsweetened to balance out the cake’s sweetness.
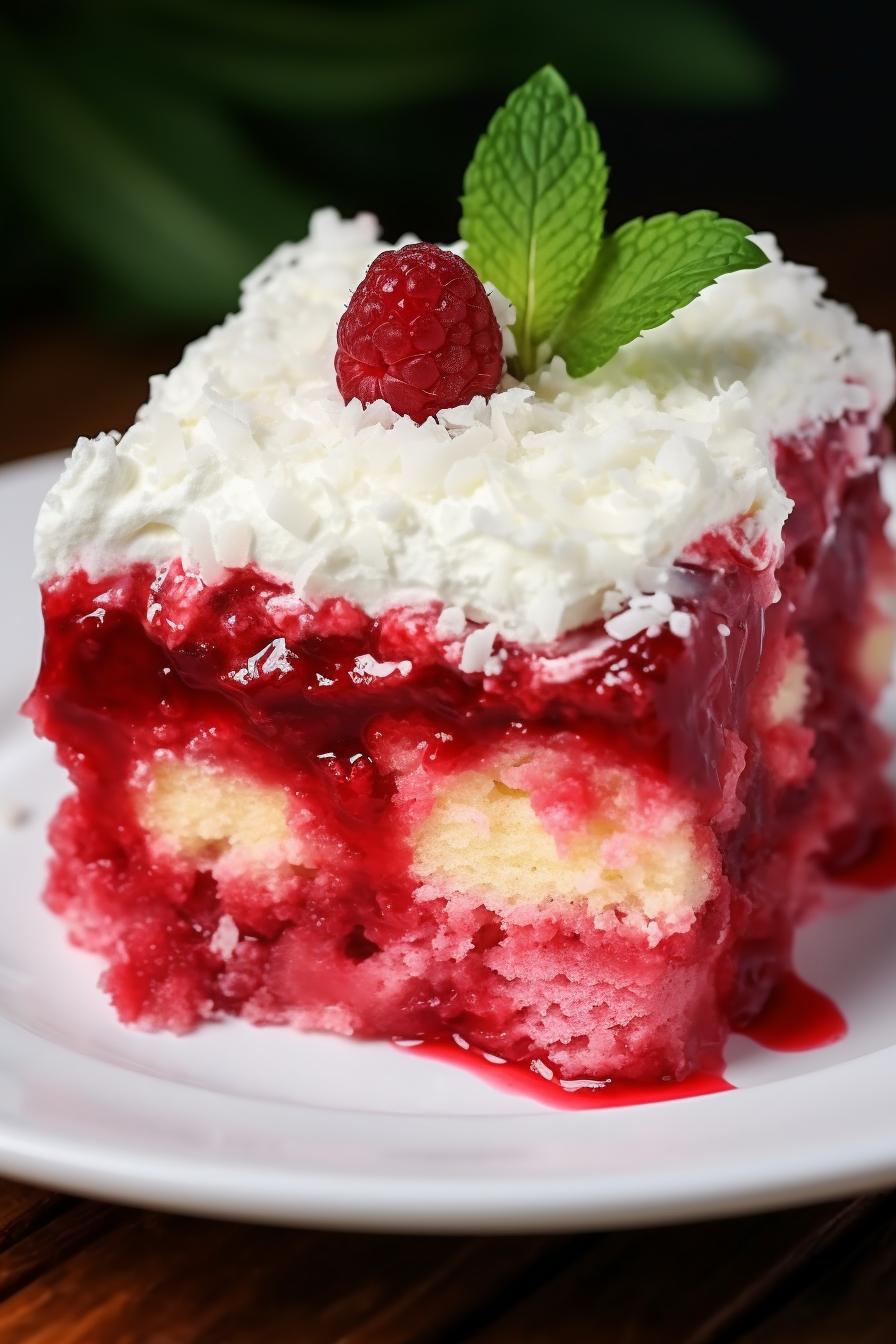
WANT TO SAVE THIS RECIPE?
How To Make Raspberry Zinger Poke Cake:
Baking the Base: Start by following the white cake mix instructions. Pour the batter into a 9×13-inch baking pan and bake as directed. Allow yourself to enjoy the alluring aroma filling your kitchen.
Poking Fun: Once baked and slightly cooled (30 mins should do), it’s poking time! Using a wooden spoon handle or meat fork, create holes throughout the cake. Not too deep, about halfway. This creates fun pathways for our raspberry magic.
Jello Time: In a pitcher, dissolve the raspberry gelatin in 2 cups of hot water. Pour this evenly over the cake, making sure to fill those nifty holes you just made.
Raspberry Layering: Warm the raspberry preserves in the microwave till it’s spread-friendly (about 30 seconds). Pour and spread over the gelatin-infused cake.
Cream & Crunch: Slather on that Cool Whip! Generously spread it for a creamy dreamy layer. Sprinkle with the coconut, and let the tropical feels sink in.
Chill and Serve: Pop it into the fridge for a good 4 hours. Patience is key; the longer it sets, the better it gets!
Storage Options:
Your Raspberry Zinger Poke Cake, if any remains (big ‘if’ there), should be stored in the refrigerator due to its creamy and fruity components. Covered with plastic wrap or placed in an airtight container, it will stay fresh for up to 4 days. And a pro-tip: A slice tastes even better the next day. It’s like the flavors throw a little party and you’re invited!
Variations and Substitutions:
Berry Swap: Swap raspberry gelatin with strawberry or blueberry for a fresh twist.
Tropical Vibes: Replace raspberry preserves with mango or passion fruit. A little island vacation, anyone?
Cream Choice: If Cool Whip isn’t your jam, freshly whipped cream or a dairy-free alternative can grace your cake.
Go Nuts: Instead of coconut, try chopped almonds or walnuts for a crunchy topping.
P.S. When you serve this at your next gathering and everyone asks for the recipe, just wink and say, “Family secret!” 😉
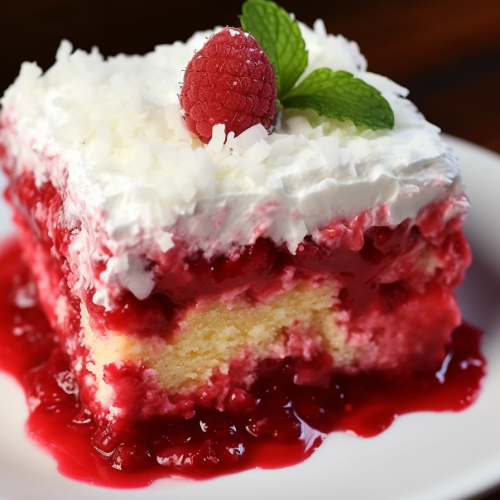
Raspberry Zinger Poke Cake
Ingredients
- 1 package 18.25oz. of premium white cake mix
- The requisite ingredients specified on the cake mix package to ensure proper preparation
- 1 package 3 oz. of raspberry-flavored gelatin
- 2 cups of hot purified water
- 1 container 10 oz. of high-quality raspberry preserves
- 1 container 8 oz. of whipped topping, previously thawed
- 1 packet 7 oz. of unsweetened shredded coconut
Instructions
- Cake Preparation: Begin by meticulously following the instructions provided on the white cake mix package. The batter should be evenly transferred to a 9×13-inch baking pan and baked in accordance with the package directions.
- Cooling Period: After baking, the cake must be allowed to cool at room temperature for approximately 30 minutes.
- Creating Perforations: Once the cake has achieved the desired temperature, it’s essential to create uniformly spaced perforations using the end of a wooden spoon or a meat fork. The perforations should penetrate halfway into the cake’s depth.
- Gelatin Preparation and Application: In a separate vessel, combine the raspberry-flavored gelatin with 2 cups of hot water. Ensure the gelatin is fully dissolved. Proceed by evenly distributing the dissolved gelatin over the cake, ensuring the liquid infiltrates the previously made perforations.
- Application of Raspberry Preserves: The raspberry preserves should be gently warmed in a microwave until it reaches a spreadable consistency, typically around 30 seconds. Once achieved, apply the preserves evenly over the gelatin-layered cake.
- Topping Application: Carefully spread the previously thawed whipped topping over the layer of raspberry preserves, ensuring uniform coverage.
- Final Garnish: As a finishing touch, evenly sprinkle the unsweetened shredded coconut over the whipped topping layer.
- Refrigeration: To achieve optimal flavor and consistency, the cake should be refrigerated for a minimum of 4 hours prior to serving.
- Storage: Any remaining cake should be stored in the refrigerator, properly covered, to maintain freshness.




One Response
This is a delicious and easy cake. It is important to use unsweetened coconut, I mistakenly used sweetened one time, it was much to sweet.