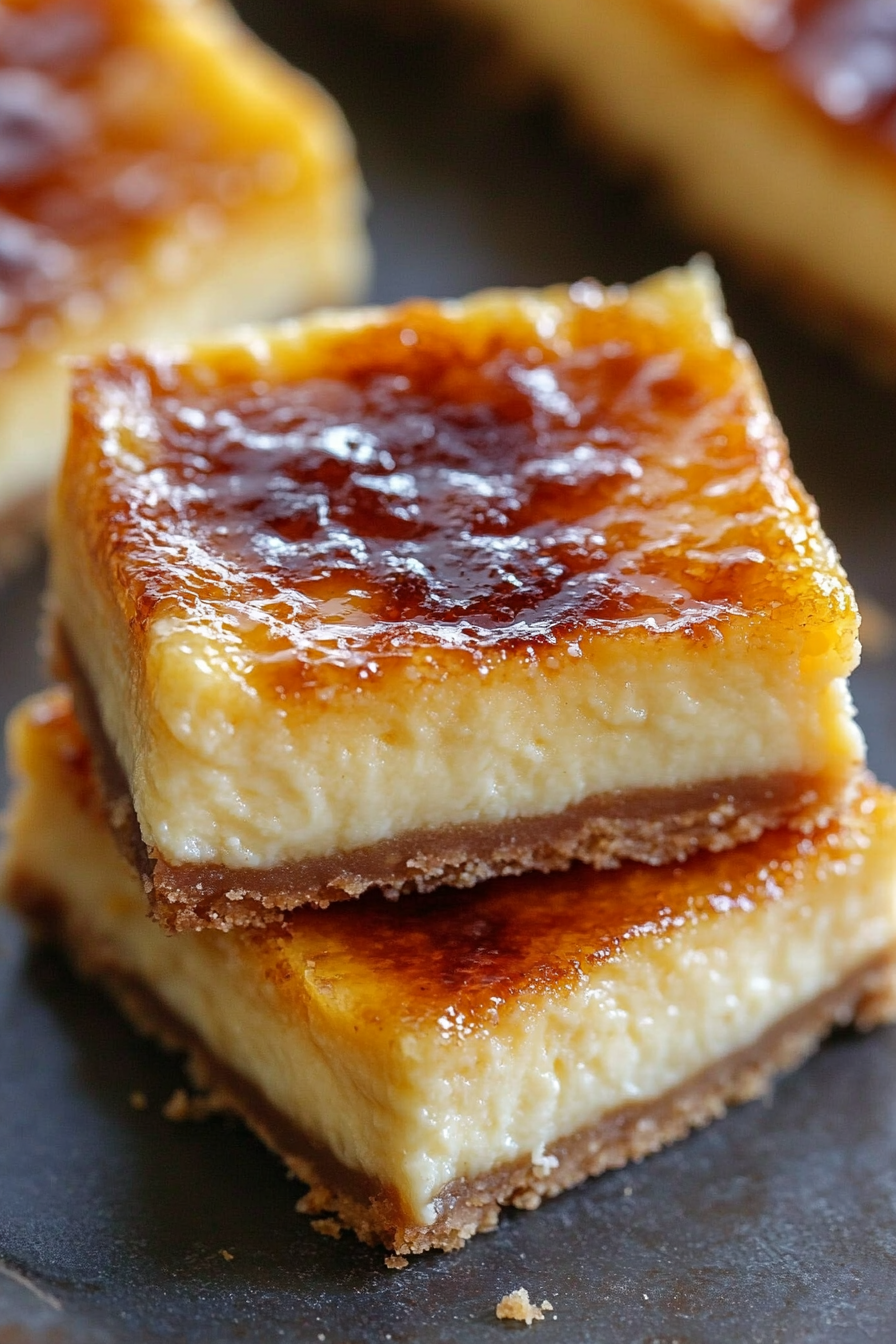
Savor the fusion of two desserts in one with these Crème Brûlée Cheesecake Bars, featuring a graham cracker crust, rich cream cheese filling, and a caramelized sugar topping. Perfect for a make-ahead party treat!
Growing up, I had a sweet tooth that could outmatch anyone in my family. But nothing quite captured my heart like the silky texture of crème brûlée and the creamy indulgence of cheesecake. When I first experimented with combining these two desserts into one, it was for a summer garden party. I remember nervously watching everyone’s first bite, only to see eyes light up around the table. Since then, these bars have not only become a signature dessert at all my gatherings but also a lovely reminder of that successful summer experiment.
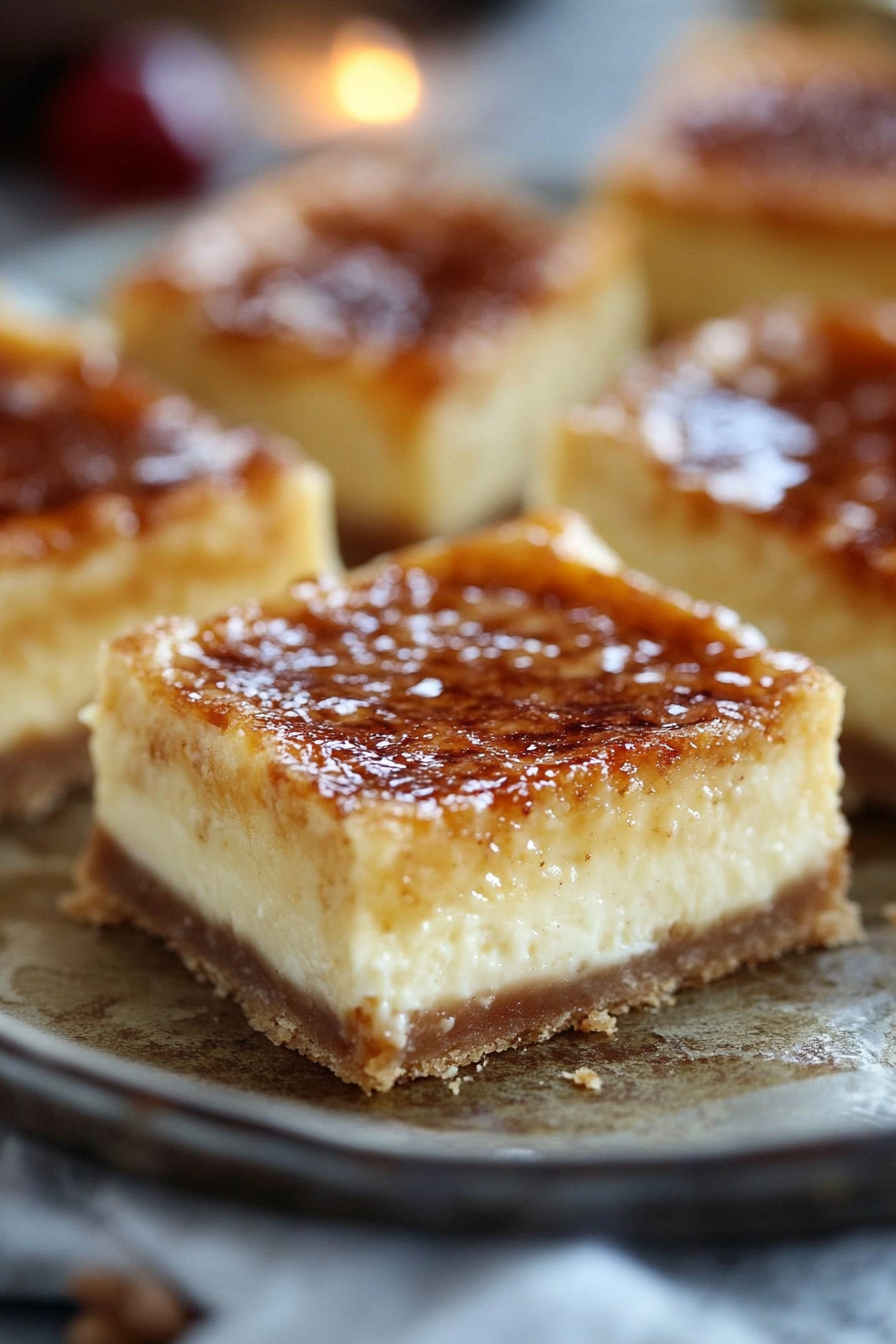
Why You’ll Love Crème Brûlée Cheesecake Bars
These Crème Brûlée Cheesecake Bars stand out because they marry the elegance of crème brûlée with the satisfying richness of cheesecake, all while maintaining a delightful ease of preparation.
The use of a sugar cookie-like graham cracker crust adds a subtle crunch that contrasts beautifully with the velvety filling.
Moreover, their ability to be made ahead of time makes them an ideal choice for entertainers looking to impress without the stress on the day of their event.
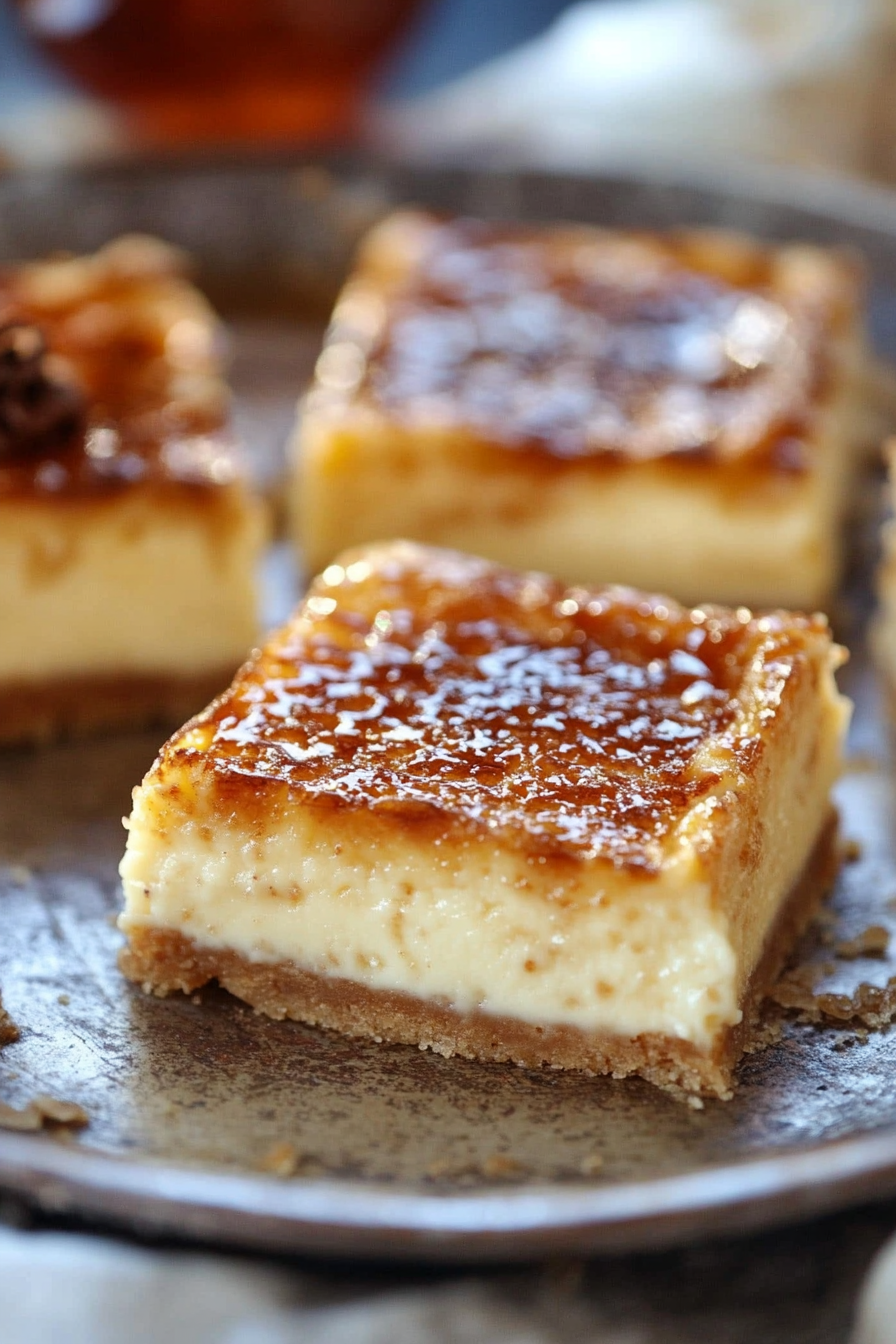
Ingredients Notes
Each component of the Crème Brûlée Cheesecake Bars brings its unique character to this delectable dessert. Here are a few notes on the key ingredients:
WANT TO SAVE THIS RECIPE?
- Graham Crackers: The foundation of our crust, providing a mild sweetness and crumbly texture that balances the creamy filling.
- Cream Cheese: Ensure it’s fully softened to achieve that perfectly smooth and creamy consistency in your cheesecake layer.
- Granulated Sugar: Used both in the filling and as a topping, it sweetens the bars and creates the signature caramelized crust of crème brûlée.
- Vanilla Bean Paste: This enhances the filling with rich, aromatic vanilla specks, echoing the depth of flavor found in traditional crème brûlée.
- Eggs: They are crucial for the structure and smoothness of the cheesecake, so make sure they’re at room temperature to incorporate seamlessly.
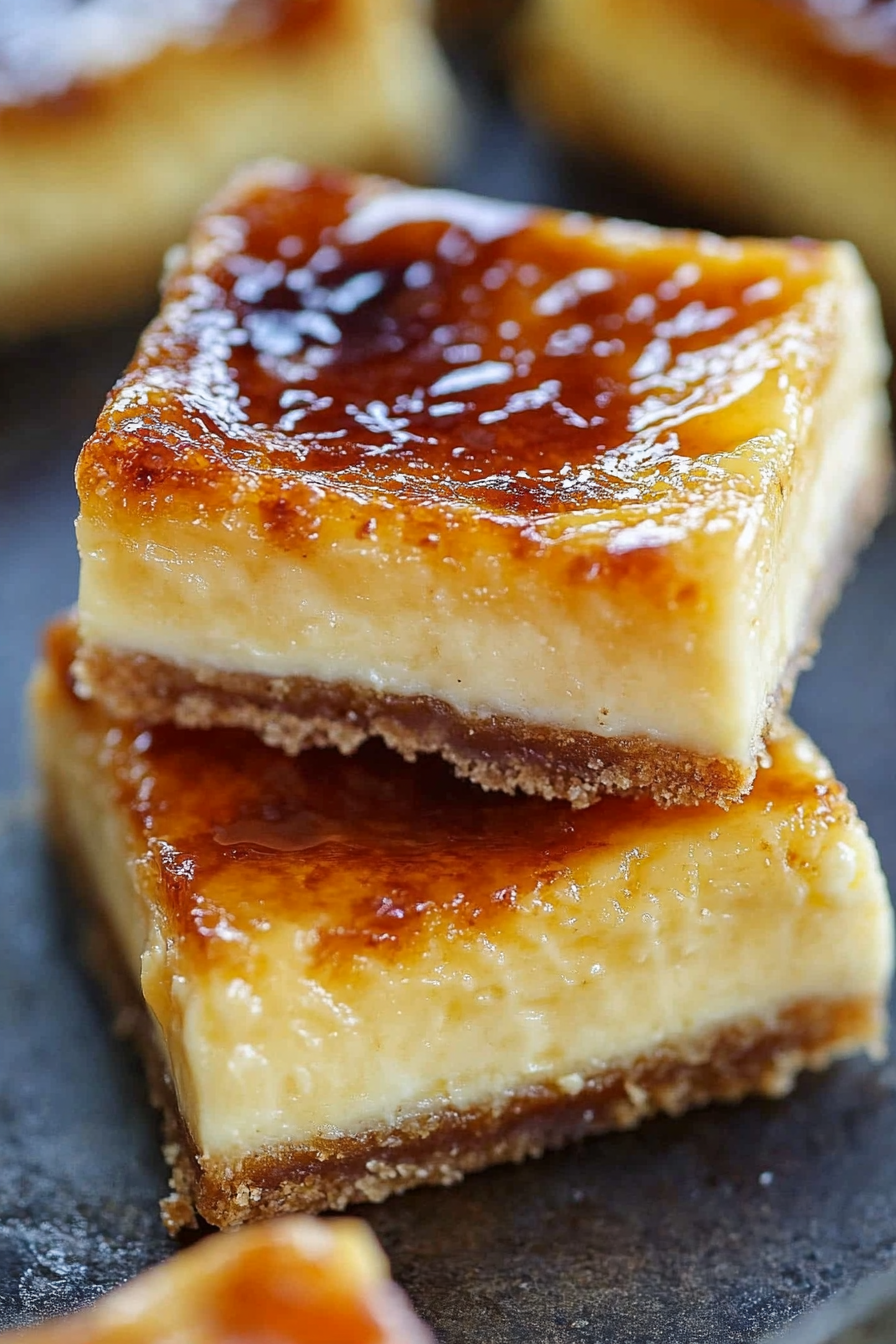
How To Make Crème Brûlée Cheesecake Bars
Let’s dive into making your Crème Brûlée Cheesecake Bars, a straightforward yet rewarding process. Here’s how to bring all the components together:
- Prepare the Crust: Start by processing the graham crackers into a fine crumb, then blend with melted butter to create a moist, sandy mixture. Press this into your lined baking dish and bake until set, providing a sturdy base for your cheesecake.
- Cheesecake Filling: In a large bowl, cream together softened cream cheese and sugar until smooth. Gradually add heavy cream, eggs, and vanilla, taking care not to overmix. Pour this over your cooled crust and bake at a reduced temperature to achieve that signature creamy texture without cracking.
- Cool and Chill: Allow the baked cheesecake to cool completely at room temperature, then chill in the refrigerator to firm up. This step is crucial for achieving the perfect texture and making the bars easier to cut.
- Brûlée the Top: Sprinkle sugar evenly over the chilled cheesecake and caramelize with a torch or under a broiler to form a shiny, crackly top layer reminiscent of classic crème brûlée.
- Serve and Enjoy: Once brûléed, let the bars cool to allow the topping to harden, then cut into squares and serve. The combination of crunchy, creamy, and caramel is irresistibly delightful!
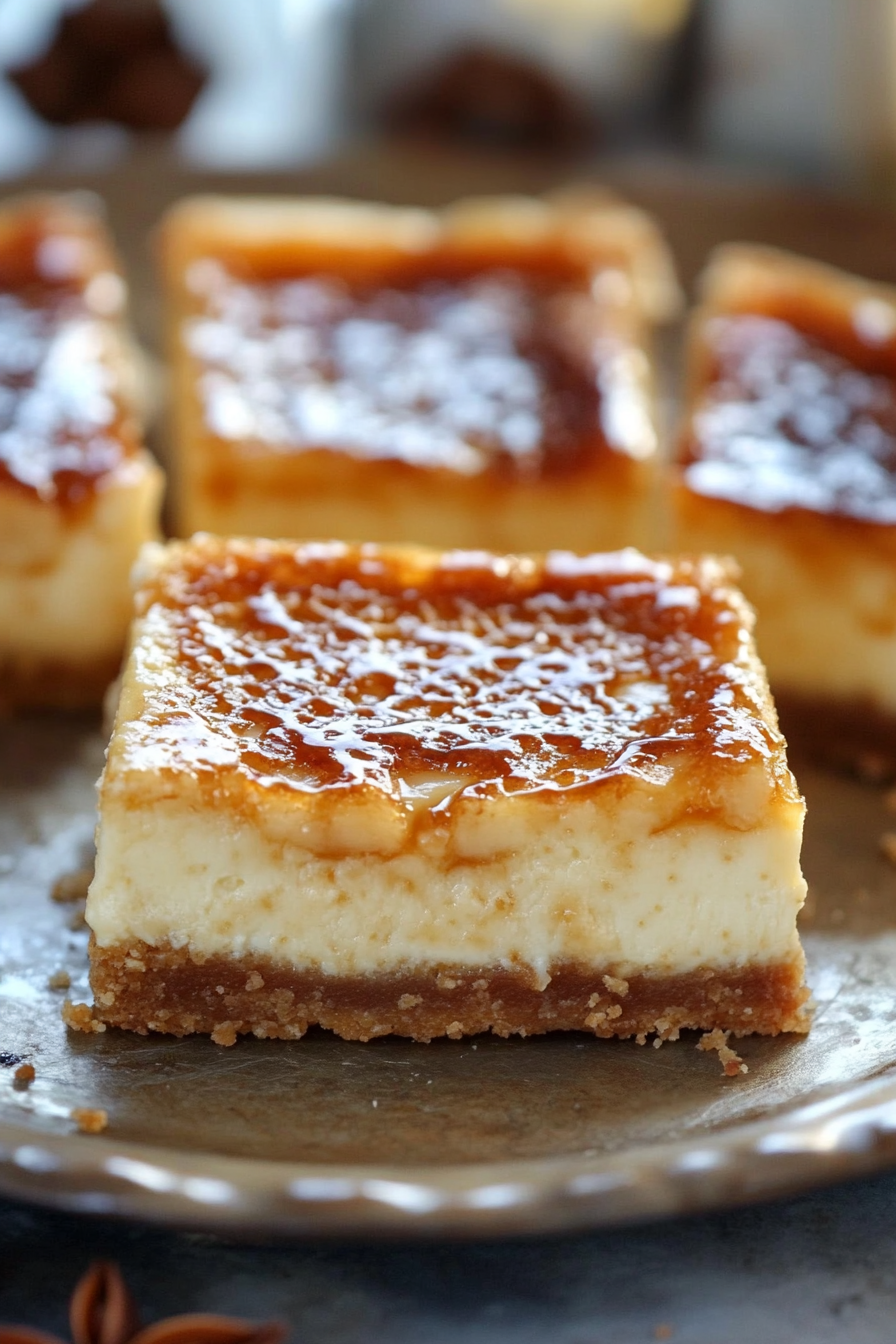
Storage Options
These bars are not only delicious but also wonderfully practical when it comes to storage. After assembly, the bars can be refrigerated for up to 5 days, making them a perfect make-ahead option for events. For longer storage, you can freeze the bars before adding the brûlée topping for up to a month. Simply thaw overnight in the refrigerator and add the sugar topping before serving.
Variations and Substitutions
While the original recipe for Crème Brûlée Cheesecake Bars is a hit, it’s always fun to tweak things to suit your taste or pantry:
- Crust Alternatives: Swap out graham crackers for crushed shortbread cookies or vanilla wafers for a different base flavor.
- Dairy-Free Options: Use dairy-free cream cheese and heavy cream substitutes to cater to those with dietary restrictions.
- Flavor Twists: Incorporate lemon zest or swap vanilla bean paste for almond extract to give the cheesecake a fresh new flavor profile.
- Sugar Options: For a deeper flavor in the topping, try using turbinado sugar instead of granulated for brûléeing.
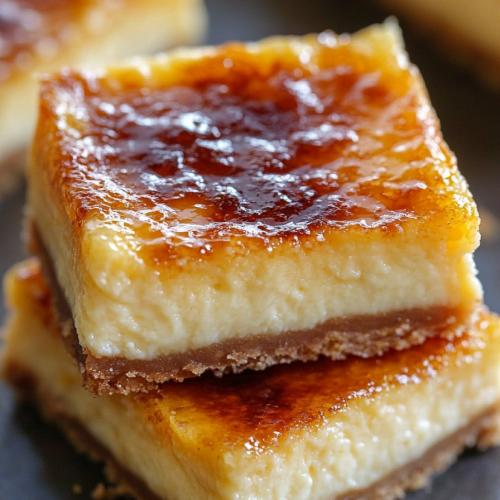
Crème Brûlée Cheesecake Bars
Ingredients
For the Crust:
- 135 grams of whole graham crackers
- 72 grams of unsalted butter melted
For the Filling:
- 454 grams of cream cheese softened to room temperature
- 200 grams of granulated sugar
- 59 ml of heavy cream
- 2 large eggs at room temperature
- 1 large egg yolk at room temperature
- 2 teaspoons of vanilla bean paste
- 1/2 teaspoon of fine sea salt
For the Brûlée Topping:
- 50 grams of granulated sugar
Instructions
Preparation of the Crust:
- Preheating and Pan Preparation: Begin by preheating your oven to 350 degrees Fahrenheit (175 degrees Celsius). Line an 8-inch square metal baking dish with aluminum foil, ensuring an overhang for easy removal.
- Combining Ingredients: In a food processor, pulse the graham crackers until they are finely ground. Add the melted butter and continue to pulse until the mixture is uniformly moistened.
- Baking: Transfer the mixture to the prepared baking dish, pressing it evenly across the bottom. Bake in the preheated oven until the crust is lightly browned and set, approximately 8 to 10 minutes. Allow the crust to cool, then reduce the oven temperature to 300 degrees Fahrenheit (150 degrees Celsius).
Preparation of the Cheesecake:
- Cream Cheese Mixture: In a large mixing bowl, use an electric mixer to beat the cream cheese on medium-high speed until smooth. Gradually add the granulated sugar and continue to beat until fully incorporated and smooth.
- Incorporating Remaining Ingredients: Gradually add the heavy cream, eggs, egg yolk, vanilla bean paste, and sea salt to the cream cheese mixture, beating well after each addition until the mixture is smooth. Take care to scrape down the sides of the bowl as necessary.
- Baking the Cheesecake: Pour the filling over the cooled crust in the prepared pan. Bake at the reduced temperature until the cheesecake is set but still slightly jiggly in the center, about 35 minutes. It is crucial not to overbake.
- Cooling and Chilling: Allow the cheesecake to cool completely on a rack in the pan. Once cooled, cover and refrigerate until firm, which will take at least 4 hours.
Adding the Brûlée Topping:
- Preparing for Brûléeing: Using the foil overhang, lift the cheesecake out of the pan and onto a heatproof surface. Cut the cheesecake into squares.
- Caramelizing the Sugar: Sprinkle the granulated sugar evenly over the squares. Use a kitchen torch to caramelize the sugar until it turns a deep amber color. Alternatively, place under a broiler, watching closely to avoid burning.
- Final Steps: Allow the caramelized sugar to cool and harden before serving. Refrigerate any leftovers.

