Indulge in the holiday spirit with Gingerbread Snowballs! These delightful cookies combine rich unsalted butter, aromatic spices like cinnamon, ginger, nutmeg, allspice, and cloves with a hint of molasses, all rolled into powdered sugar for a festive treat.
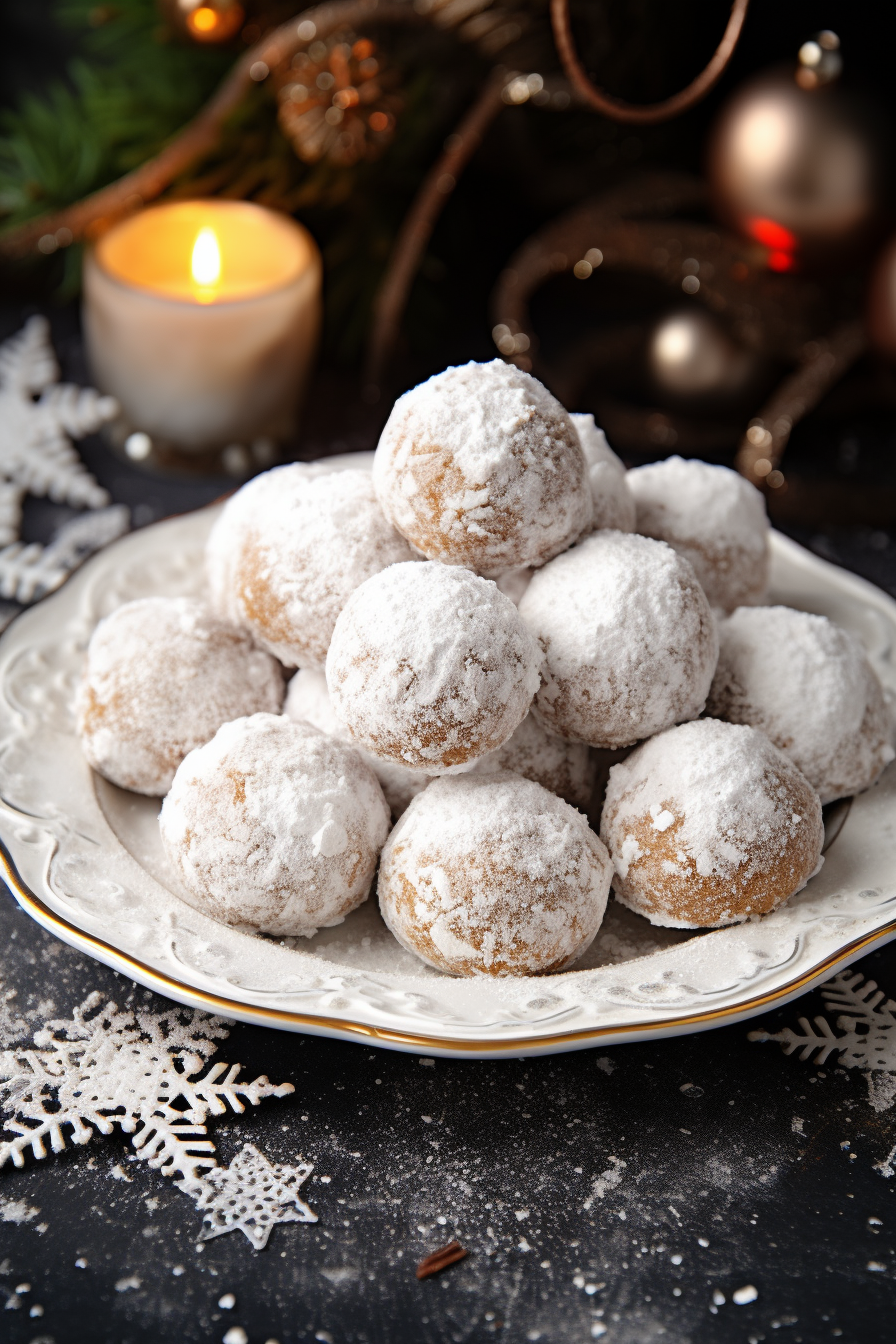
Once upon a December, in the cozy nook of my kitchen, I found myself reminiscing about the gingerbread house competitions of my childhood. The scent of molasses and spices always seemed to be the essence of holiday cheer. So, with a dash of nostalgia and a spoonful of creativity, I decided to recreate those cherished moments. I set out to create a cookie that was not only a nod to the gingerbread man but also embraced the wintry magic of the first snowfall. Voilà! The Gingerbread Snowball was born – a sweet, spiced confection that quickly became the hero of holiday cookie exchanges and a new tradition that my family looks forward to each year. It’s not just a cookie; it’s a bite-sized memory coated in powdered sugar, best enjoyed with laughter around the fireplace and stories of holidays past.
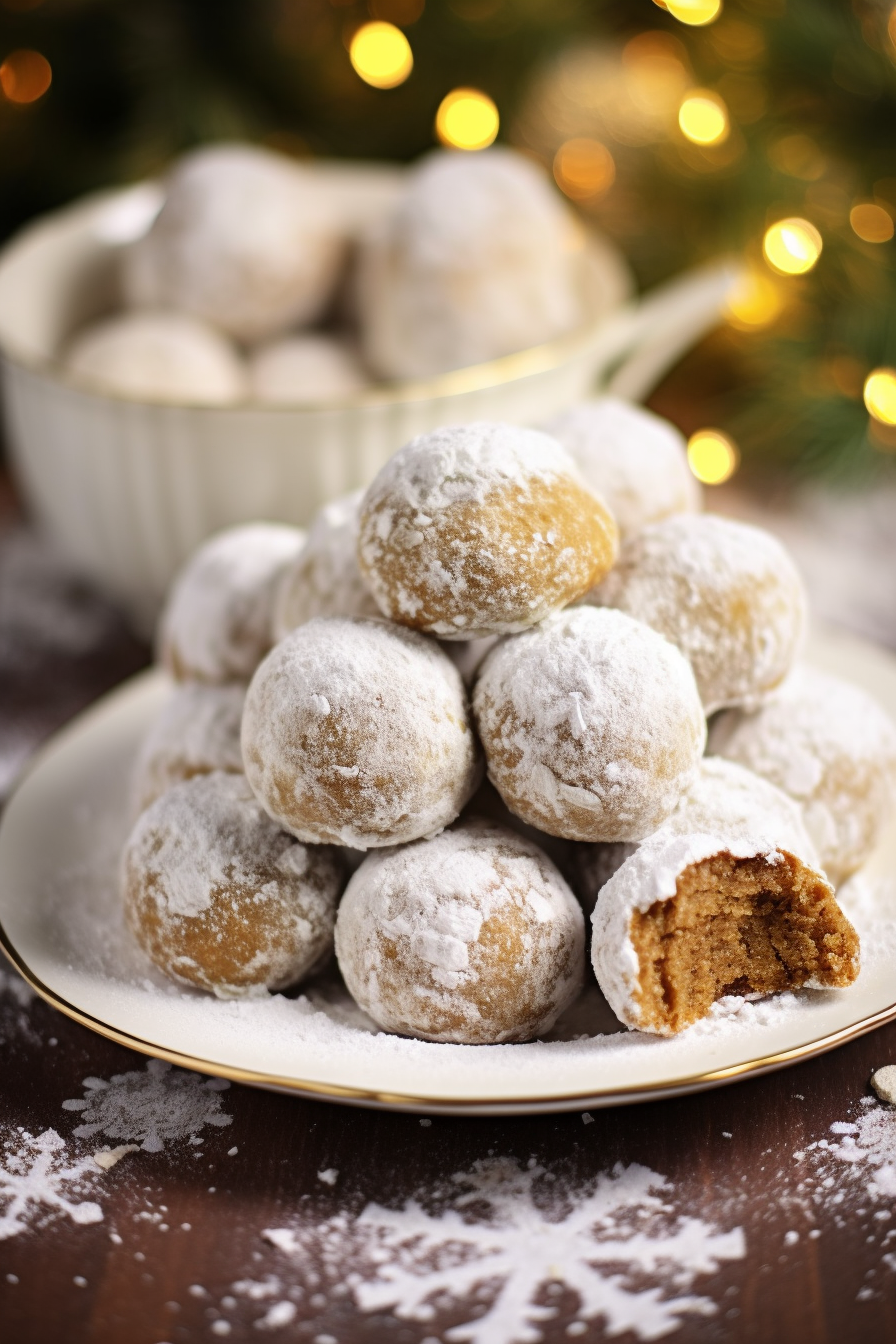
Why You’ll Love Gingerbread Snowballs:
- Festive Flavors: The combination of traditional gingerbread spices makes these snowballs a quintessential holiday treat.
- Simple Elegance: With their powdered sugar coating, these cookies resemble little snowballs, perfect for a sophisticated holiday table or a cozy evening in.
- Gift-Ready Goodness: Not only are they scrumptious, but their appearance and durability make them ideal for packaging up as thoughtful homemade gifts.
- Ease of Preparation: This straightforward recipe transforms pantry staples into a delightful dessert with minimal fuss, ensuring even the busiest elves can whip up a batch.
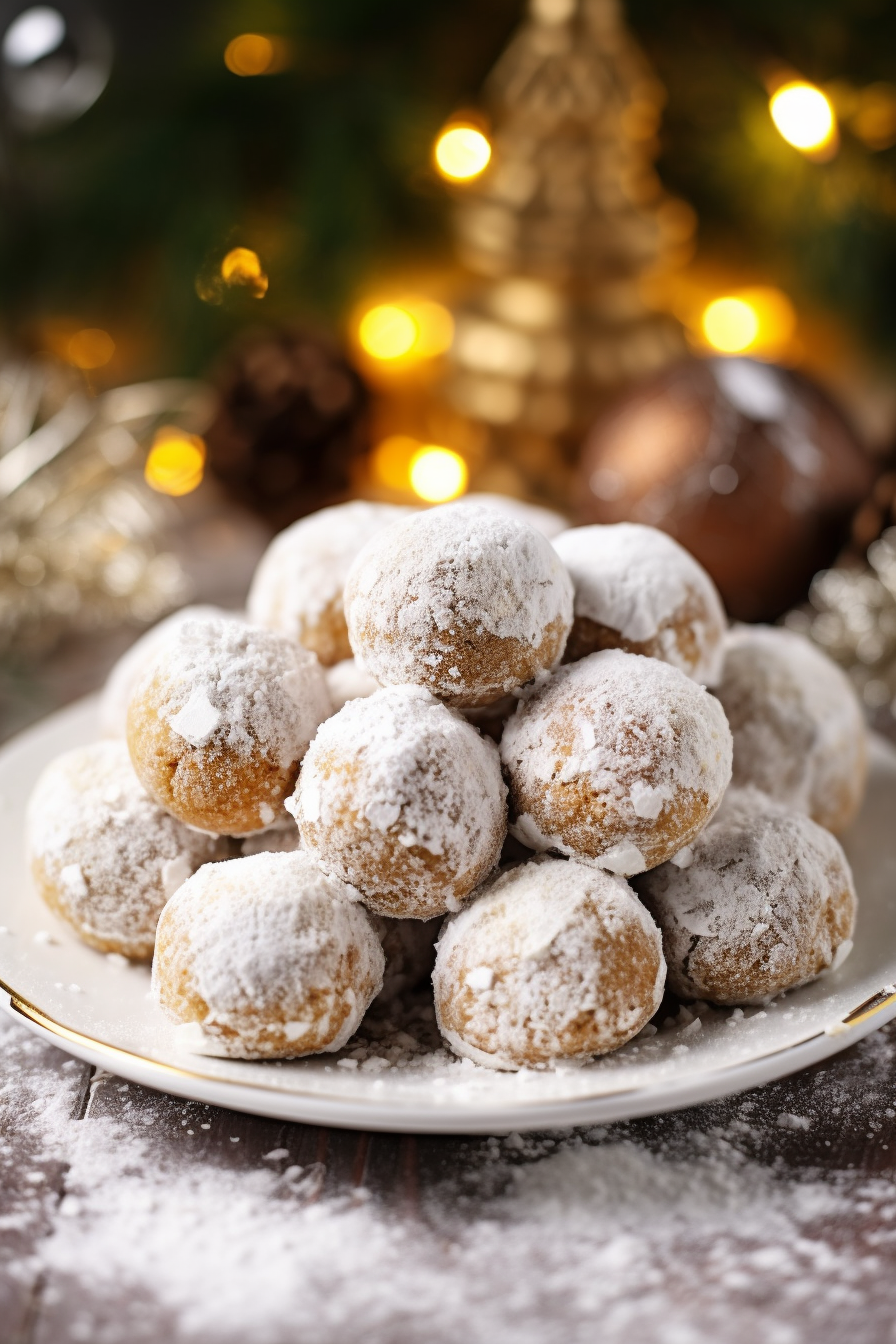
Ingredients Notes for Gingerbread Snowballs:
- Unsalted Butter: Starting with unsalted butter allows you to control the saltiness and ensure a pure, buttery flavor as the base of your cookies.
- Powdered Sugar: This fine sugar not only sweetens the dough but also creates a melt-in-your-mouth texture when the cookies are rolled post-baking.
- Spices: The combination of cinnamon, ginger, nutmeg, allspice, and cloves is non-negotiable for that classic gingerbread taste – make sure your spices are fresh for the best flavor.
- Molasses: This sticky sweetener is the soul of gingerbread, adding both color and a deep, caramelized sweetness. It’s what gives these snowballs their distinctive gingerbread character.
- Flour: Use all-purpose flour for a sturdy yet tender cookie structure. Measure it correctly to avoid a dry dough.
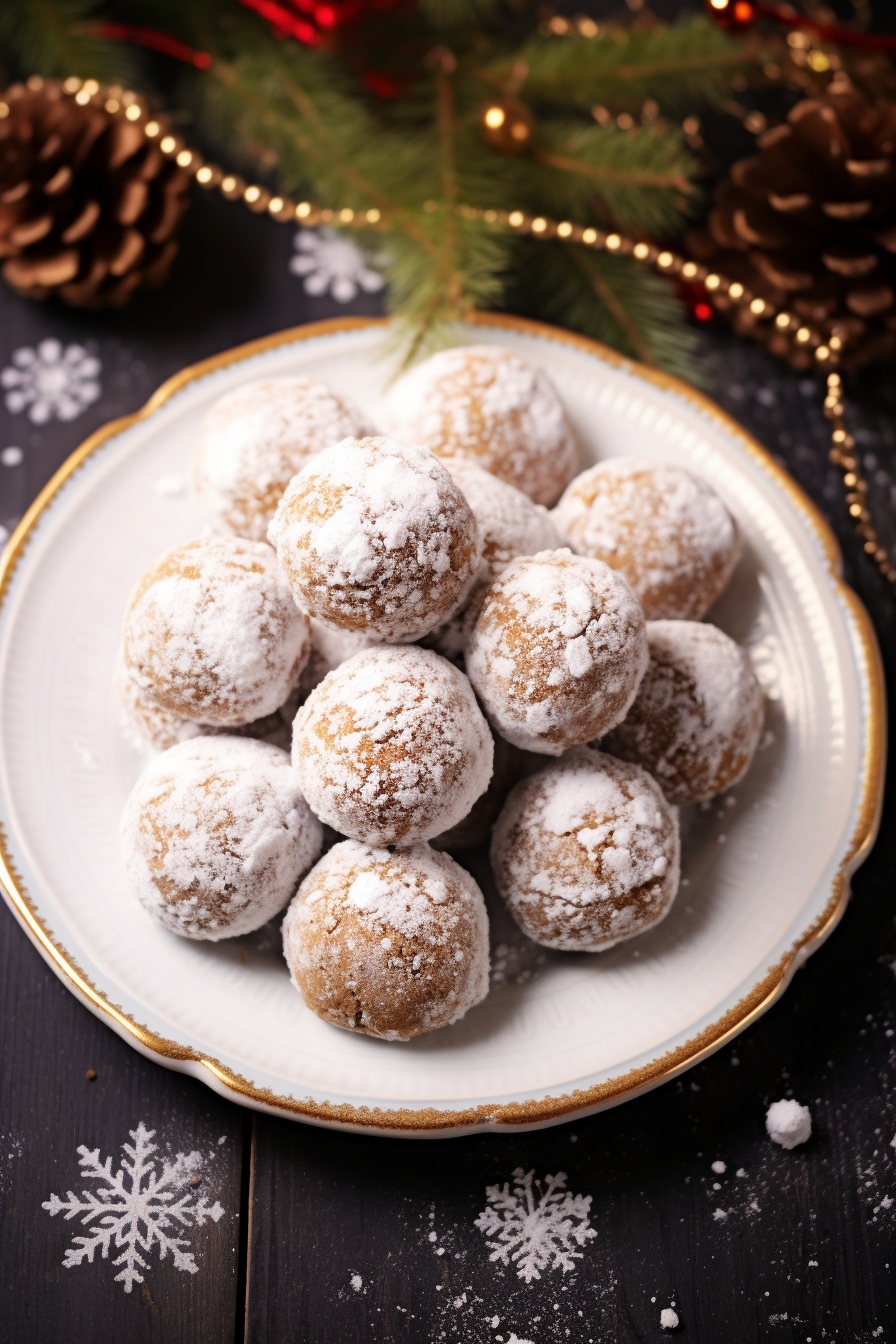
Recipe Steps Explained:
Preparation: First things first, crank up that oven to 350° because these cookies aren’t going to bake themselves! Line those cookie sheets with parchment – think of it as tucking them in with a cozy blanket before they go into the oven.
WANT TO SAVE THIS RECIPE?
The Mix: Unleash your inner mixer wizard and whip that butter until it’s fluffier than a freshly fallen snow. Sprinkle in that powdered sugar, and let the vanilla and spices join the party. When it’s all looking smooth, it’s time to introduce the flour. It might throw a little tantrum, looking all crumbly at first, but keep the faith and keep on mixing until it comes together into a dough that’s ready to roll.
Shaping the Future: Scoop that dough by the tablespoonful onto your prepared sheets. No need for cookie cutters or fancy shapes; these snowballs are beautiful in their simplicity.
The Bake: Slide those trays into the oven and let the cookies bake just until they’ve gotten a hint of a tan on their bottoms. You’re not looking for a sunburn here, just a gentle kiss of color.
The Snowy Roll: Once they’re cool enough to handle, but still warm enough to hold onto that powdered sugar coat, roll them in that sweet powder. Set them aside to cool completely, and if you want them extra snowy, give them a second roll in the sugar for good measure.
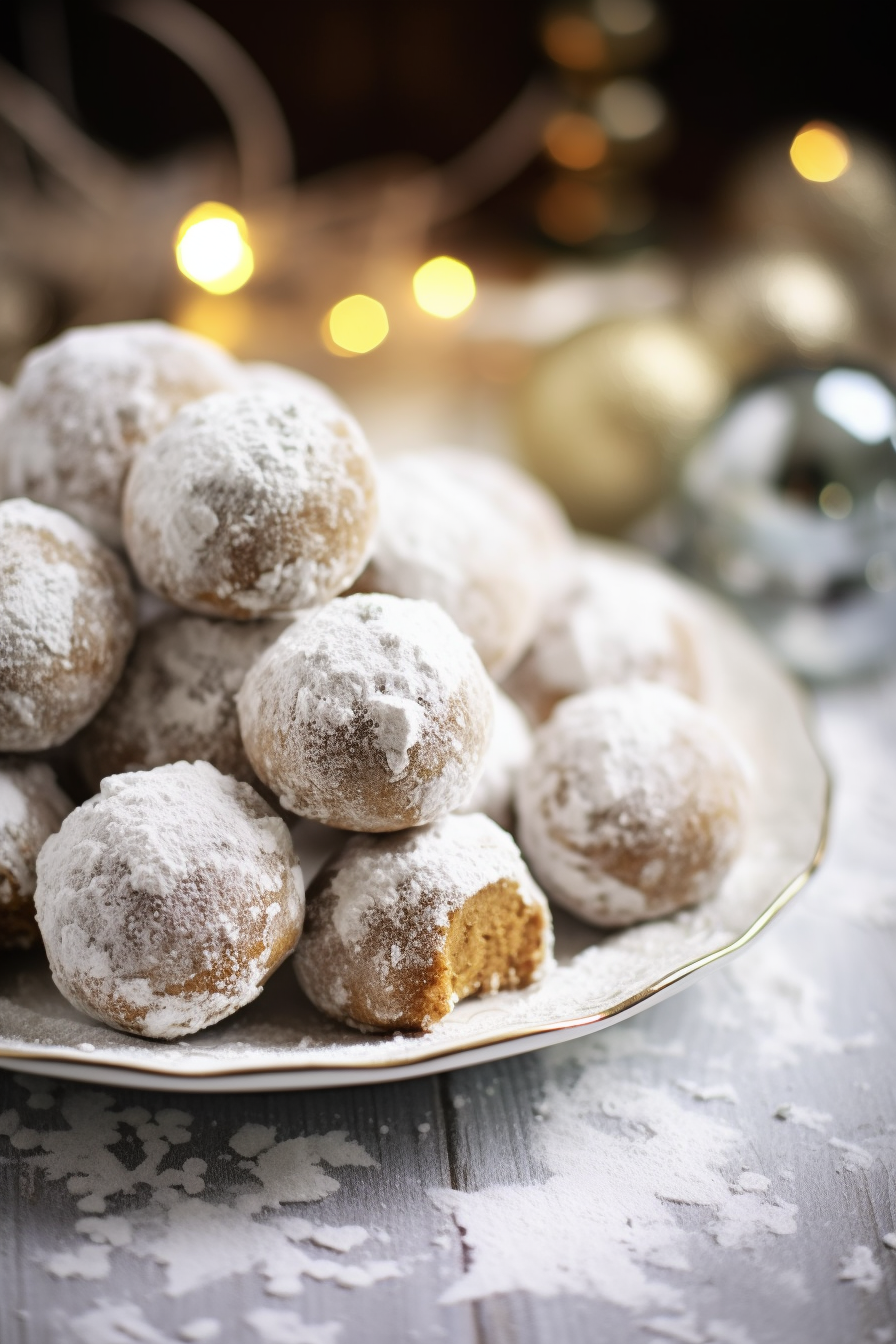
Storage Options for Gingerbread Snowballs:
After you’ve made these little bundles of joy and managed not to eat them all in one sitting, you’ll need to keep them fresh. Store them in an airtight container to maintain that delightful softness. They’ll keep at room temperature for up to a week, which means you can nibble on a bit of holiday cheer every day. And if you’re a planner, know that these snowy delights freeze well too. Just skip the initial sugar roll, freeze them solid on a cookie sheet, then transfer to a freezer bag. When you’re ready to enjoy, let them thaw and then roll in powdered sugar to serve.
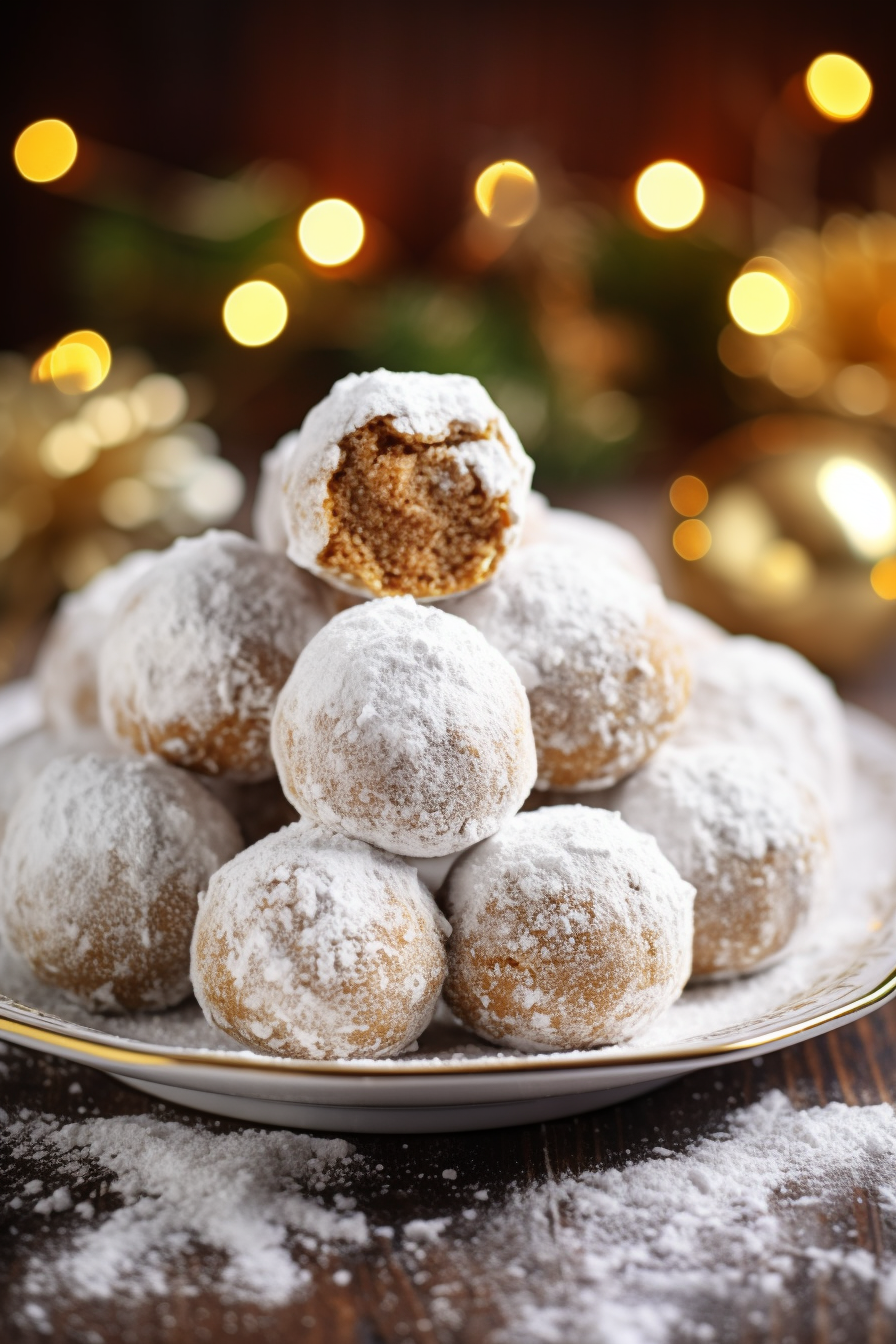
Variations and Substitutions for Gingerbread Snowballs
- Butter Alternatives: If you’re out of unsalted butter or just looking to switch it up, try using a high-quality margarine or even coconut oil for a different twist.
- Sugar Swap: For a less refined option, coconut sugar can give a lovely depth of flavor, though it may alter the final color of your snowballs.
- Gluten-Free Flour: Want to share with your gluten-sensitive pals? Go ahead and use your favorite gluten-free all-purpose flour blend.
- Spice It Up or Down: Tailor the spices to your liking. If you’re not a fan of nutmeg, leave it out. Love ginger? Add a bit more. This recipe is forgiving enough for you to make it your own.
- Veganize It: Swap in plant-based butter and replace the molasses with a vegan alternative like blackstrap molasses or maple syrup, and you’ve got yourself a vegan holiday treat.
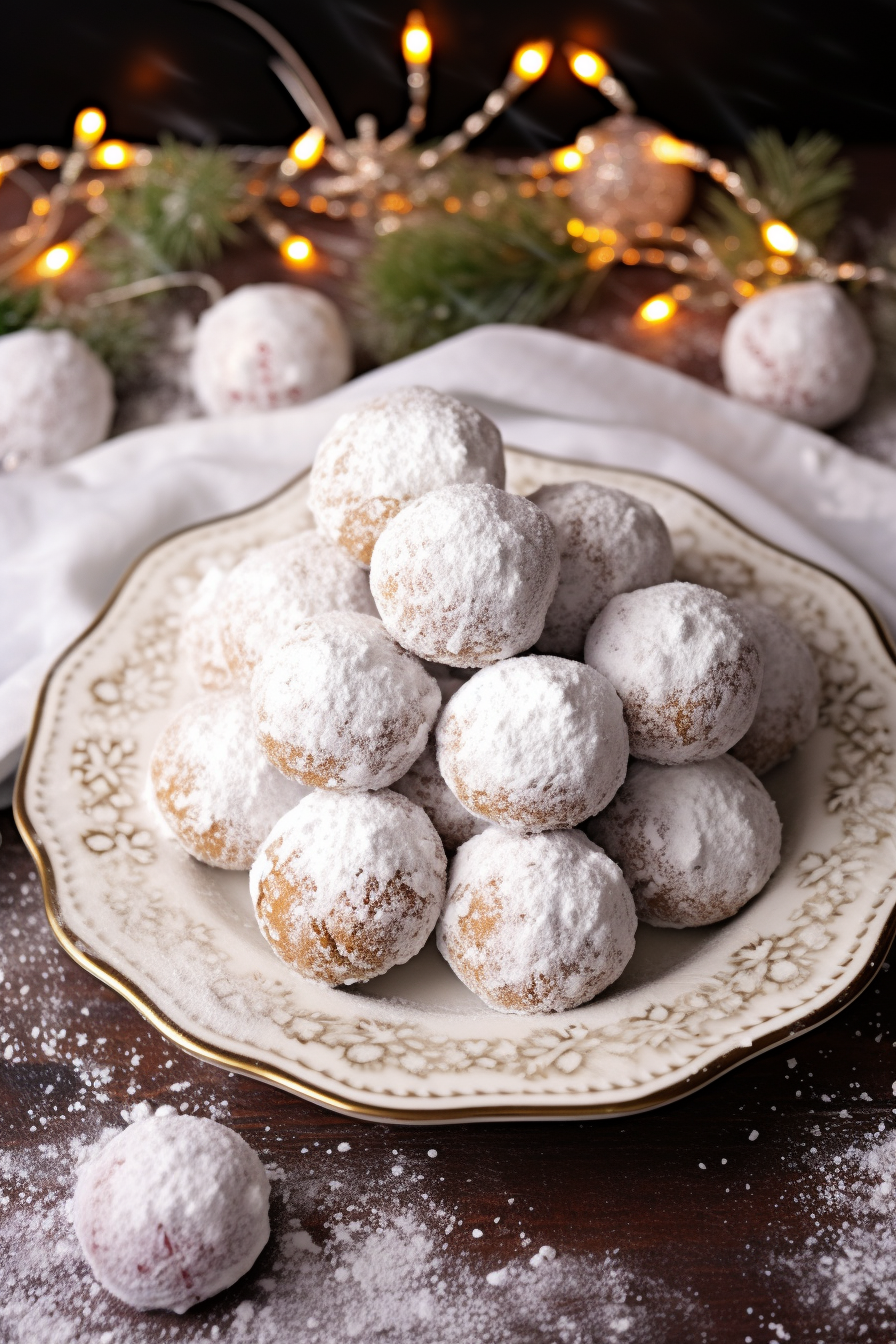
These Gingerbread Snowballs are like tiny, edible joyous globes – easy to make, even easier to love, and just waiting to be rolled into your holiday baking repertoire. Now go forth and bake with glee!
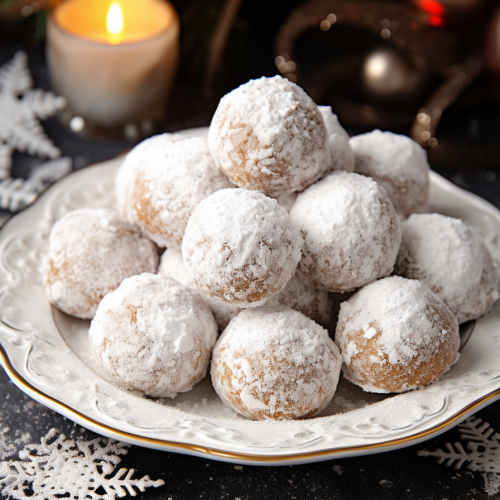
Gingerbread Snowballs
Ingredients
- 1 cup 226g of unsalted butter, preferably of high quality, softened to room temperature
- ½ cup 57g of confectioners’ sugar, sifted
- 1 teaspoon of pure vanilla extract
- ½ teaspoon of fine sea salt
- 1 teaspoon of ground cinnamon
- 1 teaspoon of ground ginger
- ½ teaspoon of ground nutmeg
- ¼ teaspoon of ground allspice
- ¼ teaspoon of ground cloves
- 1 tablespoon of dark molasses
- 2 ¼ cups 279g of all-purpose flour
- Additional confectioners’ sugar for rolling the baked cookies
Instructions
- Begin by preheating the oven to a temperature of 350°F (approximately 175°C). Prepare two cookie sheets by lining them with high-quality parchment paper to prevent sticking.
- In a large mixing bowl, use an electric mixer to beat the butter until it achieves a fluffy and light consistency, roughly 20 seconds in duration. Add the confectioners’ sugar, vanilla extract, salt, cinnamon, ginger, nutmeg, allspice, cloves, and molasses to the bowl. Continue to mix these ingredients until they are fully incorporated and the mixture is smooth and uniform in texture.
- Gradually introduce the all-purpose flour to the mixture. Continue to mix diligently, ensuring that the ingredients are well combined. Although the mixture may initially appear crumbly and disjointed, persistent mixing will yield a cohesive cookie dough.
- Utilize a tablespoon measure to scoop uniform portions of the dough. Place these portions onto the prepared cookie sheets, maintaining adequate space between each to allow for proper heat circulation during baking.
- Insert the cookie sheets into the preheated oven. Allow the cookies to bake for a period of 10 to 12 minutes, or until the bottom edges of the cookies exhibit a light golden hue. Upon reaching this color, promptly remove the cookies from the oven.
- Allow the cookies to cool momentarily on the sheets, until they are safe to handle yet still warm. Prepare a small bowl with an ample amount of confectioners’ sugar. Roll each cookie in the sugar until it is thoroughly coated. Finally, transfer the sugar-coated cookies to a cooling rack.
- Should you desire a more pronounced sugar coating, once the cookies have cooled completely, consider re-rolling them in additional confectioners’ sugar to enhance their aesthetic and flavor.

