Dive into an irresistible blend of melted butter, old-fashioned oats, brown sugar, silky caramels, and rich chocolate chips with our delightful Caramelitas. A truly mouth-watering treat!
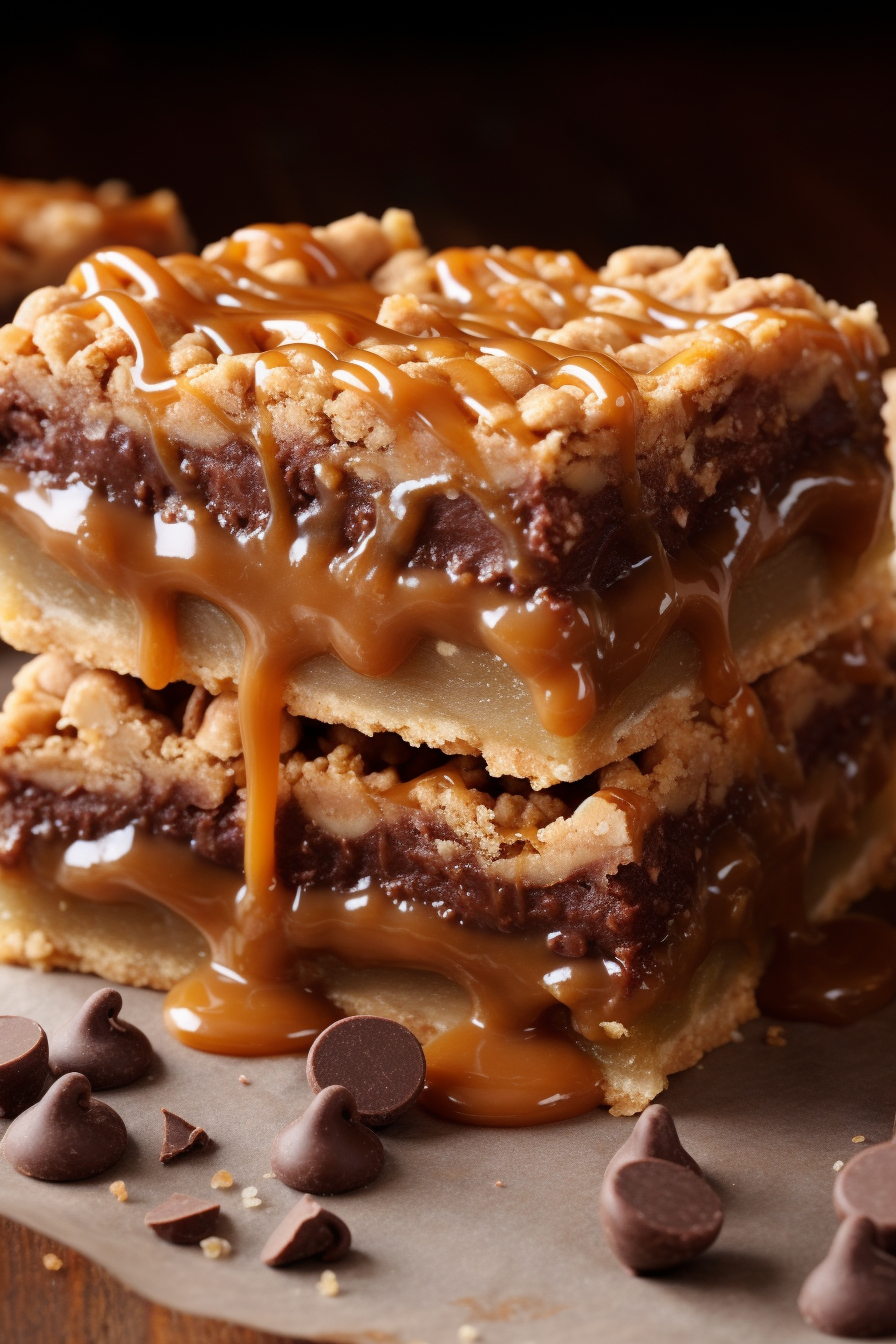
If I could bottle up my childhood memories, they’d smell like mom’s kitchen on a Saturday morning. But the sweetest scent among them all was of these glorious Caramelitas. It was on a family vacation when my mother first stumbled upon this recipe at a small countryside bakery. The chef was kind enough to share it, and upon our return, mom baked her own version. And oh boy, did it instantly become a family favorite! It wasn’t just the flavors that had us hooked. It was the memories of that trip, the warm kitchen conversations, and the absolute joy of biting into a perfect balance of chocolate and caramel. Each time I bake these now, it’s like taking a stroll down that beautiful memory lane.
Remember this recipe
Pin this recipe to your favorite board now to remember it later!
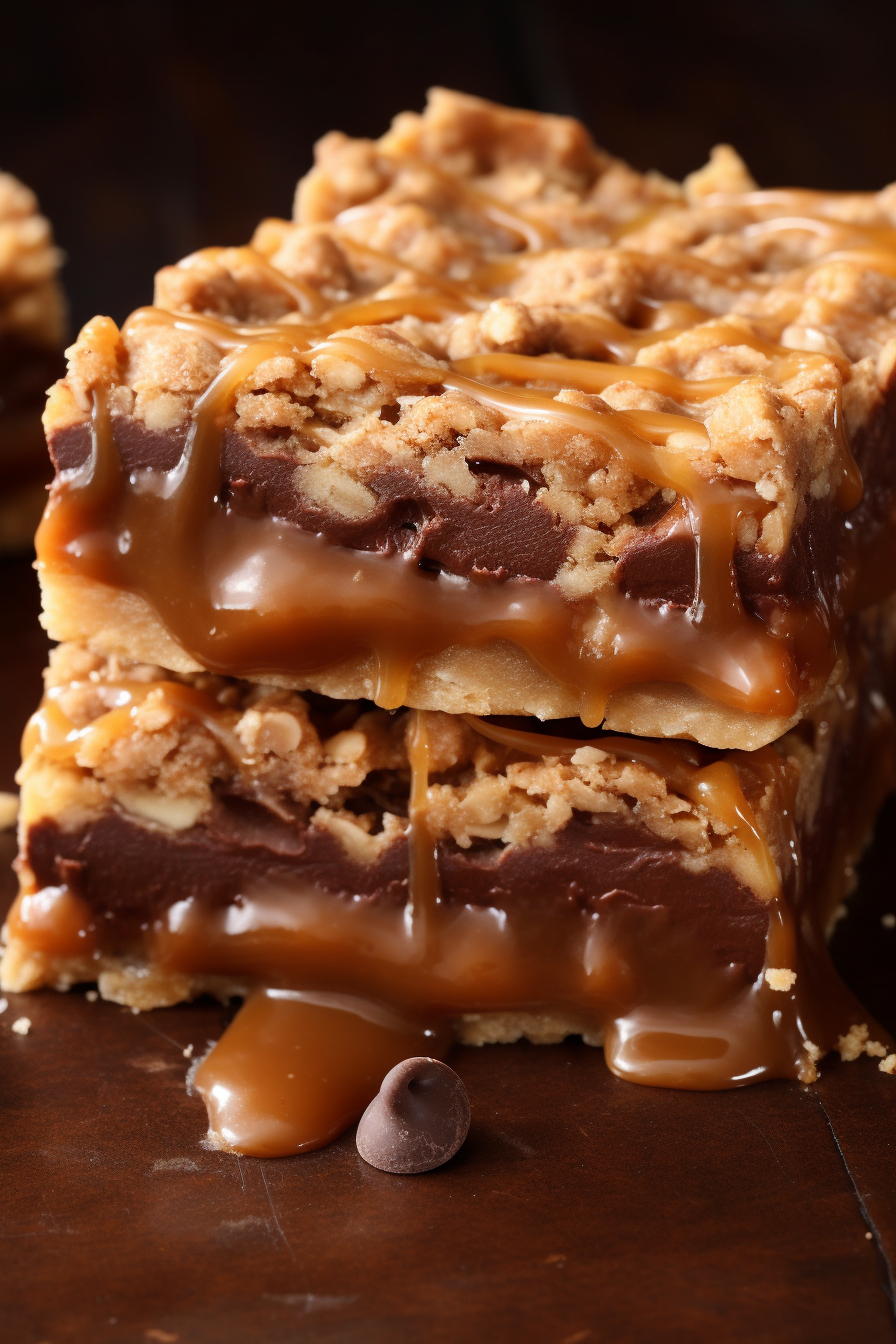
Why You’ll Love Caramelitas:
It’s not just a dessert; it’s a celestial experience. Caramelitas offer a harmonious dance between the earthy texture of old-fashioned oats and the sweetness of caramel and chocolate. Plus, the recipe’s simplicity ensures that even the most novice bakers can recreate this magic. These bars encapsulate an unforgettable flavor journey, a delightful mix of textures, and the nostalgic charm of a classic dessert.
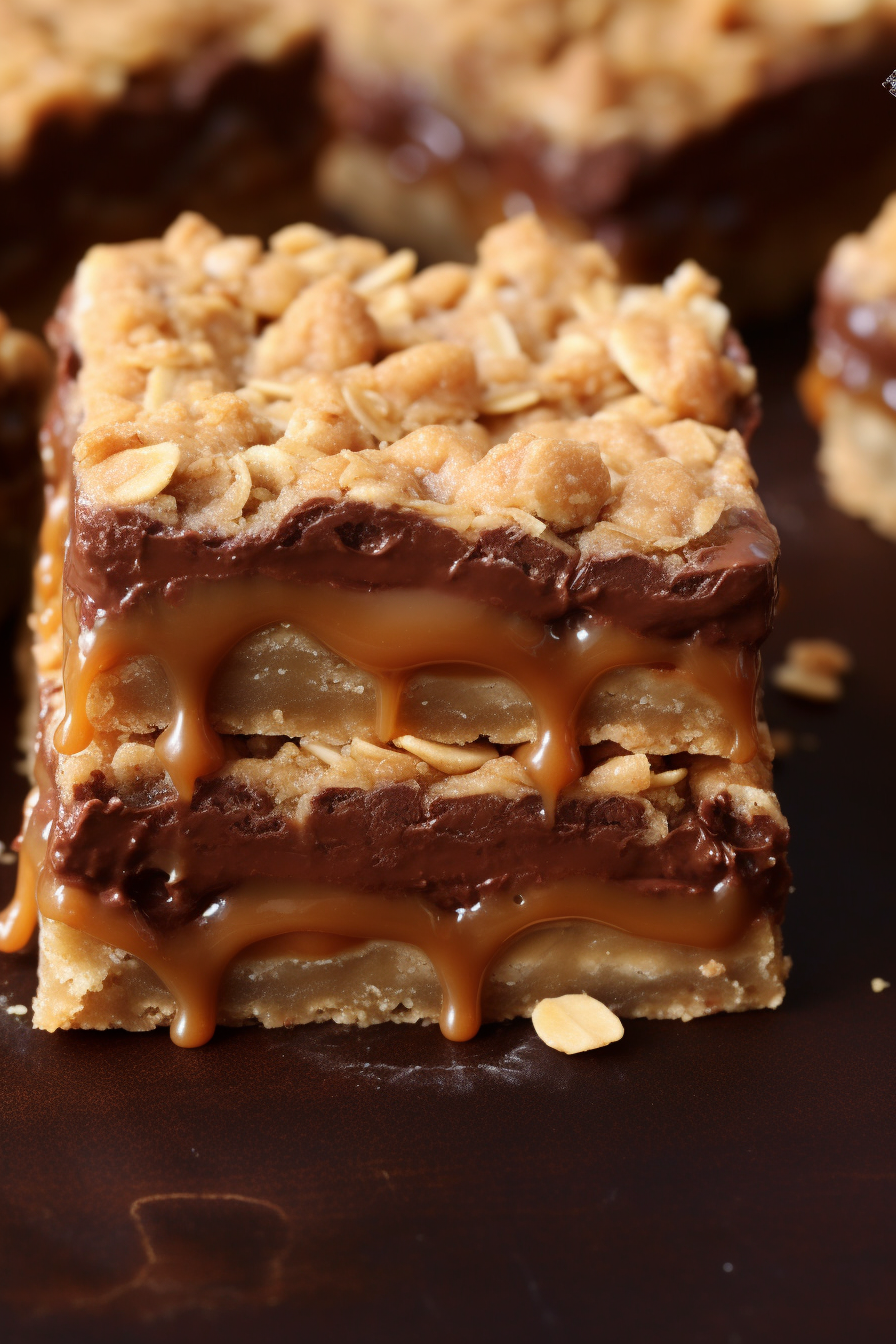
Ingredients Notes for “Caramelitas”:
- Butter: Opt for unsalted butter. Melting it allows for a rich and moist base.
- Old-fashioned oats: These offer a chunkier, more rustic texture compared to quick oats.
- Brown sugar: Light or dark works, but the latter gives a deeper molasses flavor.
- Baking caramels: Use a good quality brand; it makes all the difference in the caramel layer.
- Heavy cream: This provides a smooth, lush consistency to the caramel when melted.
- Chocolate chips: Semi-sweet or milk chocolate, your choice. You could even mix and match!
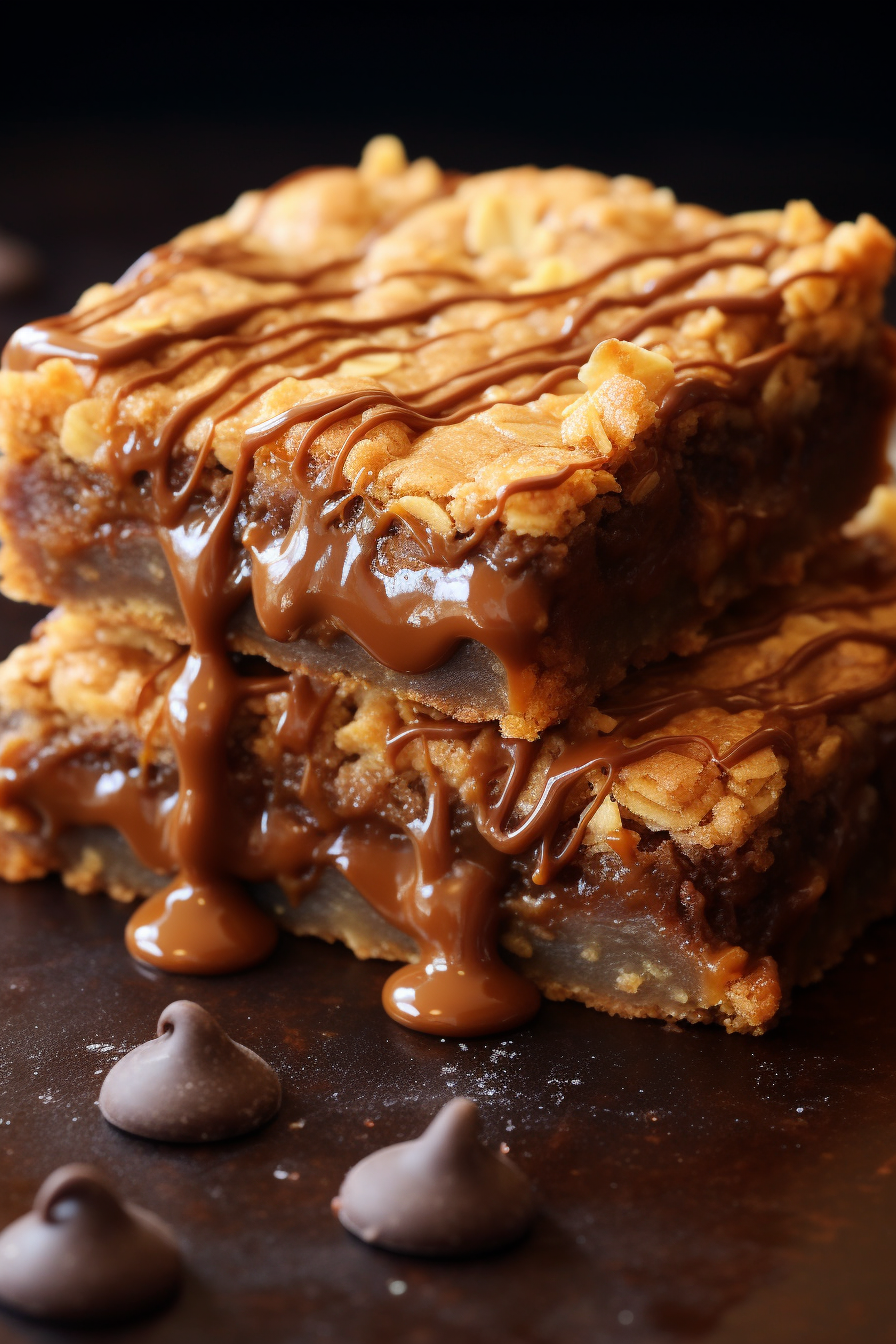
How To Make Caramelitas:
- Step 1: Start with the oven. You’re setting the stage, folks! Preheat it to 350°F and get that baking dish greased or lined with parchment paper. This ensures your Caramelitas don’t play hard to get when you’re trying to devour them.
- Step 2: Now, for the star of the show – the caramel. Gently melt those caramels with heavy cream in a saucepan. Constant stirring is key here. Think of it as the caramel’s little spa treatment. Once silky, set aside.
- Step 3: In a bowl, blend butter, brown sugar, flour, oats, and baking soda. This is the crumbly goodness that’ll hold everything together. Once combined, press half of it gently into your baking dish.
- Step 4: Bake the crust for a quick 10 minutes. Post that, it’s layering time! Sprinkle those delightful chocolate chips evenly, pour your luxurious caramel, and crown it with the remaining oat mixture.
- Step 5: Pop it back into the oven for 18-20 minutes. It’s like the second act of a play – crucial for the final taste performance. Once done, be patient! Let them cool fully to achieve the slicing perfection.
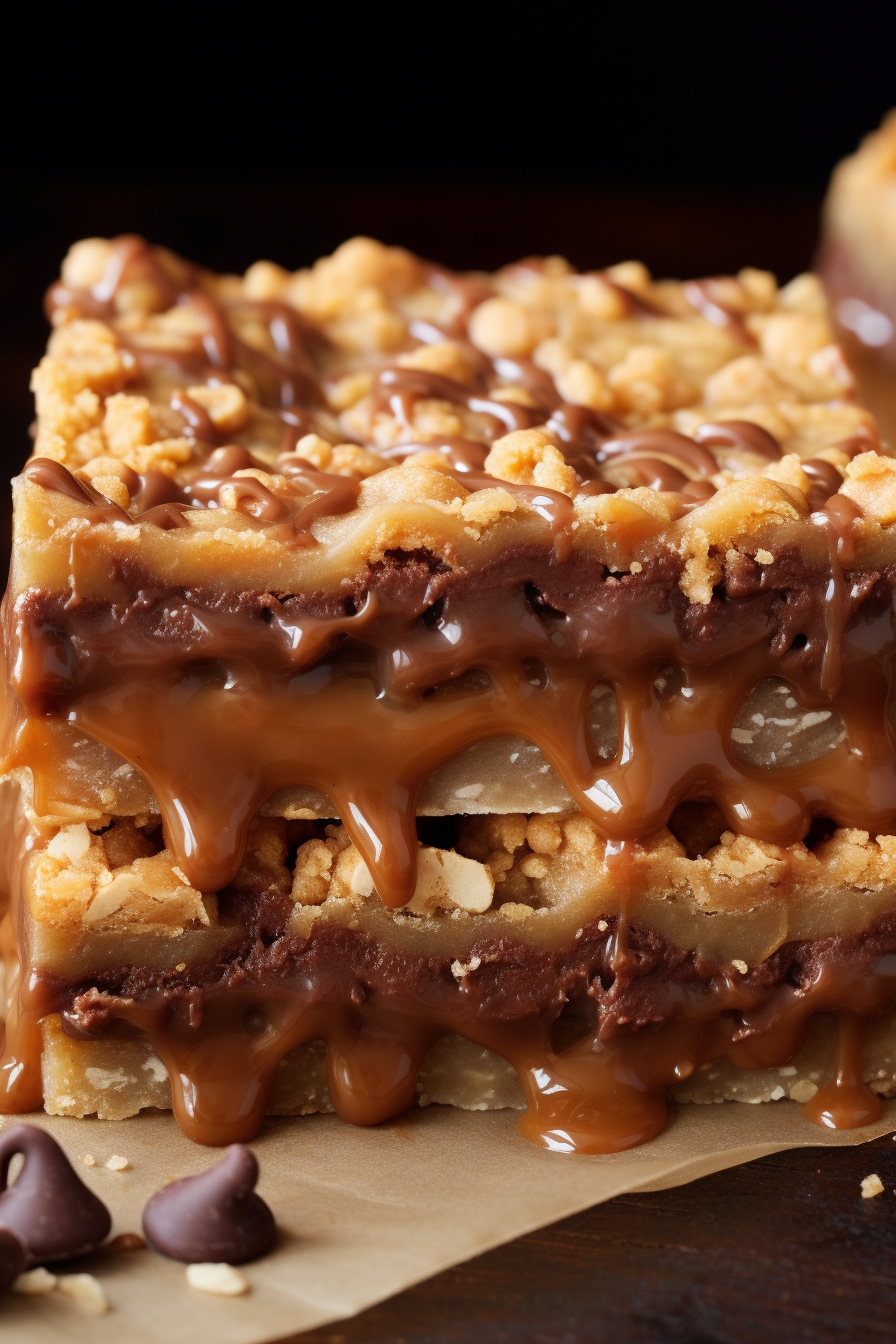
Storage Options for “Caramelitas”:
The real challenge is to resist devouring them all at once! But if you possess that superhuman strength, store your Caramelitas in an airtight container at room temperature for up to 3 days. For longer storage, refrigerate for up to a week, but remember to let them come to room temperature before serving. They’re like fine wine; they need to breathe.
Variations and Substitutions for “Caramelitas”:
Ah, the art of tweaking! Replace the old-fashioned oats with quick oats for a smoother texture. Dark chocolate chips can add an intense twist. No heavy cream? Evaporated milk will save the day. Fancy some nutty crunch? Walnuts or pecans can be your new best friends. The possibilities are endless; let your inner dessert artist run wild!
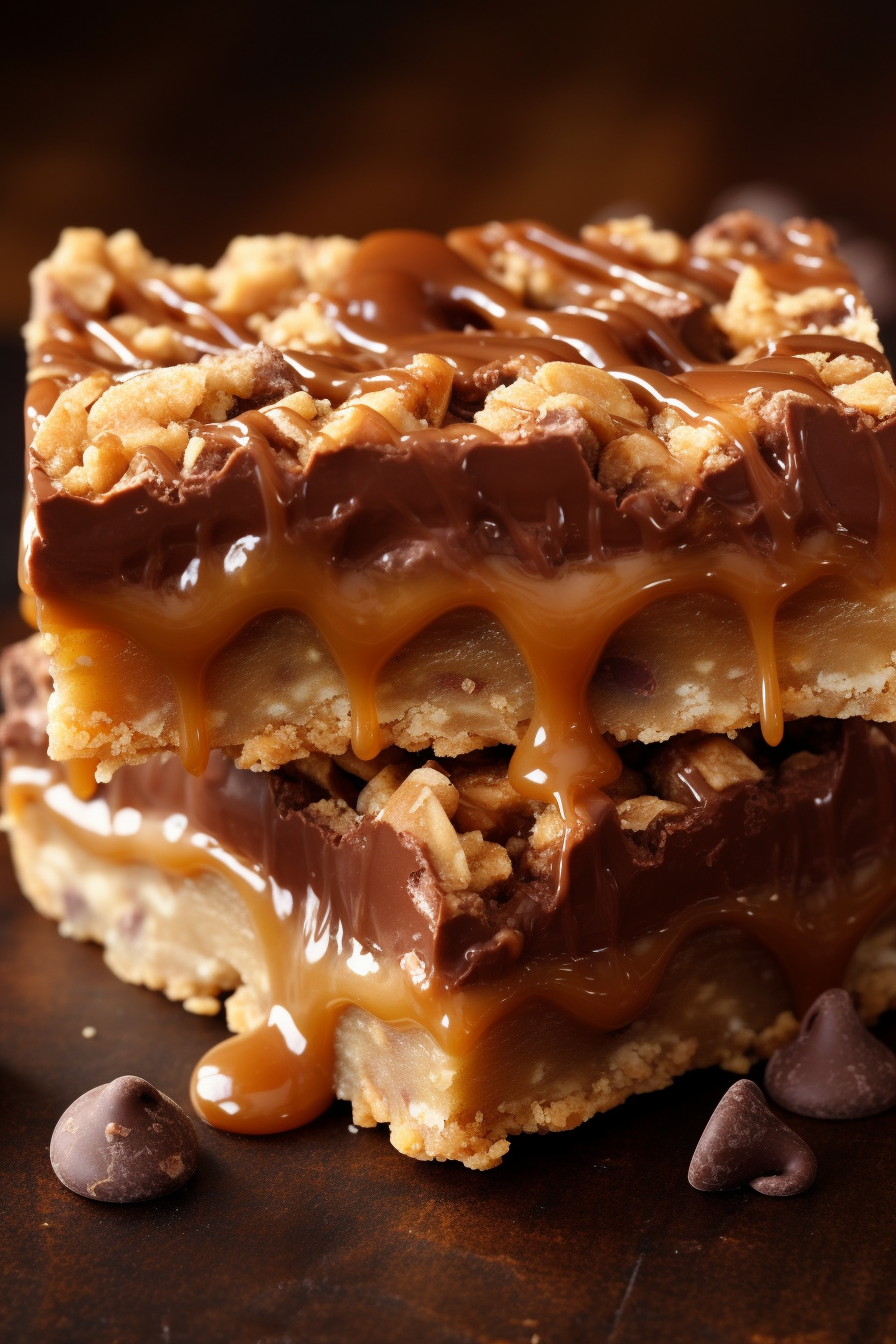
Caramelitas
Ingredients
- Butter unsalted – ¾ cup, melted
- All-purpose flour – 1 cup
- Old-fashioned oats – 1 cup
- Brown sugar – ¾ cup
- Baking soda – 1 teaspoon
- Baking caramels – 11 oz
- Heavy cream – ½ cup
- Chocolate chips – 1 cup
Instructions
- Preheat the oven to a temperature of 350°F (175°C). Prepare an 8×8 inch baking dish by greasing it or lining it with parchment paper for ease of removal.
- In a suitable saucepan, combine the caramels and heavy cream. Place the saucepan over medium heat, ensuring that you stir the mixture continuously to prevent burning. Once the mixture achieves a smooth consistency, remove from heat and set aside.
- In a separate, medium-sized mixing bowl, combine the melted butter, brown sugar, all-purpose flour, oats, and baking soda. Mix these ingredients thoroughly until a homogenous mixture is achieved.
- Carefully press half of the aforementioned oat mixture into the prepared baking dish to form a uniform layer.
- Place the baking dish in the preheated oven and bake for approximately 10 minutes.
- Upon removal from the oven, evenly distribute the chocolate chips over the baked layer. Subsequently, pour the previously prepared caramel mixture over the chocolate chips, ensuring an even spread.
- Finish by evenly distributing the remaining oat mixture over the caramel layer.
- Return the baking dish to the oven and allow it to bake for an additional duration of 18-20 minutes or until done.
- Once baked, remove the dish from the oven and set aside, allowing the Caramelitas to cool thoroughly. Only once cooled completely, proceed to slice and serve.

