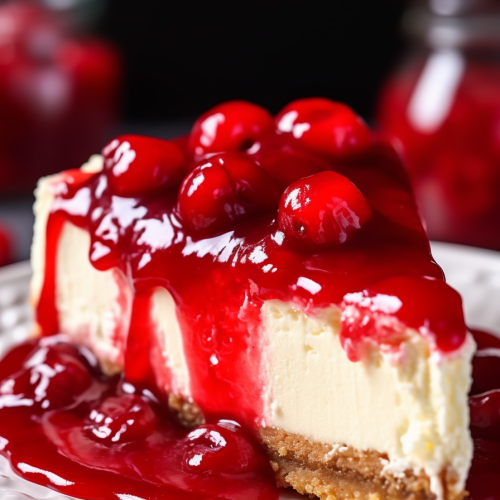
Indulge in the classic delight of Cherry Cheesecake, a no-fuss recipe featuring a graham cracker crust, rich cream cheese filling, and a tart cherry topping. Perfect for any occasion!”
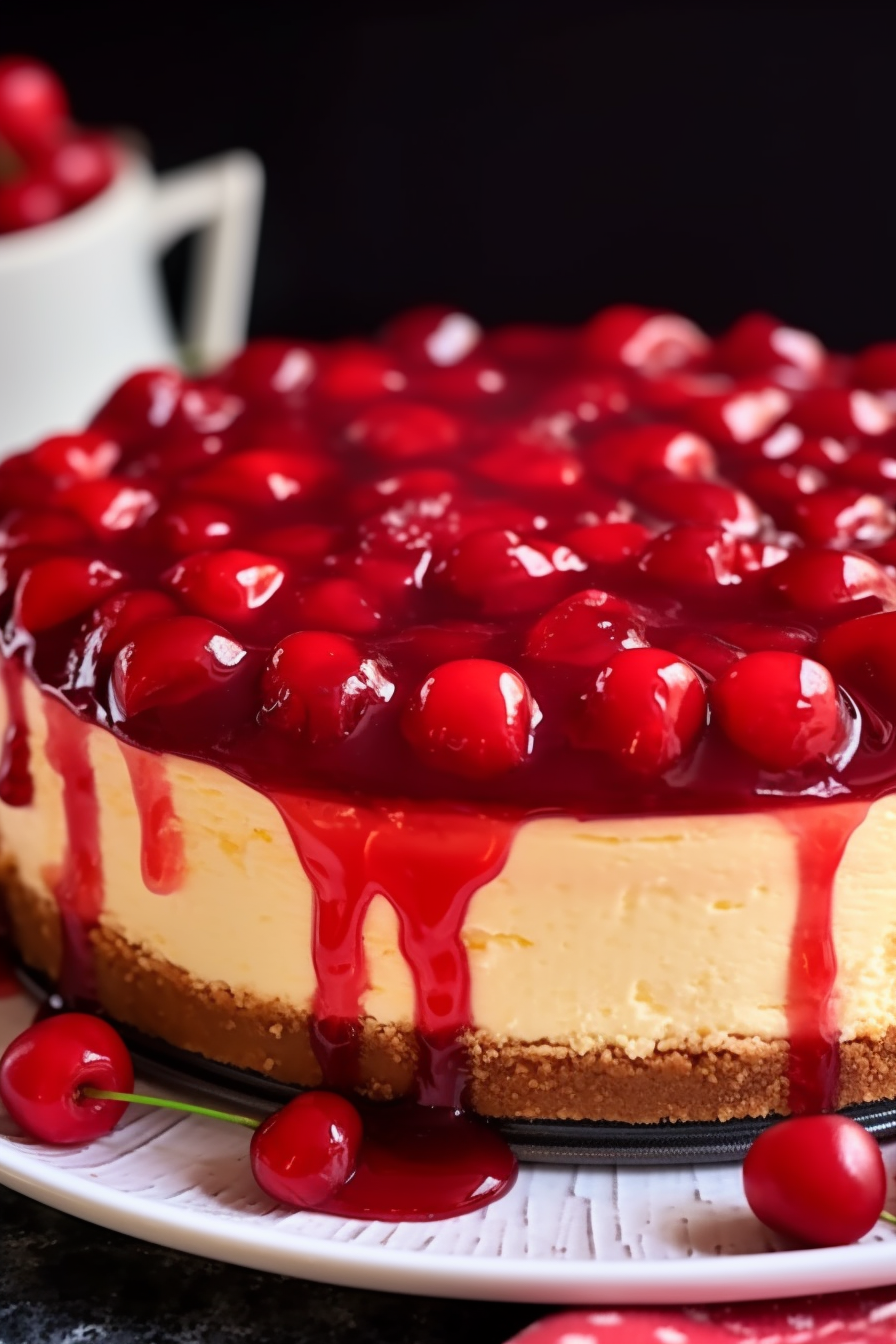
Once upon a time, in a quaint little kitchen, I discovered the magic of baking. It was a breezy Saturday afternoon when my grandmother, a baking maestro, decided to pass down her cherished Cherry Cheesecake recipe. Her eyes twinkled as she shared stories of family gatherings brightened by this very dessert. We spent hours together, measuring and mixing, her hands guiding mine, teaching me the art of the perfect crust and the silkiest cheesecake filling. Each ingredient was added with love and a dash of nostalgia. When we finally garnished it with the cherry topping, it wasn’t just a cheesecake we had created, but a treasure trove of memories. Now, every time I whisk and pour, I’m transported back to that sunny kitchen, my heart full of warmth and my mouth, well, anticipating that first creamy, cherry-filled bite! 🍒
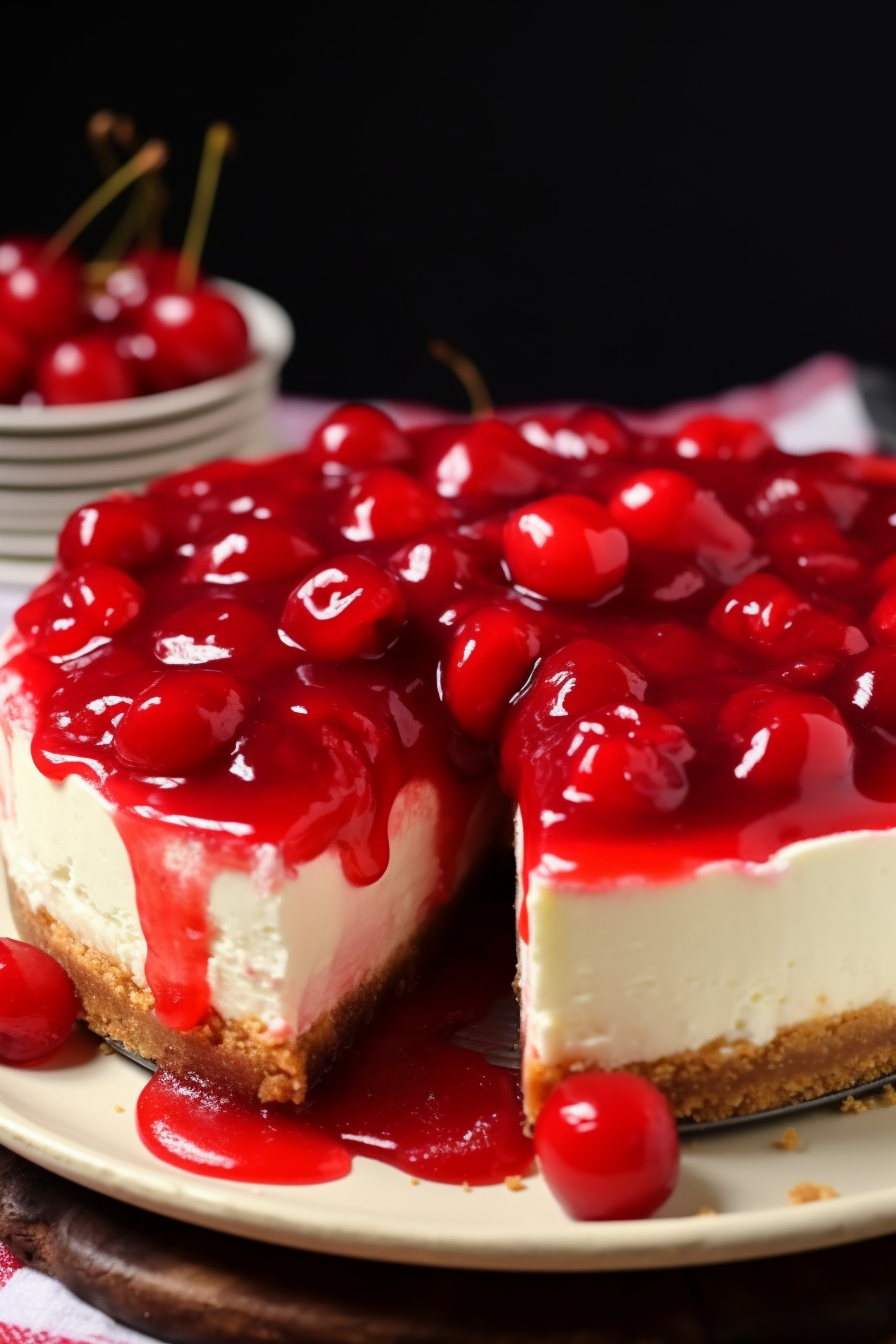
Why You’ll Love Cherry Cheesecake:
- No Water-Bath Needed: This recipe simplifies the cheesecake-making process by eliminating the intimidating water bath, making it approachable for bakers of all levels.
- Lemon Accents: The addition of lemon juice and zest offers a refreshing twist, cutting through the richness of the cream cheese with a subtle citrus zing.
- Perfect Crust-to-Filling Ratio: The graham cracker crust is perfectly proportioned to the creamy filling, ensuring a delightful crunch in every bite.
- Room Temperature Ingredients: By using ingredients at room temperature, the cheesecake achieves a smoother, more consistent texture.
- Slow Cooling Method: The unique cooling process in the oven prevents the top from cracking, resulting in a flawless presentation every time.
- Versatile Topping: The cherry pie filling topping is a classic choice, but the cheesecake serves as a perfect canvas for a variety of toppings, adapting to personal taste or seasonal fruits.
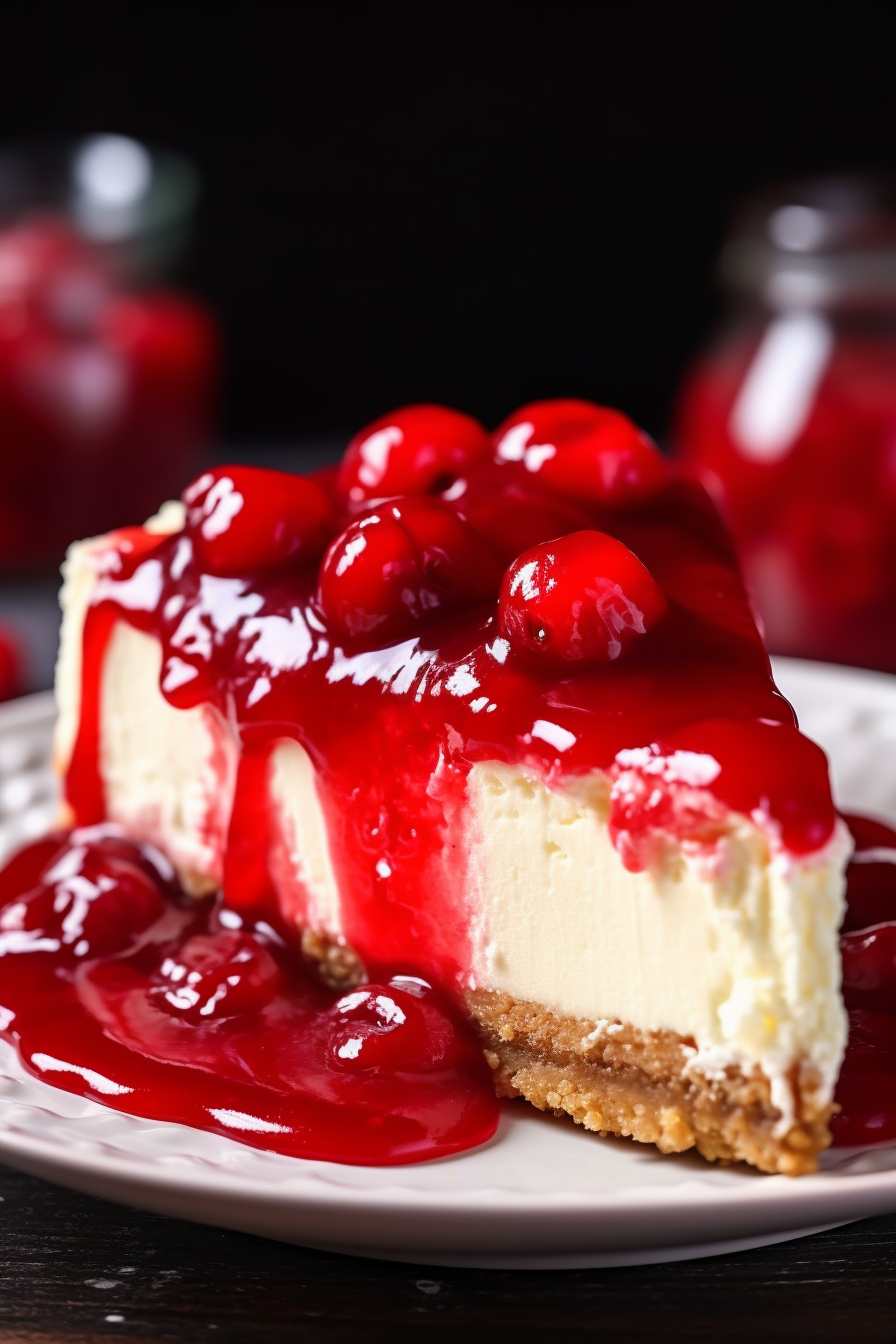
Ingredients Notes For Cherry Cheesecake:
Before you embark on your cheesecake adventure, let’s talk about the ingredients. They’re not just items on a list; they’re the secret agents of flavor and texture!
- Graham Cracker Crumbs: These crumbs are the foundation of your crust. Opt for fine crumbs for a more compact and even base.
- Granulated Sugar: This sweetens the crust just enough without overpowering the creamy filling.
- Butter (Melted): Butter acts as the glue that holds your crust together. Make sure it’s completely melted for an even mix.
- Full-Fat Cream Cheese (Softened): The star of the show! Full-fat cream cheese gives that luxurious, creamy texture. Softening it beforehand ensures a smooth blend.
- Sugar (For Filling): Balances the tanginess of the cream cheese and lemon.
- Sour Cream: Adds a bit of tang and creaminess, enhancing the texture.
- Vanilla Extract & Lemon Juice/Zest: These are your flavor enhancers. The vanilla adds sweetness, while the lemon brings a bright, fresh note.
- Eggs: Eggs are the binders. They help in setting the cheesecake as it bakes. Room temperature eggs blend more seamlessly.
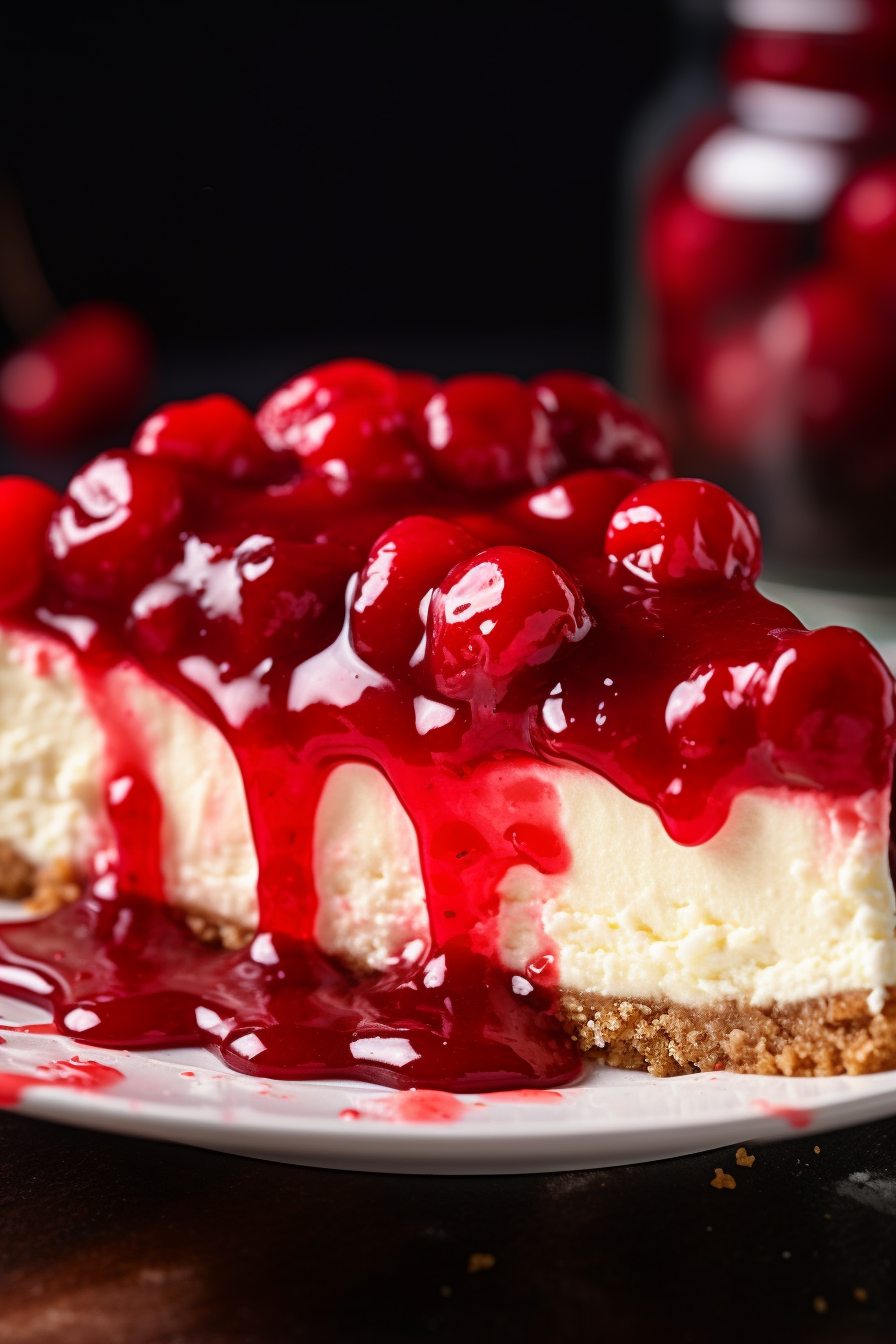
- Cherry Pie Filling: The cherry on top, quite literally! This adds a tart, fruity contrast to the creamy cheesecake.
WANT TO SAVE THIS RECIPE?
Just drop your email here and I'll send it right away! Plus you'll get new recipes from me every week. Yes please!
Steps To Make Cherry Cheesecake:
Ready to transform these ingredients into a heavenly cheesecake? Follow these steps, and you’ll be the cheesecake champion of your kitchen in no time!
- Preparation: Begin by preheating your oven to 350 degrees. Buttering the springform pan is crucial—it’s like telling your cheesecake, “you’ve got a comfy, non-stick home to bake in.”
- The Crust: Mix those graham cracker crumbs, sugar, and melted butter until they’re best friends. Press this mixture into your pan, creating a firm base for your cheesecake. This crust is not just a base; it’s the crunchy counterpart to your creamy filling. Bake it for 10 minutes and let it cool. Patience is key!
- Temperature Adjustment: Now, turn down the heat to 300 degrees. The hot water bath beneath the baking rack is a clever trick to add moisture to the oven—think of it as a mini spa for your cheesecake, keeping it relaxed and crack-free.
- Filling Time: Here comes the fun part! Beat the cream cheese and sugar until they’re smooth and dreamy. Add in sour cream, vanilla, lemon juice, and zest, and mix them well. These ingredients are like the ensemble cast supporting your cream cheese lead. Then, gently add the eggs one by one—think of them as the glue holding your cheesecake story together.
- Baking the Masterpiece: Pour the filling over your cool crust and bake for 70 minutes. This slow bake is what makes your cheesecake divinely smooth.
- The Cooling Saga: Once baked, don’t rush to take it out! Prop open the oven door slightly and let your cheesecake cool gradually for an hour. This is like the cool-down after a good workout; it prevents those dreaded cracks.
- Chilling Out: Transfer the cheesecake to a wire rack, let it cool, then refrigerate. This isn’t just chilling; it’s flavor maturing. When it’s set, run a knife around the edge, open the springform pan, and top with the cherry filling. This topping is not just a garnish; it’s the grand finale to your cheesecake opera!
- Serving and Storing: Keep it refrigerated until it’s showtime. Leftovers (if any!) should be promptly refrigerated, maintaining that perfect cheesecake texture.
Storage Options:
When it comes to storing this cherry cheesecake, think of it as a high-maintenance celebrity that needs its personal space and ideal conditions.
- Refrigeration: Always store the cheesecake in the refrigerator. Keep it in a cake container or cover it with plastic wrap. This helps maintain its moisture and prevents it from absorbing other food odors. Remember, nobody likes a garlic-scented cheesecake!
- Freezing for Longevity: If you’re playing the long game, you can freeze this cheesecake. Wrap it tightly in plastic wrap and then aluminum foil. It’s like bundling up your cheesecake for a winter hibernation. When you’re ready to indulge, thaw it in the refrigerator overnight. It’s like a grand return from a beauty sleep!
Variations and Substitutions:
Change is the spice of life, and it’s no different for this Cherry Cheesecake! Here are some fun twists and swaps to keep things interesting:
- Crust Variations: Bored of graham crackers? Try crushed Oreos, vanilla wafers, or even ginger snaps for a flavor twist in the crust.
- Cheese Alternatives: For a lighter version, you can use a mixture of full-fat and low-fat cream cheese. It’s like putting your cheesecake on a diet, but still keeping it delicious.
- Sour Cream Swap: No sour cream? Use Greek yogurt. It’s like switching a yoga class for Pilates.
- Fruit Toppings: Not a cherry fan? Top your cheesecake with blueberry, strawberry, or even a homemade fruit compote. It’s like giving your cheesecake a new outfit every time!
- Lemon-Free Version: If you’re not into lemon, simply skip it. The cheesecake will still be fabulous, like a movie star without makeup.
- Eggless Cheesecake: For an egg-free version, use a vegan egg substitute. It’s like casting a different actor for the same great performance.
- Sweetener Variations: Want to cut down on sugar? Use a sugar substitute in both the crust and filling, but be mindful of the conversions and the change it might bring to the texture.
Remember, each variation or substitution adds a new character to your cheesecake story. Don’t be afraid to experiment and find your perfect plot twist! 🌟
Cherry Cheesecake
Ingredients
For the Graham Cracker Crust:
- 1 ¾ cups of graham cracker crumbs
- ⅓ cup of granulated sugar
- 7 tablespoons of butter melted
For the Cheesecake Filling:
- 32 ounces of full-fat cream cheese softened
- 1 cup of sugar
- ½ cup of sour cream at room temperature
- 1 teaspoon of vanilla extract
- 2 teaspoons of lemon juice
- 1 tablespoon of lemon zest
- 4 eggs at room temperature
- 1 can 21 ounces of cherry pie filling
Instructions
- Preparation of Pan and Oven: Begin by preheating your oven to 350 degrees Fahrenheit. Generously butter the bottom and sides (up to 1 ½ inches) of a 9-inch springform pan.
- Making the Crust: In a medium bowl, combine the graham cracker crumbs, granulated sugar, and melted butter thoroughly. Press this mixture into the bottom of the prepared pan and approximately 1 inch up the sides to form a crust. Proceed to bake the crust for 10 minutes, then allow it to cool completely before adding the filling.
- Adjusting Oven Temperature for Baking: After preparing the crust, reduce the oven temperature to 300 degrees Fahrenheit. Place a large baking dish filled with hot water on the lower rack of the oven. This will add moisture during the baking process and aid in preventing cracks on the cheesecake's surface.
- Preparing the Cheesecake Filling: In a stand mixer fitted with a paddle attachment or using a hand mixer, beat the softened cream cheese and sugar at a medium speed until the mixture is smooth and creamy. Ensure to periodically scrape down the sides of the bowl and the beaters. Add the sour cream, vanilla extract, lemon juice, and lemon zest to the mixture, blending until fully incorporated. Then, reduce the mixer speed to low and add the eggs one at a time, mixing just enough to incorporate each egg before adding the next.
- Baking the Cheesecake: Pour the cream cheese filling into the cooled crust and smooth the top. Place the springform pan in the oven and bake for 70 minutes. After baking, turn off the oven and prop open the oven door slightly (approximately 1 to 1 ½ inches) using a wooden spoon. Allow the cheesecake to cool gradually in the oven for 1 hour.
- Cooling and Topping the Cheesecake: After the slow cooling process, transfer the cheesecake to a wire rack to cool completely. Once cooled, cover the cheesecake (still in the springform pan) with plastic wrap and refrigerate for a minimum of 6 hours, preferably overnight. Before serving, carefully run a thin knife around the inside rim of the pan to loosen the cheesecake, then unbuckle and remove the springform pan's sides. Top the cheesecake evenly with the cherry pie filling.
- Serving and Storage: Serve the cheesecake chilled. Any leftovers should be promptly returned to the refrigerator for storage.

