Indulge in homemade Danish Butter Cookies with this easy recipe. Featuring simple ingredients like unsalted butter, sugar, vanilla extract, and flour, these cookies are a delightful treat that brings the classic Royal Dansk experience to your kitchen.
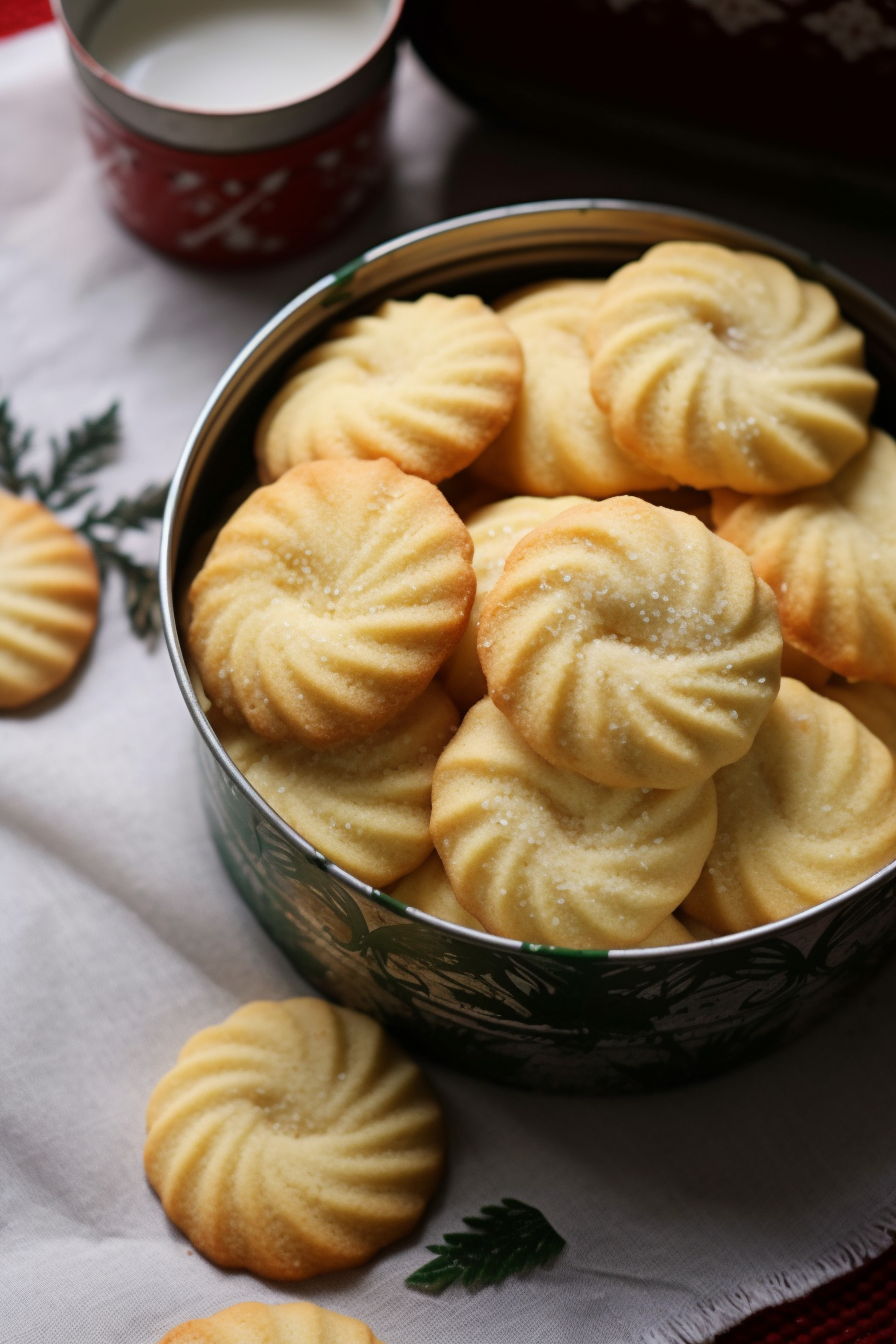
Ah, Danish Butter Cookies! Every time I whip up a batch, it’s like taking a stroll down memory lane. I remember the first time I encountered these cookies. It was a chilly December evening, and my grandmother had just brought in a Royal Dansk blue tin filled with these golden-brown treasures. The aroma of butter and sugar filled the air as we popped open the lid, revealing the neatly arranged, sugary circles of joy. That was the day I fell in love with baking. Years later, I decided to recreate that magical moment. After several trials and a whole lot of butter, I finally perfected the recipe. Now, every time I bake these cookies, I’m transported back to that cozy kitchen, laughing and baking with grandma. These cookies are more than just a treat; they’re a cherished memory, a tradition that I am eager to pass on.
Why You’ll Love Danish Butter Cookies
This “Danish Butter Cookies” recipe stands out for several reasons. Firstly, it’s a perfect mimic of the beloved Royal Dansk cookies, offering that nostalgic taste right from your own oven. Secondly, the use of simple, everyday ingredients makes it incredibly accessible for any home baker. You don’t need to hunt down any fancy or unusual components. Thirdly, the recipe’s flexibility is a plus; it’s easy to adapt for different occasions or dietary preferences. Lastly, the method is straightforward and foolproof, ideal for both novice bakers and seasoned pros. Whether you’re a baking enthusiast or someone just starting out, this recipe guarantees a delicious outcome every time.
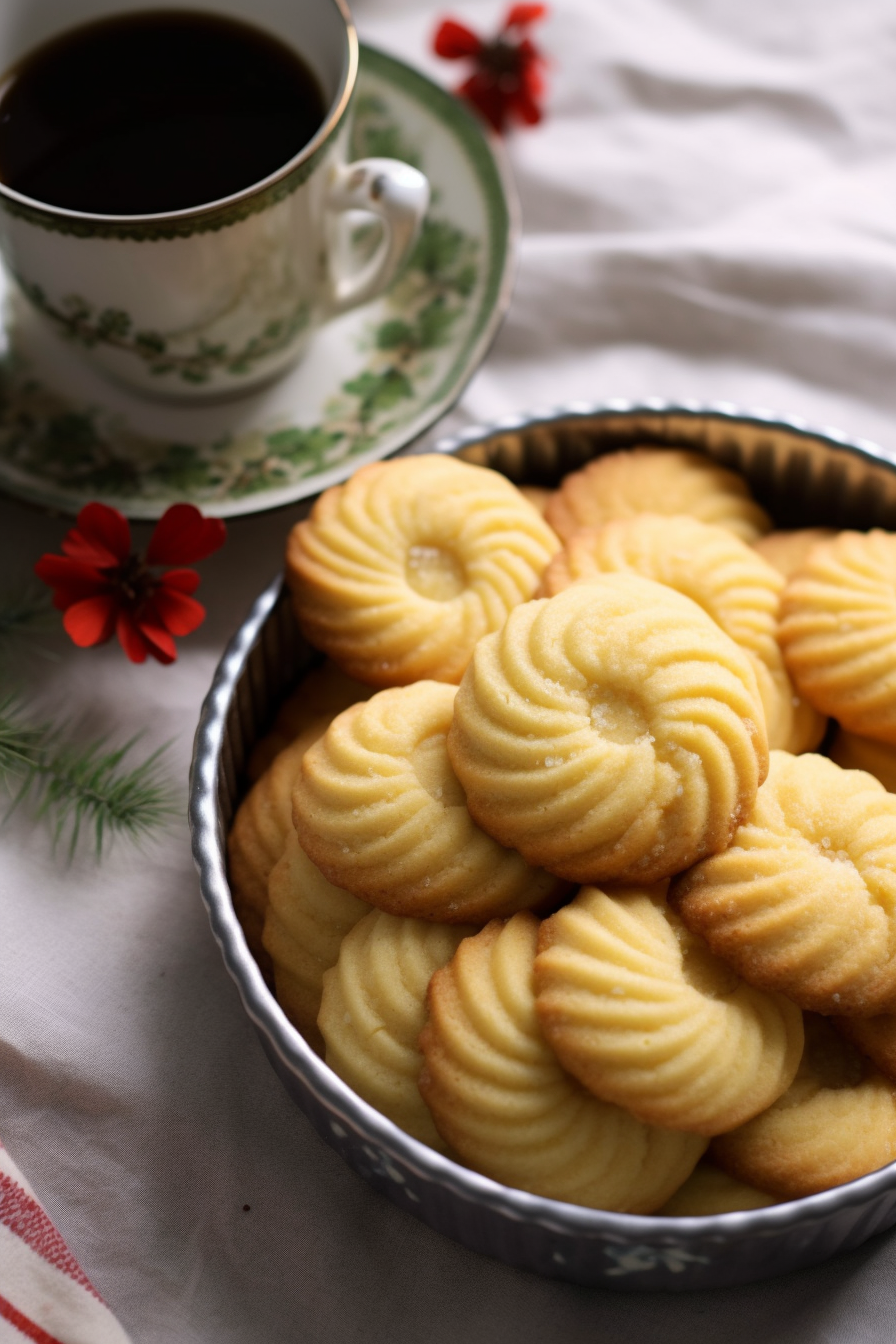
Ingredients Notes For Danish Butter Cookies
Crafting the perfect Danish Butter Cookies is all about understanding your ingredients. Here’s a little insight to help you get the best out of this recipe:
- Unsalted Butter: The star of the show! Ensure it’s at room temperature for easy mixing. Using unsalted butter gives you control over the saltiness of your cookies.
- Granulated Sugar: This not only sweetens the cookies but also contributes to their golden color and crisp texture.
- Vanilla Extract: A touch of vanilla adds depth and warmth to the flavor profile. Quality matters here, so opt for a good vanilla extract.
- Egg: Acts as a binder, helping to create a smooth, cohesive dough.
- All-Purpose Flour: The structural backbone of your cookies. It’s important to measure it correctly; too much can make the cookies tough, too little, and they may spread too much.
- Granulated Sugar for Sprinkling: This is the final touch that gives a delightful crunch and a sparkly appearance.
Recipe Instructions
Let’s dive into making these heavenly Danish Butter Cookies! The key is in the details, so follow these steps closely for the best results.
- Preparation: Start by preheating your oven to 350 degrees F and lining your baking sheets with parchment paper or silicone baking mats. This step ensures your cookies won’t stick and makes clean-up a breeze.
- Creaming Butter and Sugar: In a mixing bowl, beat the butter and sugar on medium speed for about 1 to 2 minutes. You’re looking for a light and fluffy texture. This process incorporates air and gives the cookies their characteristic lightness.
- Adding Wet Ingredients: Next, mix in the salt, vanilla, and egg until well combined, usually about a minute. Make sure these are evenly distributed throughout the mixture for a consistent flavor in every bite.
- Incorporating Flour: Reduce the mixer speed to low and gradually add the flour. Mix until it’s mostly combined, but don’t overdo it. If needed, use a rubber spatula for the final few stirs, ensuring all the flour is incorporated. The dough will be thick, but that’s exactly what you want.
- Piping the Cookies: Transfer the dough to a decorating bag fitted with a large open star tip. Pipe 2-inch circles onto your prepared baking sheets. This is where you get to be a bit artistic! Sprinkle with granulated sugar for that extra crunch and sparkle.
- Baking: Bake the cookies one pan at a time for about 15 to 17 minutes. You’re aiming for a light golden brown color. This slow and steady approach ensures even baking and the perfect texture.
- Cooling and Storing: Let the cookies cool completely before storing or serving. This rest period allows them to set properly and develop their full flavor.
WANT TO SAVE THIS RECIPE?
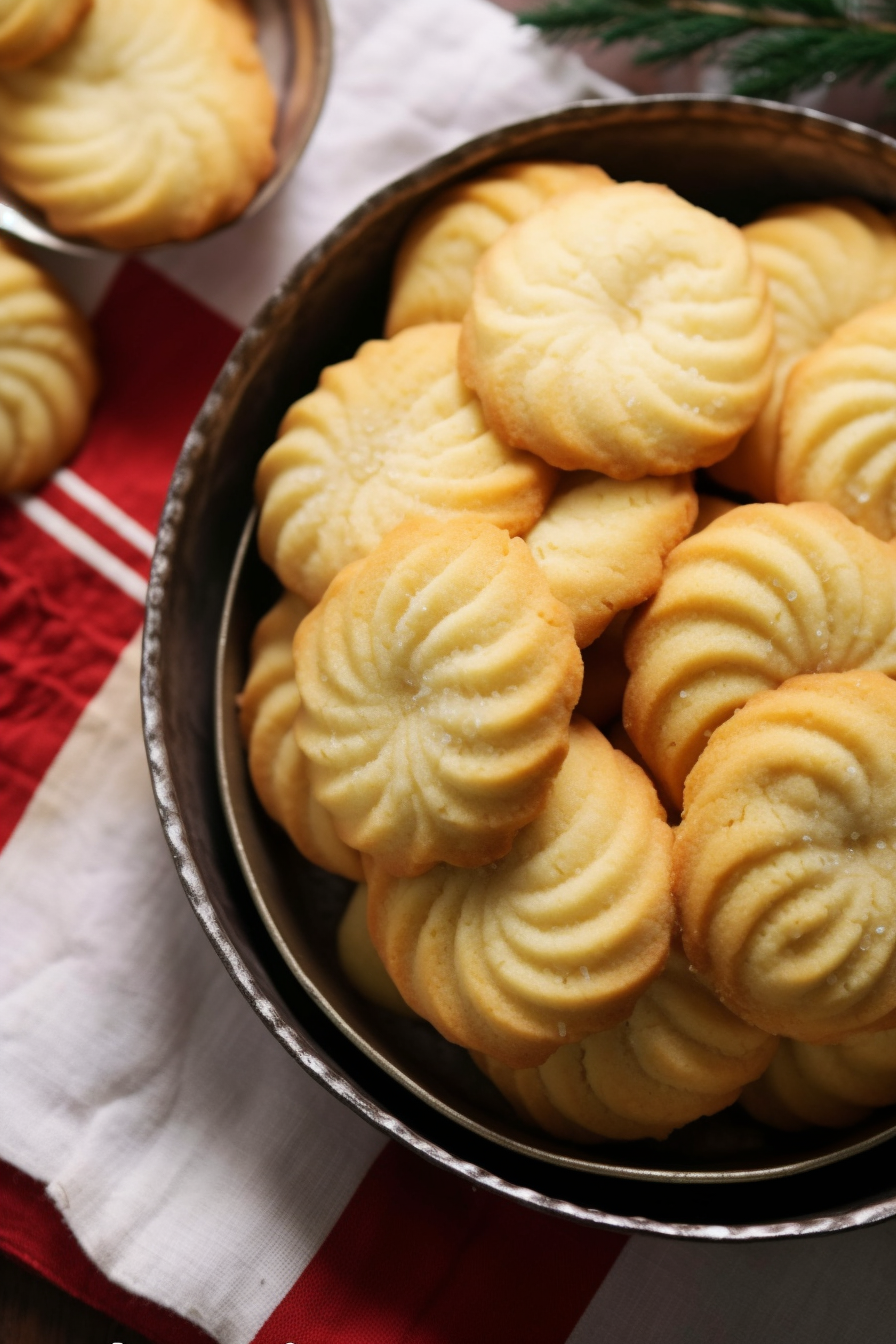
Storage Options
Storing these Danish Butter Cookies is pretty straightforward. Once they’re completely cool, transfer them to an airtight container. They’ll stay fresh and delicious at room temperature for up to a week, making them perfect for gradual snacking or unexpected guests. For longer storage, you can freeze them for up to 3 months. Just make sure to layer them with parchment paper in the container to prevent them from sticking together. Thawing is easy – just leave them out at room temperature for a bit before serving. Fresh or frozen, these cookies are always a hit!
Variations and Substitutions
One of the great things about this Danish Butter Cookies recipe is its versatility. Here are some creative twists and substitutions:
- Flavor Extracts: Swap vanilla extract with almond, lemon, or orange extract for a different flavor profile.
- Spices: Add a pinch of cinnamon, nutmeg, or cardamom to the dough for a warm, spicy kick.
- Nutty Twist: Mix in finely chopped nuts like almonds or pecans for added texture and richness.
- Chocolate Dip: Once baked and cooled, dip half of each cookie in melted chocolate and let it set for a chocolatey twist.
- Gluten-Free Option: Use a good-quality gluten-free all-purpose flour blend in place of regular flour.
- Vegan Adaptation: Substitute the butter with a vegan alternative and use an egg replacer to make these cookies vegan-friendly.
- Sugar Variations: Experiment with different types of sugar like brown sugar or powdered sugar for subtle flavor and texture changes.
Each of these variations can add a unique twist to the classic Danish Butter Cookies, making them even more irresistible!
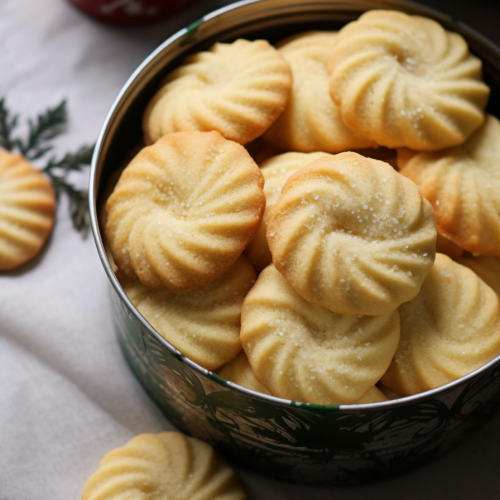
Danish Butter Cookies
Ingredients
- 227 grams of unsalted butter at room temperature
- 100 grams of granulated sugar
- 0.25 teaspoon of salt
- 1.5 teaspoons of vanilla extract
- 1 large egg
- 284 grams of all-purpose flour
- Additional granulated sugar for sprinkling
Instructions
- Oven Preparation: Initiate by preheating your oven to a temperature of 350 degrees Fahrenheit (approximately 175 degrees Celsius). Proceed to line two baking sheets with parchment paper or silicone baking mats to prevent sticking and facilitate easy removal of cookies post-baking.
- Creaming Process: In a medium-sized mixing bowl, commence by beating together the unsalted butter and granulated sugar. Utilize a medium speed setting and continue this process for approximately 1 to 2 minutes, or until the mixture attains a light and fluffy consistency. This step is crucial for incorporating air into the mixture, which aids in achieving the desired texture of the cookies.
- Incorporation of Wet Ingredients: Subsequently, introduce the salt, vanilla extract, and egg into the butter and sugar mixture. Continue to beat this amalgamation for about one minute, ensuring that these ingredients are uniformly distributed throughout the mixture.
- Flour Addition: Following the wet ingredients, gradually incorporate the all-purpose flour. This should be done at a low mixing speed to avoid overworking the dough, which can result in tough cookies. Mix until the ingredients are mostly amalgamated, taking care not to overmix. If necessary, employ a rubber spatula for a few final stirs, ensuring the complete integration of the flour. The resultant dough should be notably thick.
- Piping the Dough: Transfer the cookie dough into a decorating bag equipped with a large open star tip. Carefully pipe the dough onto the prepared baking sheets, forming 2-inch circles. After piping, lightly sprinkle the tops of the dough circles with additional granulated sugar, providing a sweet, crystalline finish upon baking.
- Baking Process: Place one baking sheet at a time into the preheated oven, baking the cookies for a duration of 15 to 17 minutes. The cookies should develop a light golden brown coloration, indicating they are adequately baked. This step-by-step baking approach ensures each cookie receives uniform heat and bakes evenly.
- Cooling and Storage: Post-baking, allow the Danish Butter Cookies to cool completely. This not only facilitates handling but also allows the cookies to set into their final texture and flavor profile. Once cooled, these cookies can be stored or served as desired.

