Indulge in the simplicity and decadence of No Bake Peanut Butter Bars! This easy-to-make treat combines melted salted butter, creamy peanut butter, powdered sugar, graham cracker crumbs, and a lush chocolate layer with chocolate chips and peanut butter. Perfect for a quick dessert or a sweet snack!
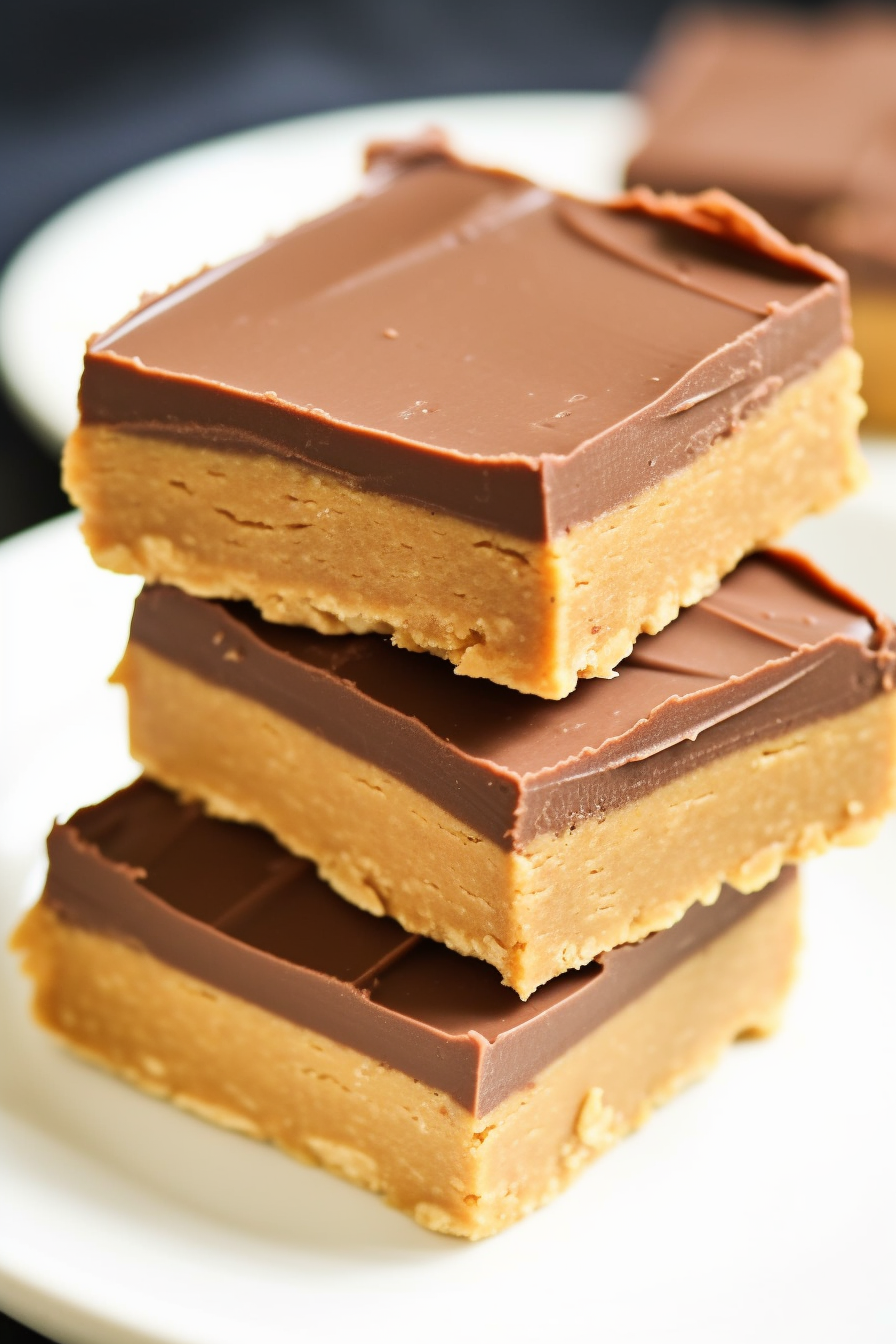
The Birth of My Go-To Comfort Treat: No Bake Peanut Butter Bars
I still vividly remember the rainy afternoon when I first whipped up these No Bake Peanut Butter Bars. Seeking comfort in something sweet and homemade, I scoured my pantry and found these five magical ingredients. The result? An irresistibly creamy, chocolatey treat that instantly lifted my spirits. Since then, these bars have become my fail-safe recipe for potlucks, last-minute guests, or simply when I need a quick dose of happiness. The best part? No oven required, and they’re ready in a jiffy!
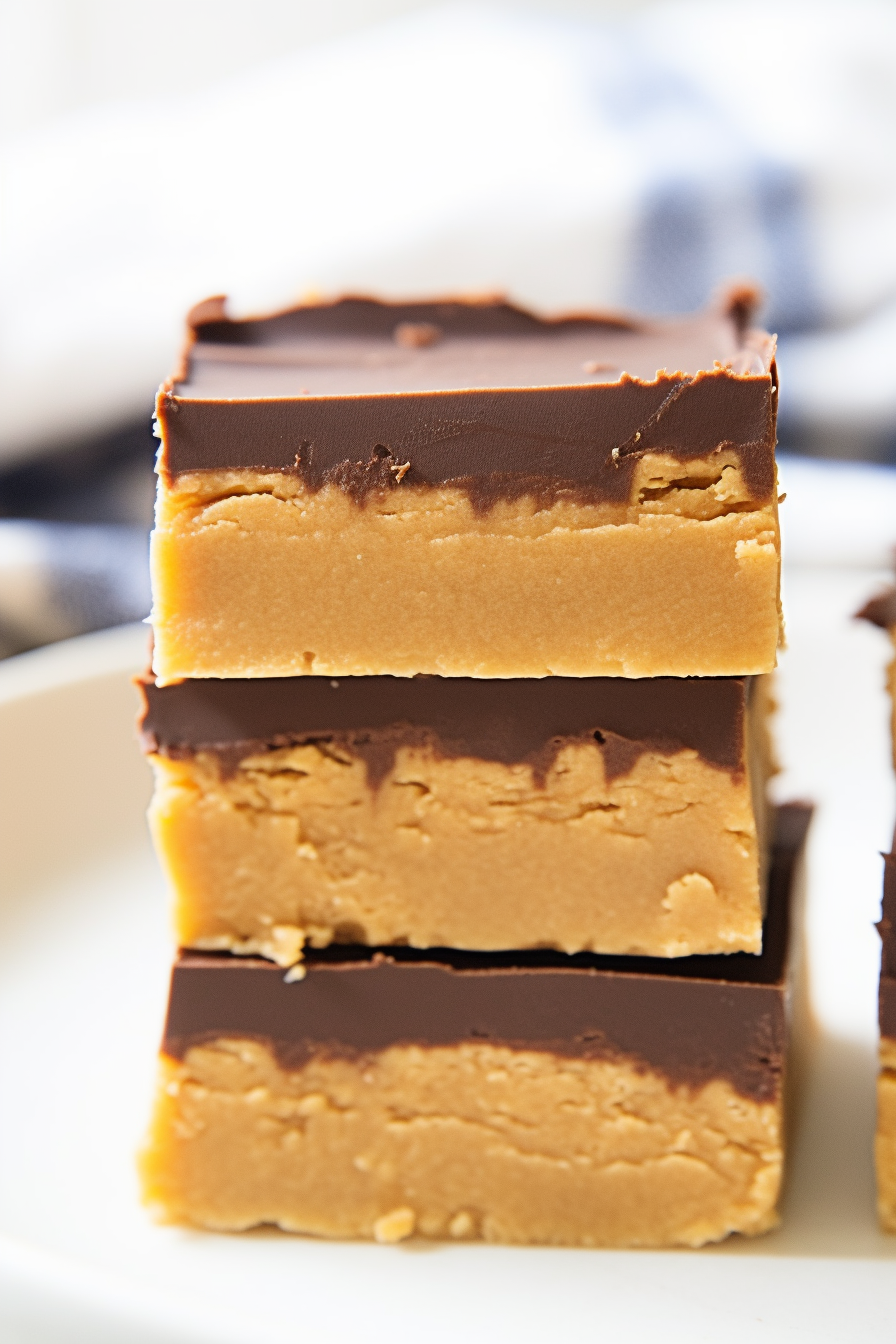
Why You’ll Love These No Bake Peanut Butter Bars:
- Effortless Preparation: With just 10 minutes of prep time, these bars are ideal for busy days or impromptu gatherings.
- No Baking Needed: Perfect for those hot summer days when turning on the oven feels like a chore.
- Rich & Decadent Flavor: A heavenly combination of chocolate and peanut butter that satisfies your sweet tooth.
- Versatility: Easily customizable with various toppings or ingredients for those who love a creative twist!
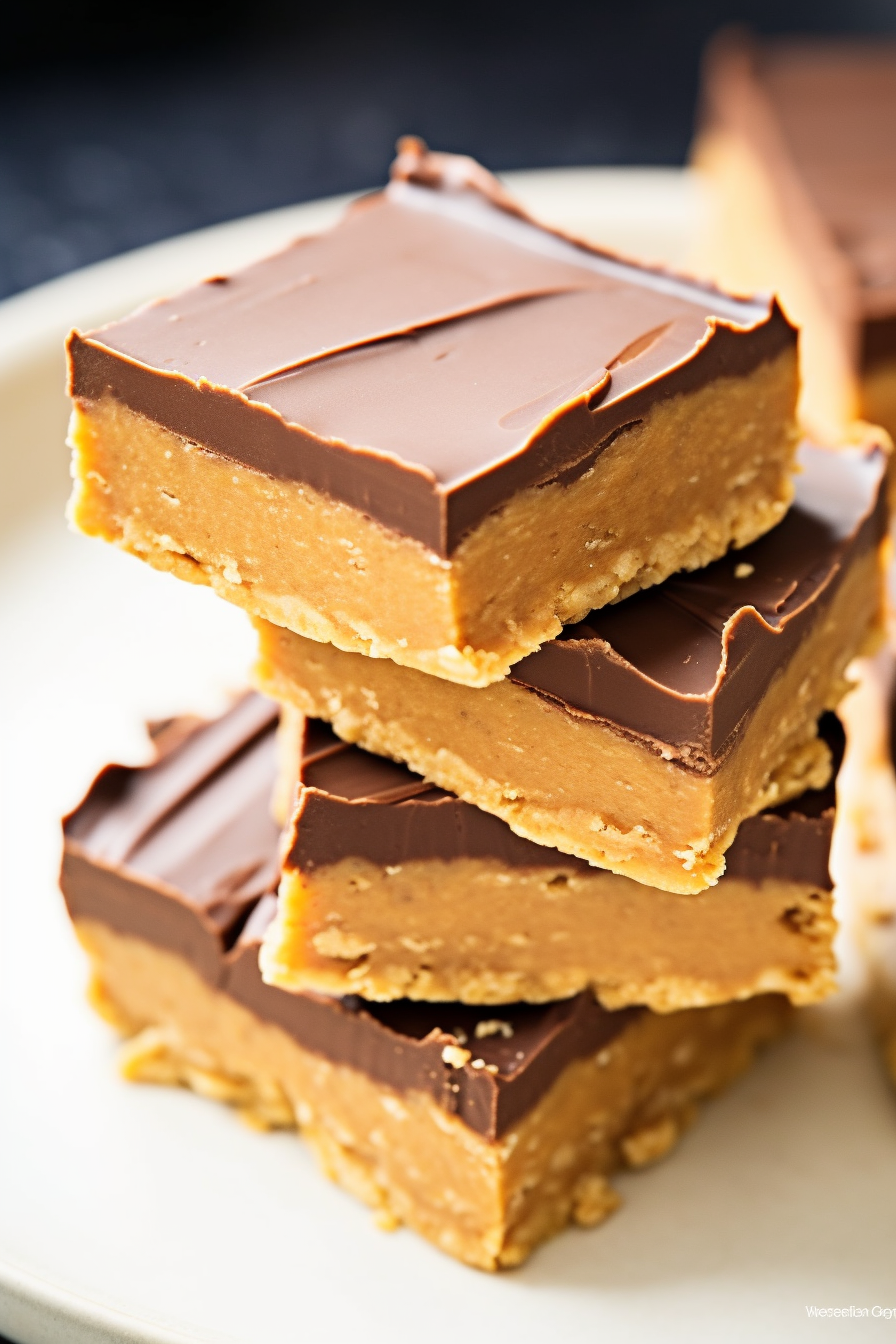
Mastering the Art of No Bake Peanut Butter Bars: Ingredient Insights
- Salted Butter: The saltiness balances the sweetness and enhances the flavors. Unsalted butter can work too, just add a pinch of salt.
- Creamy Peanut Butter: The star of the show! It adds a rich, nutty flavor. Chunky peanut butter can add a nice texture if you’re feeling adventurous.
- Powdered Sugar: It sweetens and helps to bind the ingredients. Granulated sugar isn’t recommended as it won’t blend as smoothly.
- Graham Cracker Crumbs: These add a delightful crunch and a base layer. You could experiment with other biscuit crumbs too!
- Chocolate Chips & Peanut Butter for the Topping: This duo creates a glossy, luscious top layer that perfectly complements the peanut butter base.
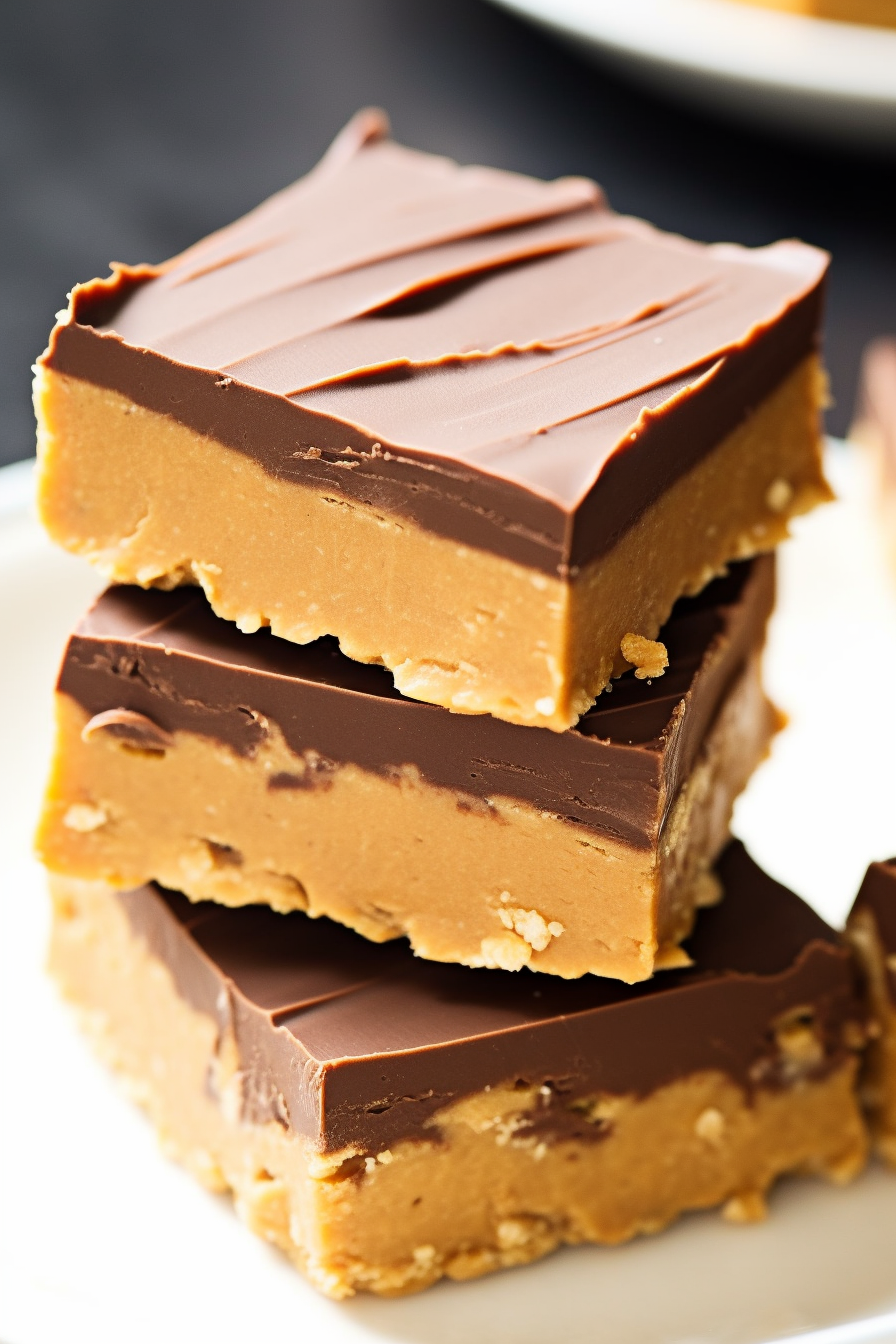
WANT TO SAVE THIS RECIPE?
Creating Magic in the Kitchen: No Bake Peanut Butter Bars Step-By-Step
- Preparation: Start by lining a 9-inch square pan. This is crucial for easy removal and perfect bar shapes.
- Mixing the Base: Combine melted butter and peanut butter. Aim for a creamy and homogenous mixture – this is the foundation of your bars.
- Incorporating Powdered Sugar: Sift and mix in the sugar thoroughly. This step ensures a smooth, even texture without any lumps.
- Adding Graham Cracker Crumbs: Fold in the crumbs in two batches. The goal is to reach a dough-like consistency that’s easy to mold.
- Forming the Base Layer: Press the mixture into your pan. Be diligent in spreading it evenly, especially into the corners.
For the Chocolate Layer:
- Melting Chocolate and Peanut Butter: Use a microwave-safe bowl and heat in short bursts. Stir to achieve a smooth, glossy chocolate mixture.
- Spreading the Chocolate Layer: Pour and spread this over your peanut butter base. A spatula helps in getting an even layer.
- Chilling: Refrigerate for 1.5 hours or until set. This patience pays off with perfectly set bars.
- Serving: Lift, slice, and serve! Enjoy the fruits of your minimal labor with maximum flavor.
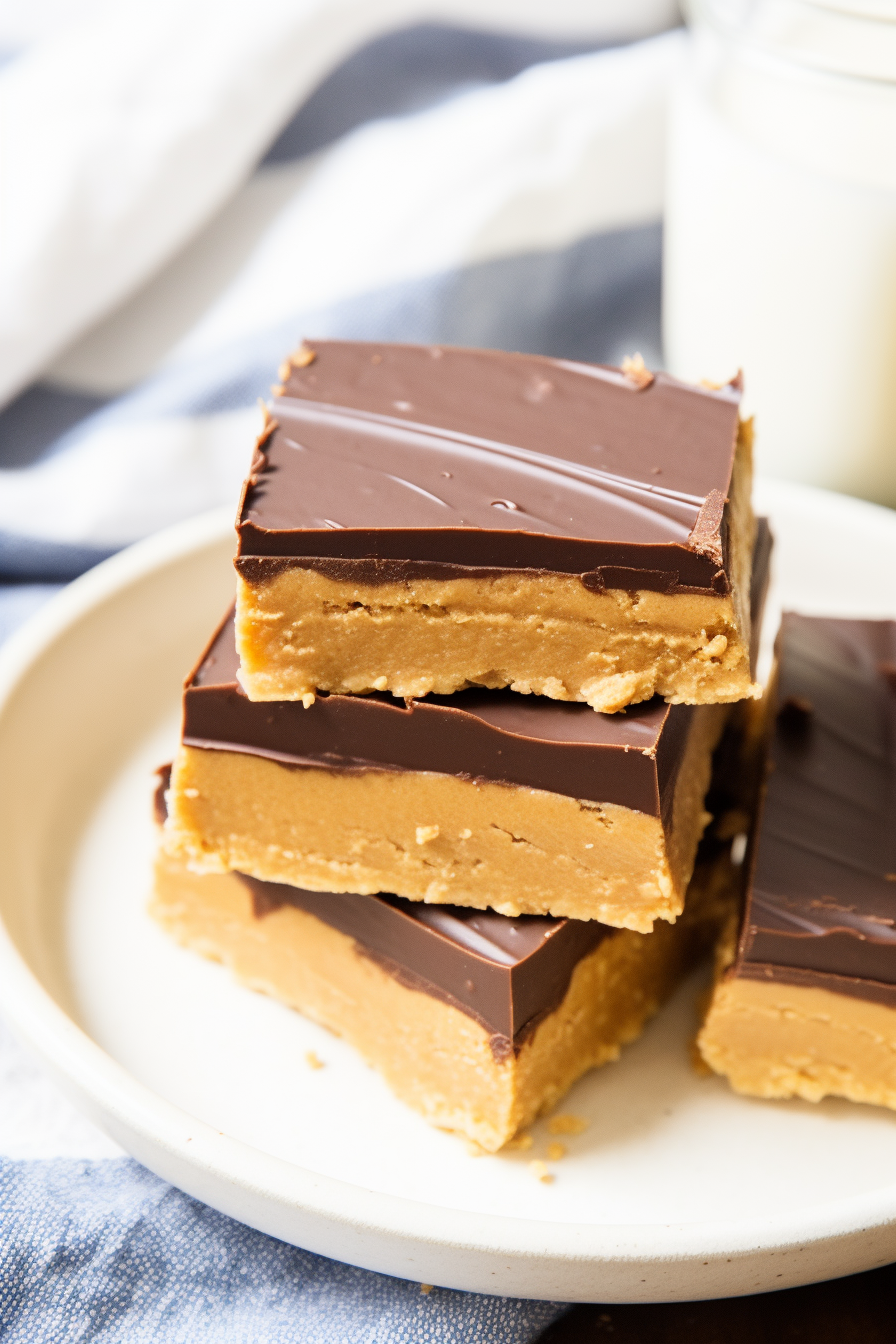
Keeping the Goodness Fresh: Storing No Bake Peanut Butter Bars
These bars can be stored in an airtight container in the refrigerator for up to a week, making them perfect for savoring slowly or for a ready-to-go treat. For longer storage, freeze them individually wrapped in cling film for up to 3 months. Just thaw at room temperature for a bit before indulging!
Customizing Your No Bake Peanut Butter Bars: Ideas Galore
- Nut Butter Variations: Swap peanut butter with almond, cashew, or sunflower seed butter for a different twist.
- Vegan Options: Use plant-based butter and chocolate chips to cater to vegan preferences.
- Add-Ins & Toppings: Sprinkle crushed nuts, sea salt, or even mini marshmallows on top for added texture and flavor.
- Biscuit Base Alternatives: Experiment with different biscuit crumbs like Oreos or digestives for a unique base flavor.
Enjoy the journey of creating these scrumptious, no-bake wonders and feel free to add your own personal twist! 🍫🥜✨
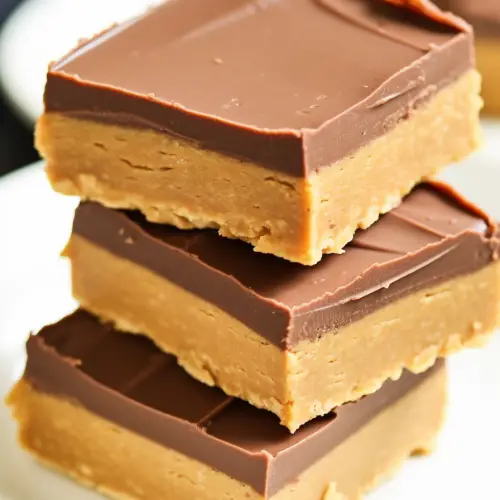
No Bake Peanut Butter Bars
Ingredients
Base Layer:
- 1 cup of salted butter melted
- 1 cup of creamy peanut butter
- 2 cups of powdered sugar
- 2 cups of graham cracker crumbs
Chocolate Layer:
- 1 cup of chocolate chips
- 2 tablespoons of creamy peanut butter
Instructions
Preparation of Base Layer:
- Preparation of Pan: Line a 9-inch square baking pan with parchment paper or aluminum foil, ensuring edges extend over the sides for easy removal.
- Combining Butter and Peanut Butter: In a large mixing bowl, whisk together melted butter and peanut butter until smooth and well-combined.
- Incorporating Powdered Sugar: Gradually sift powdered sugar into the butter mixture, stirring continuously until fully integrated.
- Adding Graham Cracker Crumbs: Gently fold in graham cracker crumbs in two separate additions, ensuring each is thoroughly blended into the mixture to achieve a consistent, dough-like texture.
- Forming the Base: Transfer the mixture into the prepared pan. Press down firmly and evenly to form a compact and even base layer, paying particular attention to the corners and edges.
Preparation of Chocolate Layer:
- Melting Chocolate and Peanut Butter: Combine chocolate chips and peanut butter in a small, microwave-safe bowl. Heat in 30-second intervals, stirring between each, until the mixture is uniformly melted and smooth.
- Application of Chocolate Layer: Pour the melted chocolate mixture over the prepared base layer, using a rubber spatula to spread it evenly across the surface.
- Chilling: Refrigerate the pan for a minimum of 1 hour and 30 minutes, or until the chocolate layer is fully set and firm.
- Slicing and Serving: Once set, use the overhanging edges of parchment paper or foil to lift the contents out of the pan. Cut into desired bar sizes and serve.

