Indulge in nostalgia with these Orange Creamsicle Truffles, a delightful blend of white chocolate, orange zest, and heavy cream. Perfect for parties and gifts, they’re an easy-to-make treat that will transport you back to your childhood!
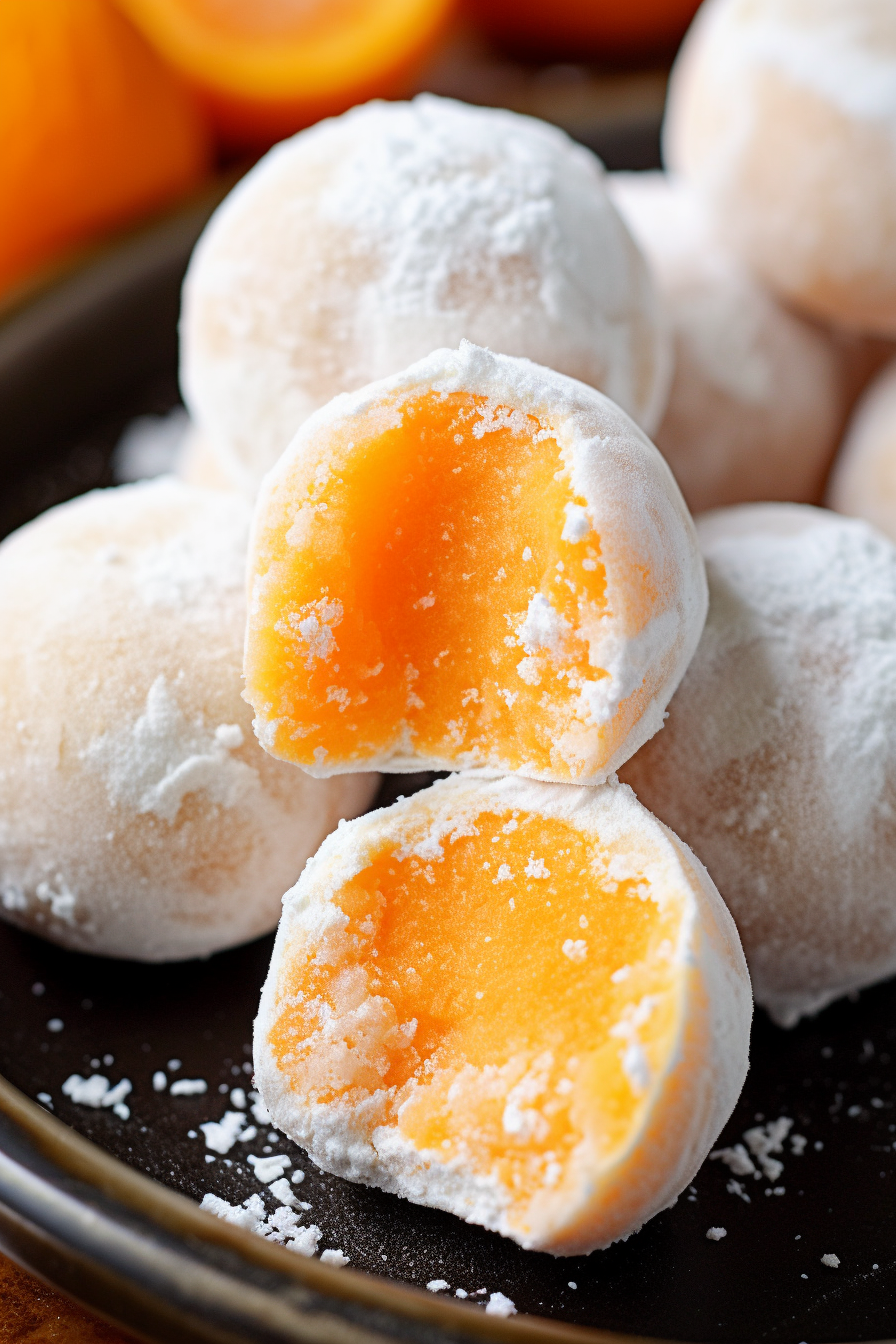
Let me take you on a journey back to my childhood summers, where the highlight was the jingle of the ice cream truck and the bliss of an orange creamsicle. Fast forward to adulthood, and my quest to recreate that joy led to these heavenly Orange Creamsicle Truffles. One bite, and I’m instantly teleported back to those carefree, sun-kissed days. It’s more than a recipe; it’s a time machine to my happiest memories!
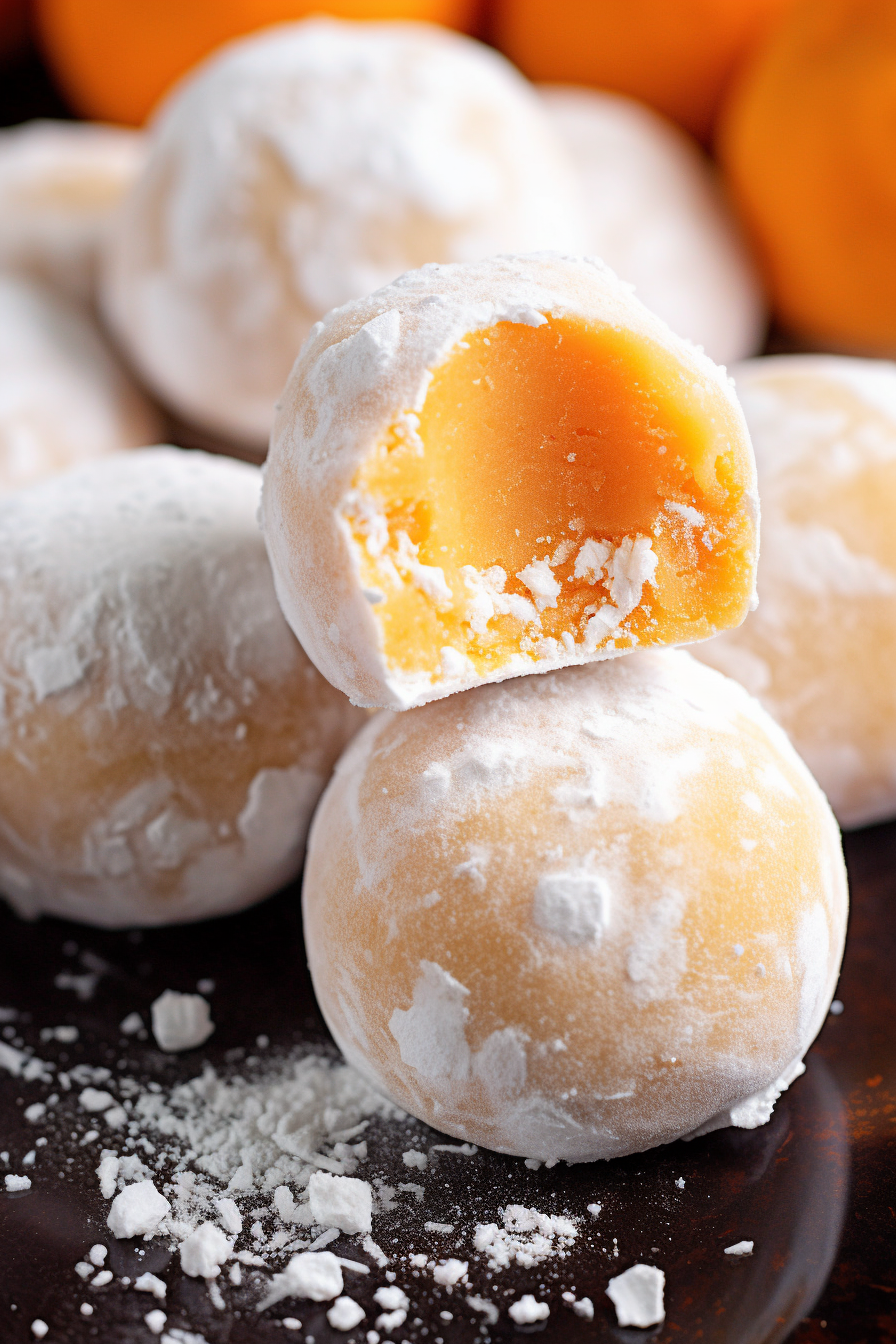
Why You’ll Love Orange Creamsicle Truffles
- Nostalgia in a Bite: These truffles capture the iconic flavor of a childhood favorite.
- Simplicity and Elegance: With just a handful of ingredients and no complex techniques, these truffles are deceptively simple to make but look and taste gourmet.
- Versatile Delight: Perfect for parties, gifting, or as a luxurious treat for yourself.
- Customizable: Add your twist with optional food coloring or play around with the coatings for a personalized touch.
Ingredients Notes For Orange Creamsicle Truffles
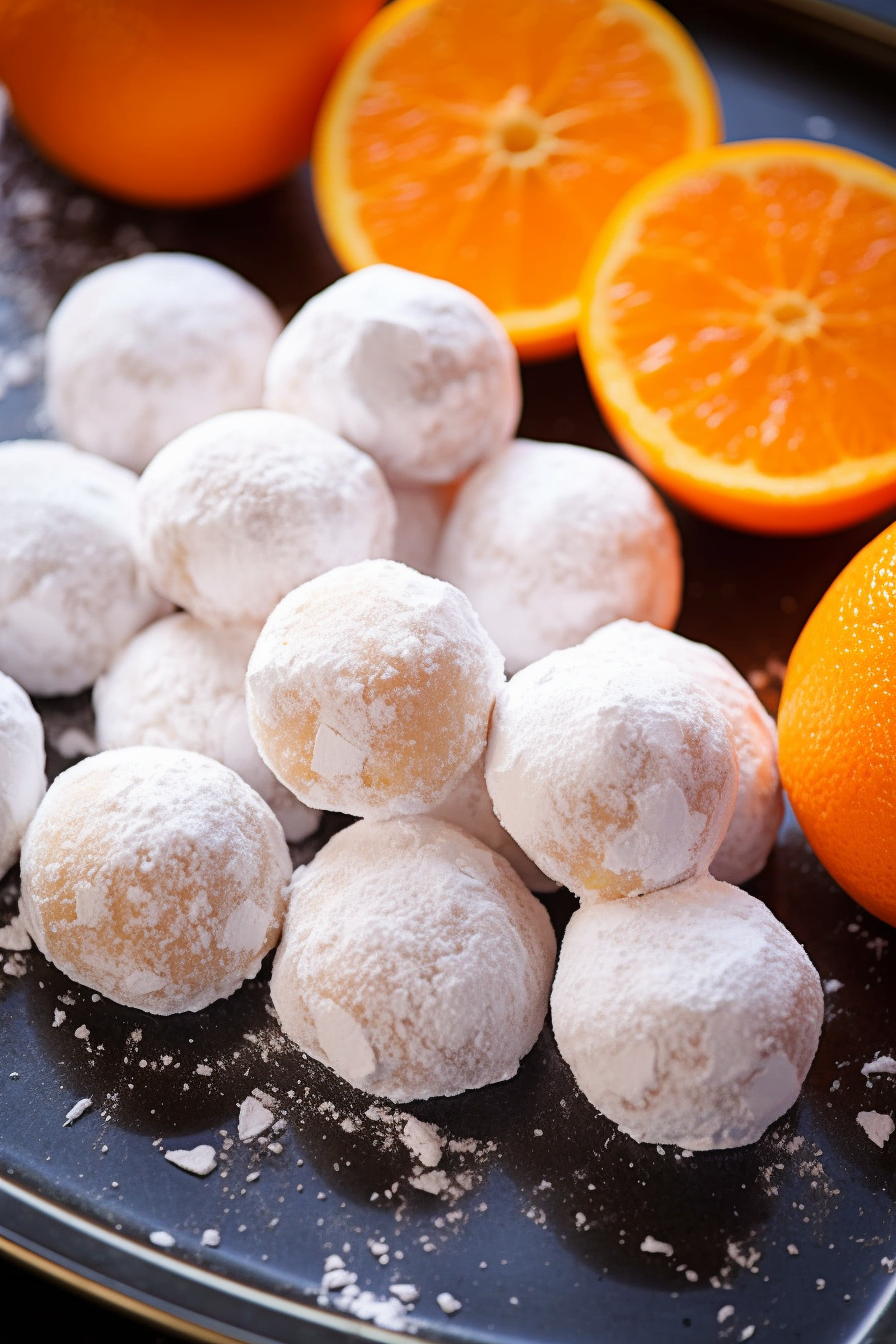
Starting off with the basics, we’ve got white chocolate for that creamy, dreamy texture. Unsalted butter and heavy whipping cream form the rich base, while orange zest and extract infuse the truffles with that irresistible creamsicle flavor. Optional orange food coloring adds a fun, vibrant twist. Finally, powdered sugar – half for the mixture and half for the coating, bringing it all together in a sweet, velvety finish.
WANT TO SAVE THIS RECIPE?
Just drop your email here and I'll send it right away! Plus you'll get new recipes from me every week. Yes please!
How To Make Orange Creamsicle Truffles
Dive into the art of truffle-making with this easy, step-by-step guide to creating Orange Creamsicle Truffles. From melting chocolate to rolling the perfect truffle, each step is detailed to ensure success even for beginners.
- Preparation: Start by setting up your workspace with chocolate, a strainer, and a spatula. Organization is key!
- Infusing Butter: Heat butter and orange zest, whisking to release the flavors. It’s all about infusing that citrus aroma.
- Adding Cream: Whisk in the cream until it bubbles slightly, a crucial step for texture.
- Straining Over Chocolate: Pour this through a strainer onto the chocolate. Patience here pays off as you extract every drop of flavor.
- Mixing and Coloring: Let it sit, then add extract and optional coloring. Whisk to a near-smooth consistency.
- Chilling the Mixture: Freeze until it’s firm but workable – a delicate balance.
- Preparing for Rolling: Get your powdered sugar ready in two containers. This is where it gets a bit messy but fun!
- Forming Truffles: Scoop, roll, and coat each truffle in sugar. This is the moment where magic happens!
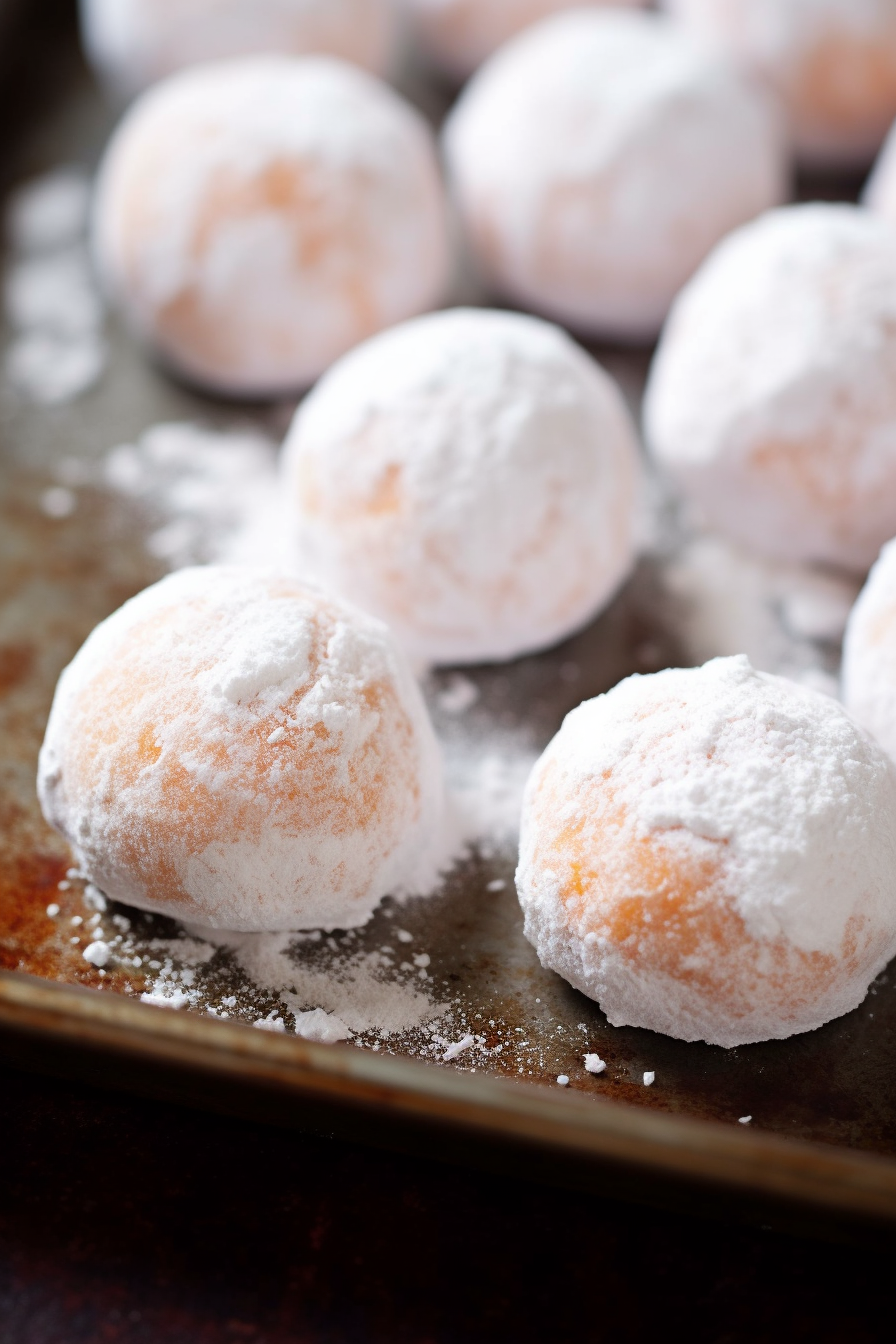
- Final Coating: Shake the truffles in extra sugar for a snowy finish. It’s all about the final touches.
- Final Chill: Back to the freezer for the last firm-up. Anticipation builds here!
- Serving: Time to enjoy your creation. Each truffle is a bite of pure joy!
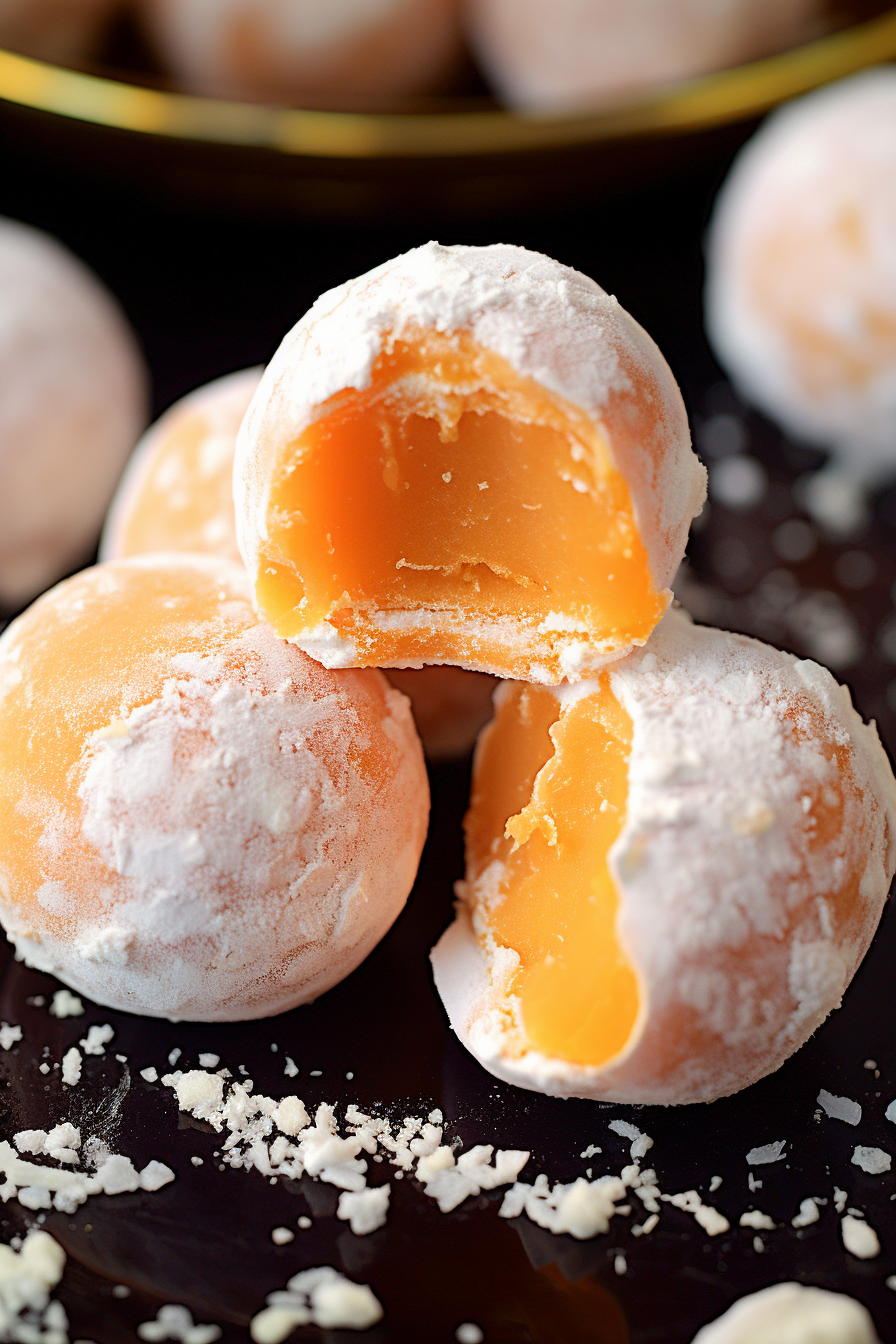
Storage Options
These Orange Creamsicle Truffles are as versatile in storage as they are in flavor. In the fridge, they’ll stay fresh for a week – perfect for savoring slowly. In the freezer, they can last up to a month, ideal for unexpected guests or those sudden cravings. Just remember to let them thaw a bit for that perfect creamy texture!
Variations and Substitutions
- Chocolate Twist: Swap white chocolate for milk or dark for a different flavor profile.
- Dairy-Free Delight: Use coconut oil and dairy-free cream for a vegan version.
- Zest Variations: Lemon or lime zest can offer a tangy alternative.
- Extract Experimentation: Vanilla or almond extract can add a new dimension.
- Color Play: Skip the food coloring or try different shades for a fun twist.
- Coating Creativity: Roll in cocoa powder, crushed nuts, or sprinkles for a unique finish.
Remember, the kitchen is your canvas – feel free to get creative with these Orange Creamsicle Truffles! 🍊✨
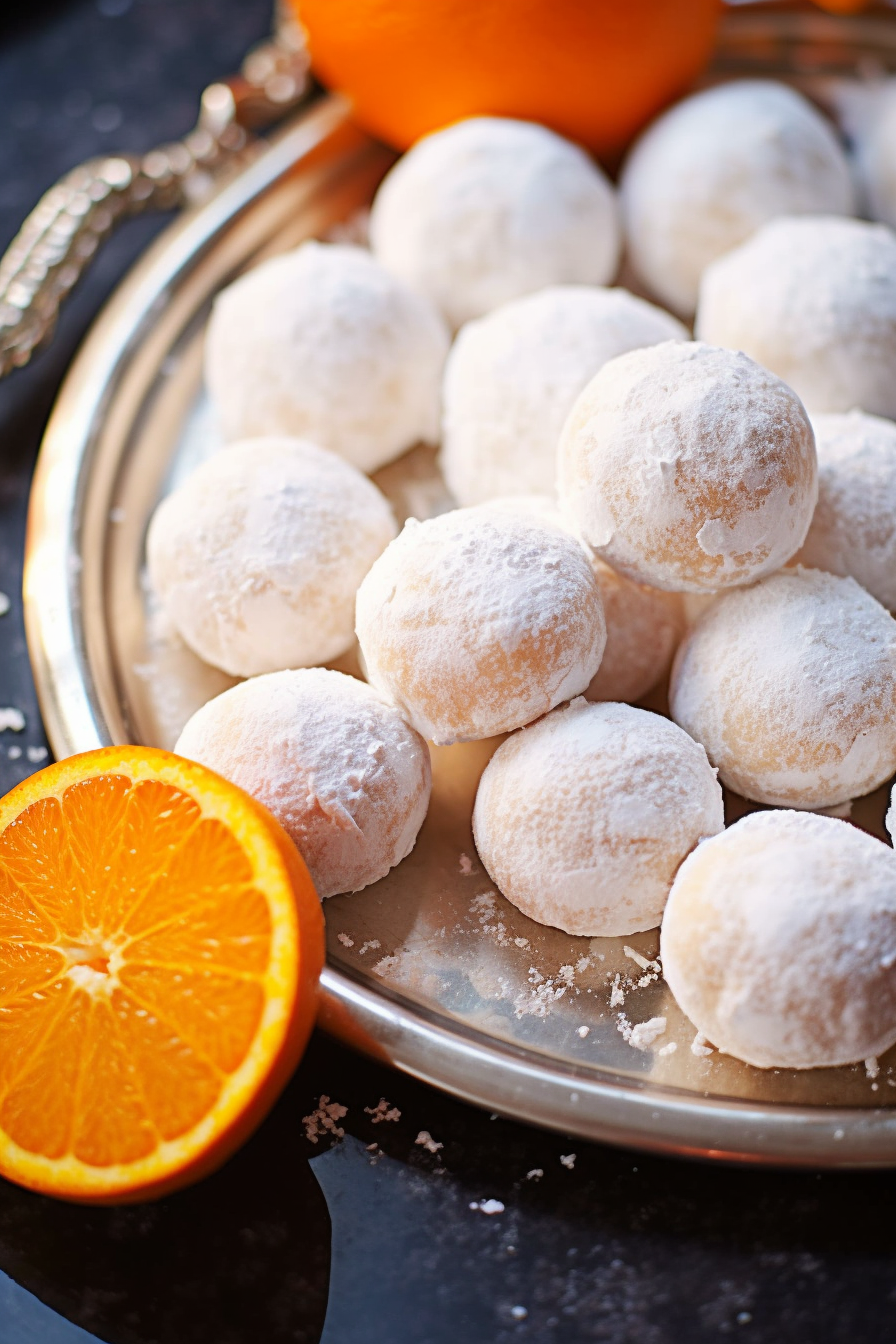
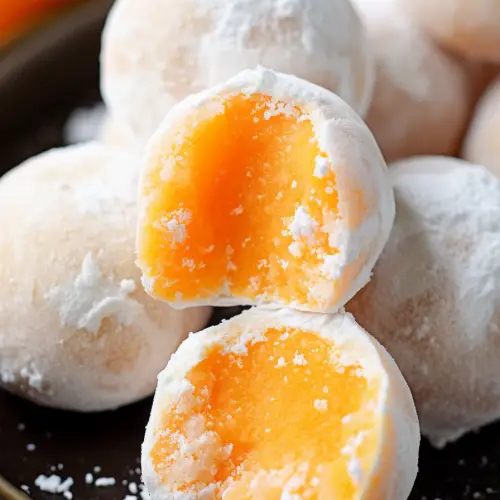
Orange Creamsicle Truffles
Ingredients
- 1 cup of finely chopped high-quality white chocolate
- 1/4 cup of unsalted butter
- 2 tablespoons of freshly grated orange zest
- 3 tablespoons of heavy whipping cream
- 1/2 teaspoon of pure orange extract
- Optional: oil-based orange food coloring
- 1/2 cup of confectioners’ sugar divided for use
Instructions
- Preparation: Arrange the white chocolate in a small, sealable container, ensuring it is easily accessible. Position a strainer and a spatula within reach for later use.
- Infusing the Butter: In a small saucepan placed over a medium flame, combine unsalted butter and orange zest. Bring the mixture to a boil, stirring continuously. Once it reaches a boiling point, maintain the boil for one minute, ensuring constant agitation.
- Incorporating Cream: While continuously stirring, gradually add the heavy whipping cream to the saucepan. Persist in cooking and stirring for an additional 1 to 2 minutes, or until bubbles start forming along the pan's edges. Upon reaching this stage, remove the saucepan from the heat source.
- Straining and Combining: Position the strainer over the container containing the white chocolate. Pour the hot orange butter mixture through the strainer, utilizing the spatula to press the orange zest against the mesh to extract maximum flavor. Discard the residual contents of the strainer.
- Mixture Melting: Allow the mixture to sit undisturbed for one minute. Then, add the orange extract and, if using, the orange food coloring. Whisk the mixture until most of the chocolate has melted, though a few solid pieces may remain.
- Chilling: Seal the container and place it in the freezer for approximately one hour, or until the mixture attains a firm enough consistency to be handled.
- Sugar Coating Preparation: Place 1/4 cup of the confectioners' sugar in a new sealable container and the remaining 1/4 cup in a small bowl. Prepare several damp cloths or paper towels for cleaning purposes.
- Forming Truffles: Remove the truffle mixture from the freezer. Utilizing a spoon or a cookie scoop, extract approximately one tablespoon of the mixture. Roll the mixture between your palms to form a ball, then roll the ball in the powdered sugar bowl to coat evenly. Transfer the coated truffle to the prepared sugar container. Repeat this process until all the mixture has been used.
- Final Coating: Once all truffles are formed and placed in the storage container, seal the container and gently shake it to cover the truffles with the remaining powdered sugar.
- Final Chilling: Transfer the container back to the freezer and let the truffles chill for an additional hour, or until they achieve a firm consistency.
- Serving: The truffles are now ready to be served. They can be presented as desired, whether as a sophisticated dessert or as a refined gift.

