Indulge in the classic flavors of our Boston Cream Pie recipe, featuring a tender vanilla sponge, creamy vanilla pastry, and rich chocolate ganache for a truly irresistible dessert.
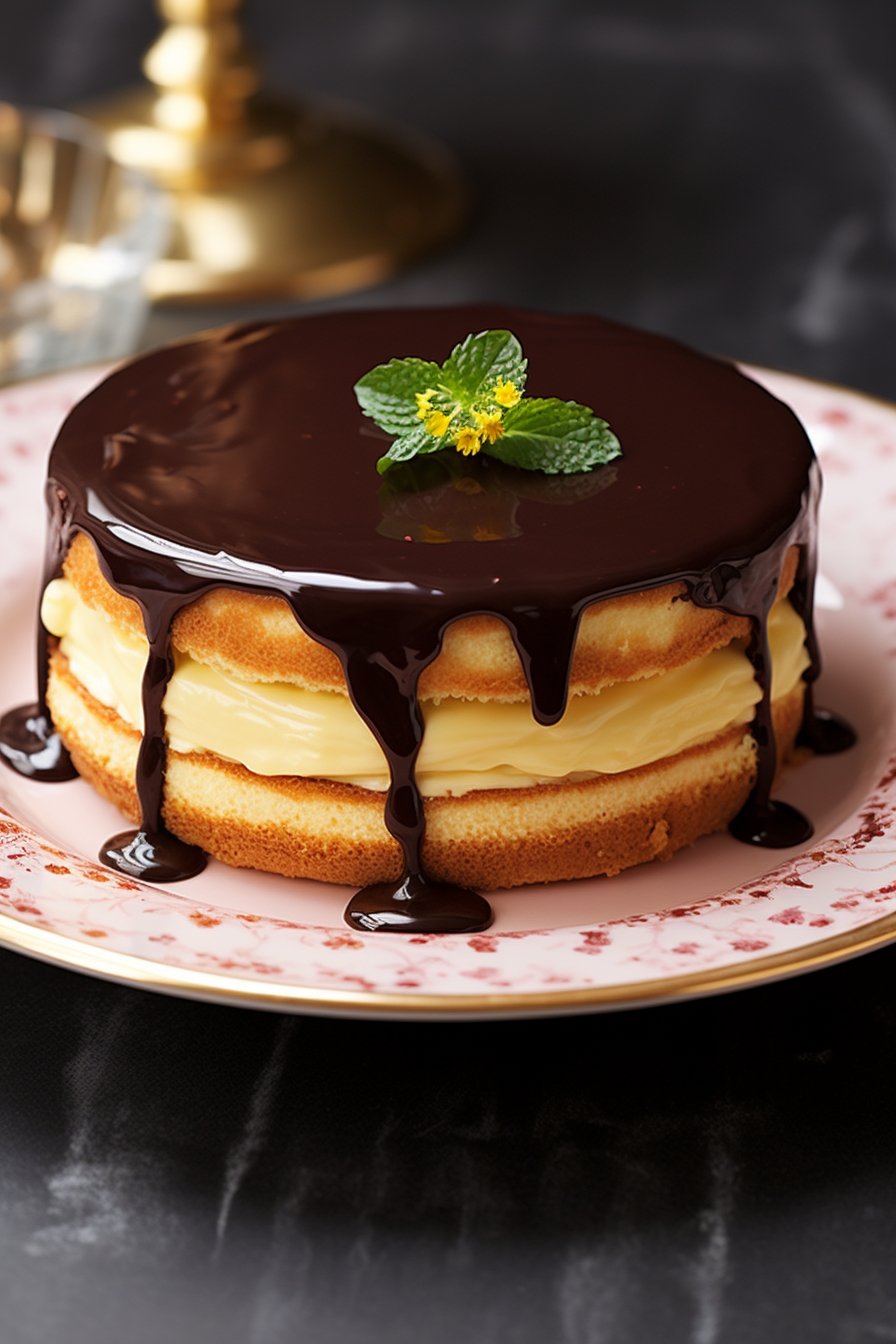
Every family has that one legendary recipe that’s passed down through generations, and in my home, that crown jewel has always been our Boston Cream Pie. It’s not just a dessert; it’s a treasure trove of giggles, flour fights, and the sweet aroma of vanilla that filled our kitchen on Sunday afternoons. Growing up, I’d stand on a rickety stool, wide-eyed, as my grandma artfully whipped the pastry cream, her hands moving with the kind of precision only decades of baking could bestow. The sponge would rise in the oven like our expectations, and the final drizzle of the chocolate ganache was as much a ceremony as it was a recipe step. It wasn’t just about the eating; it was about the togetherness that this pie, or rather, cake, symbolized. And now, with a whisk in my hand and nostalgia in my heart, I share our family’s Boston Cream Pie recipe, so you too can create memories one delicious slice at a time.
Why You’ll Love Boston Cream Pie:
- Our Boston Cream Pie recipe remains true to the classic American version, ensuring an authentic taste that’s hard to beat.
- We use room-temperature ingredients to ensure the cake has the perfect texture and the pastry cream mixes to silky perfection.
- By opting for bittersweet chocolate instead of the typical semi-sweet in the ganache, our pie strikes the perfect balance between sweet and rich.
Ingredients Notes For Boston Cream Pie:
Before you dive into creating this masterpiece, let’s chat about the star players in your baking lineup.
First off, those eggs? Make sure they’re as cozy at room temperature as you are in your favorite sweater. This helps them blend seamlessly into your batter for the fluffiest cake. And speaking of fluffy, our all-purpose flour is like the trusty sidekick, with just enough baking powder to give it that little lift it needs. Don’t forget to invite kosher salt to the party—it’s the pinch that brings out the best in everyone. Vanilla extract is the secret handshake of baking; it’s what makes everything taste like magic. Heavy whipping cream and bittersweet chocolate come together for a ganache that’s basically a chocolate hug for your cake. And for the pièce de résistance, that pastry cream—oh, you’ll want those yolks and sugar whipped up like they’re trying out for the Olympics, with cornstarch as the coach ensuring they go the distance to thick and creamy glory. So, gather these characters, and let’s bake a story!
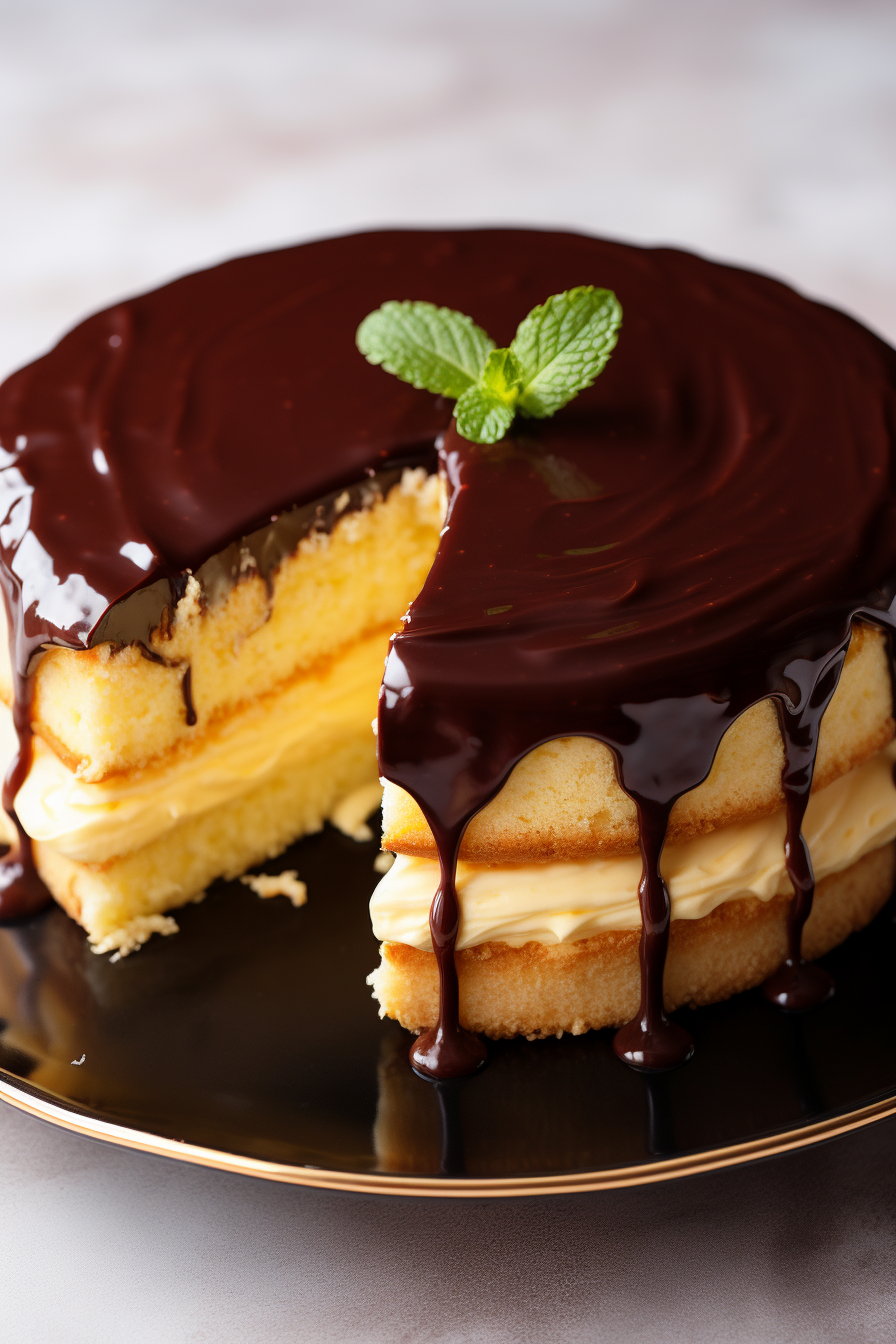
WANT TO SAVE THIS RECIPE?
How To Make Boston Cream Pie:
Alright, fellow baking enthusiasts, roll up your sleeves and tie that apron tight – we’re about to embark on a culinary adventure that’ll end with the grand creation of the Boston Cream Pie! No need to feel intimidated; I’ll guide you through each step as if we’re two friends baking and chatting in your kitchen. Let’s create some sweet, sweet magic together!
- Prepping the Pastry Cream: We start our dessert symphony with the melody of milk and vanilla, heating them up just enough to be steamy but not boiling over with excitement. A whisk here and a sift there turn yolks and sugar into a light and dreamy mixture, with cornstarch jumping in to ensure there’s not a lump in sight. Then we’ll play a game of back and forth, adding milk to the eggs, and eggs to the milk – it’s like a culinary tango that results in the silkiest pastry cream you’ll ever meet. Once they’ve thickened up from the heat, a bit of butter smooths everything out. Then, off to the chill zone it goes, with a plastic wrap snug against it like a cozy blanket.
- Baking the Cake: The oven gets a preheat, because it needs to warm up just like we do on a chilly morning. Your cake pan gets the spa treatment with butter, flour, and parchment paper because we want nothing sticking. The flour, baking powder, and salt are whisked together like a soft cloud, awaiting their turn. The eggs and sugar get beaten until they’re ribbon dancers in a bowl, airy and light. The milk and butter turn into a steamy pool of liquid richness, then merge with the dry ingredients. Vanilla joins the party and then everything gets mixed into a smooth batter. It’s poured into the pan like a golden sunrise and baked until it’s as perfect as a crisp autumn day.
- Assembling the Masterpiece: It’s surgery time, but with a cake, as we slice it horizontally with the precision of a seasoned baker. The bottom layer is placed on a plate, ready to be smothered with that cool, creamy pastry cream, but don’t go too close to the edge – we’re not about messy overhangs here. The top layer gently covers it up, and it’s off to the fridge to chill, like it’s at a day spa for cakes.
- Ganache Glamour: This final step is like putting jewelry on a little black dress. Heavy cream is heated until it whispers steam, then poured over chopped chocolate that melts into a glossy pool of luxury. This chocolate velvet is then draped over the chilled cake, cascading down the sides in an elegant waterfall of sweetness.
And voila! You’ve just baked a masterpiece worthy of a Boston bakery window – or at least your Instagram feed.
Storage Options:
Okay, so let’s talk about the aftermath – assuming there’s any of this Boston Cream Pie left to store. First off, you can keep this beauty in the fridge, tightly wrapped in plastic or under a dome worthy of a royal wedding, for a couple of days. But, let’s be real, chances are it’s going to vanish faster than your diet resolutions on New Year’s. If you’re a forward-thinker and want to prep ahead, the unassembled cake layers and pastry cream can hang out in the fridge separately for a day or two. As for freezing, it’s a no-go zone for the assembled cake – that ganache will throw a frosty fit, and the pastry cream might weep like it’s watching a rom-com. But, you can freeze the sponge layers, wrapped up like a mummy in plastic wrap, for a couple of months. Just thaw them out in the fridge overnight when you’re ready to create your masterpiece.
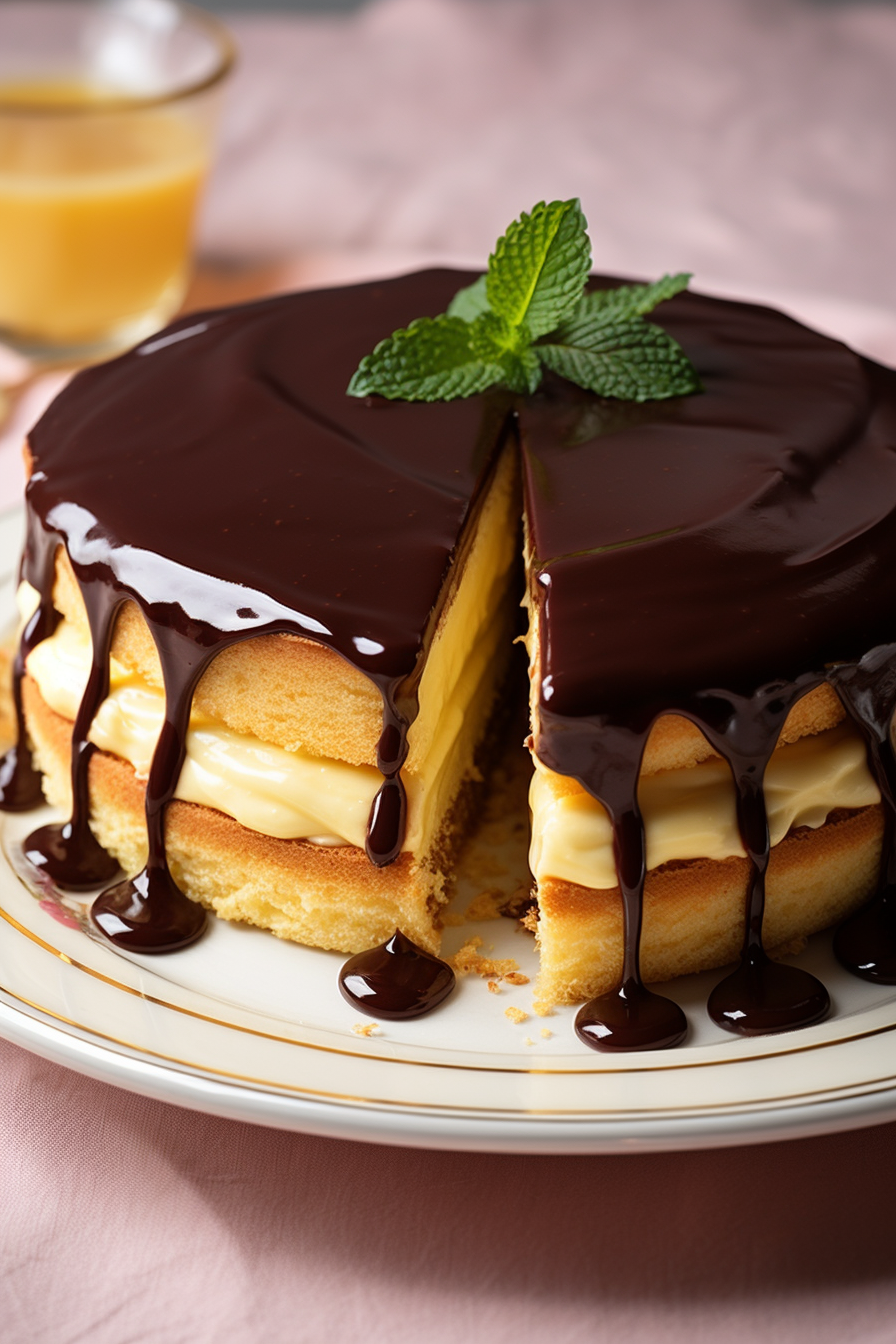
Variations and Substitutions:
- Let’s stir up some creativity with your Boston Cream Pie! If you’re feeling adventurous or just missing an item or two, here are some switcheroos and twirls you can perform:
- Swap the Sponge: Not into the classic vanilla sponge? How about an almond-flavored cake for a nutty twist? Just add some almond extract in place of the vanilla.
- Vegan Vibes: Need to ditch the dairy and eggs? There are vegan substitutes like almond milk, vegan butter, and egg replacers waiting in the wings.
- Chocolate Change-Up: If bittersweet chocolate is too intense for your sweet tooth, feel free to use milk chocolate for a ganache that’s smoother than a jazz tune.
- Berry Blast: Want to add a fruity punch? Layer some fresh berries between the cake and the pastry cream for a berry-licious surprise.
- Gluten-Free Game: Got a grudge against gluten? Swap out the all-purpose flour for your favorite gluten-free blend and make sure it’s a 1:1 type so your cake doesn’t turn into a pancake.
- Sugar Shuffle: If cane sugar isn’t your jam, granulated white sugar can step in without missing a beat. Or, if you’re watching your sugar intake, some splenda can make a decent understudy.
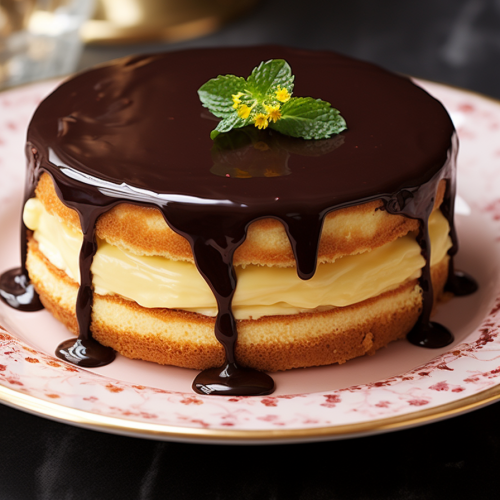
Boston Cream Pie
Ingredients
Vanilla Sponge Cake:
- 2 large eggs at room temperature
- 1 cup cane sugar
- ½ cup whole milk
- 5 tablespoons unsalted butter
- 1 cup plus 2 tablespoons of all-purpose flour
- 1¼ teaspoons baking powder
- ¼ teaspoon kosher salt
- 2 teaspoons pure vanilla extract
Vanilla Pastry Cream:
- 6 egg yolks at room temperature
- 2/3 cup sugar
- 1/4 cup cornstarch
- 1 tablespoon pure vanilla extract
- 2 cups whole milk
- 1 tablespoon unsalted butter
Chocolate Ganache:
- ¼ cup heavy whipping cream
- 4 ounces bittersweet chocolate finely chopped
Instructions
For the Vanilla Pastry Cream:
- Begin by pouring the milk into a medium saucepan. Place over medium heat and bring the mixture to a simmer. Once simmering, remove from heat immediately and set aside.
- In a separate large bowl, vigorously whisk together the egg yolks and sugar until the mixture becomes light in color and thickened in texture. Sift the cornstarch into the egg mixture and continue to whisk vigorously until the mixture is smooth and free of lumps.
- Gradually whisk in approximately 1/4 cup of the hot milk mixture into the egg mixture to temper the yolks. Following this, incorporate the remaining hot milk mixture.
- Strain the combined mixture back into the saucepan through a fine-mesh sieve. Return the saucepan to medium-high heat and cook the mixture, whisking constantly, until it has thickened and reached a slow boil. Continue to cook and whisk for an additional 1-2 minutes post-thickening.
- Remove the saucepan from the heat and stir in the butter until it is fully integrated. Allow the pastry cream to cool slightly before covering it with plastic wrap, ensuring the plastic is in direct contact with the surface to prevent skin formation. Refrigerate the pastry cream until it is fully chilled and set.
For the Vanilla Sponge Cake:
- Preheat your oven to 350°F (175°C). Prepare an 8-inch round cake pan by spraying it with baking spray or buttering and flouring it. Line the bottom with a circle of parchment paper and apply another layer of spray or butter and flour.
- Whisk together the all-purpose flour, baking powder, and kosher salt in a mixing bowl until thoroughly combined. Set aside.
- In the bowl of a stand mixer fitted with the whisk attachment, or using a large bowl with a hand mixer, beat the eggs and sugar on medium speed until the mixture is pale, thick, and fluffy, approximately 4 minutes. The mixture should leave a trail when the beater is lifted.
- Heat the milk and butter together in a microwave-safe container until the butter is melted and the milk is steaming, using 30-second intervals at high power.
- Reduce the mixer speed to low and gradually add the dry ingredient mixture to the egg mixture until just combined. Stir the vanilla into the hot milk mixture, then slowly add this to the batter, continuing to beat until fully combined.
- Transfer the batter into the prepared cake pan. Bake in the preheated oven until a toothpick inserted into the center comes out clean, and the cake begins to pull away from the sides of the pan, approximately 33 minutes.
- Allow the cake to cool in the pan for a few minutes before inverting it onto a wire rack to cool completely.
For the Assembly:
- Once the cake is cool, slice it horizontally to create two even layers. Place the bottom layer, cut side up, on a serving plate. Evenly spread the chilled pastry cream over the bottom cake layer, leaving approximately a 1-inch border around the edge.
- Carefully place the top layer of the cake over the pastry cream, pressing down gently to ensure the cream reaches the edges. Refrigerate the assembled cake for a minimum of 2 hours to set, or leave overnight. If chilling for more than two hours, cover the cake with plastic wrap or a dome.
For the Chocolate Ganache:
- At the time of serving, heat the heavy whipping cream in a microwave-safe bowl until it is steaming, approximately 1 minute. Add the finely chopped chocolate to the cream without stirring, and allow it to stand for 5 minutes.
- After the chocolate has softened, stir the mixture until it becomes a smooth ganache. Pour the ganache over the top of the chilled cake, using a spatula to spread it evenly to the edges.



One Response
This is a lovely recipe and I made it gluten free with 1 to 1 gluten free flour. Next time I will use cake flour I make by removing some of the blend and replacing it with tapioca starch, then sifting the new mixture twice. That will make a lighter, spongier cake, I know. Other than my cake being a bit dense, this turned out beautifully. Looks like the picture! And the pastry cream is wonderful and kind of fun to make. And the ganache is a cinch! With all parts I caution against over cooking, to keep everything a tender texture. Delicious! And a fun surprise for my friends. None of us had had this in years and years.