Indulge in homemade Butter Tart Squares with a rich shortbread base and a luscious brown sugar filling. Perfect with or without nuts and raisins, these squares are a delightful twist on a classic dessert, baked to perfection in just one hour!
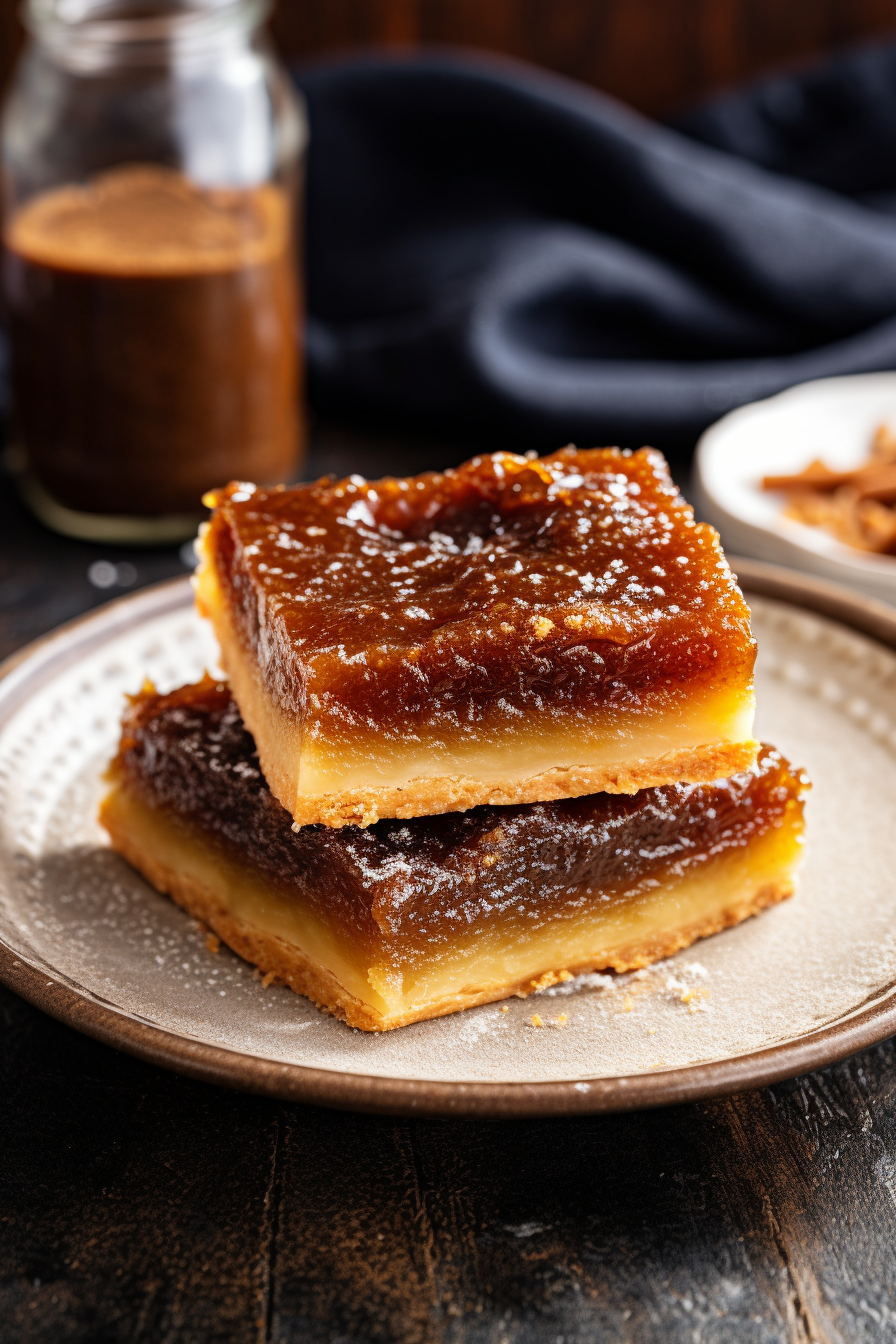
You know, there’s something about Butter Tart Squares that just brings me back to my grandma’s bustling kitchen, the air thick with the scent of brown sugar and vanilla. I remember those lazy Saturday afternoons when I’d be the sous-chef, passing her the flour, sneaking bits of dough when she wasn’t looking, and listening to her hum old-timey tunes. She’d always say, “Sweetheart, baking isn’t just about feeding the belly; it’s about feeding the soul.” And boy, were our souls well-fed! Years later, when that sacred recipe book passed into my hands, I knew I had big shoes to fill. So, I whipped up these butter tart squares, a little nervous, a lot excited, and hoping to do her justice. I watched through the oven glass as they baked to golden perfection, the smell a sweet, sweet hug from the past. And when I finally bit into that gooey, buttery goodness, I swear I could hear her chuckle and say, “Not bad, kiddo, not bad at all.”
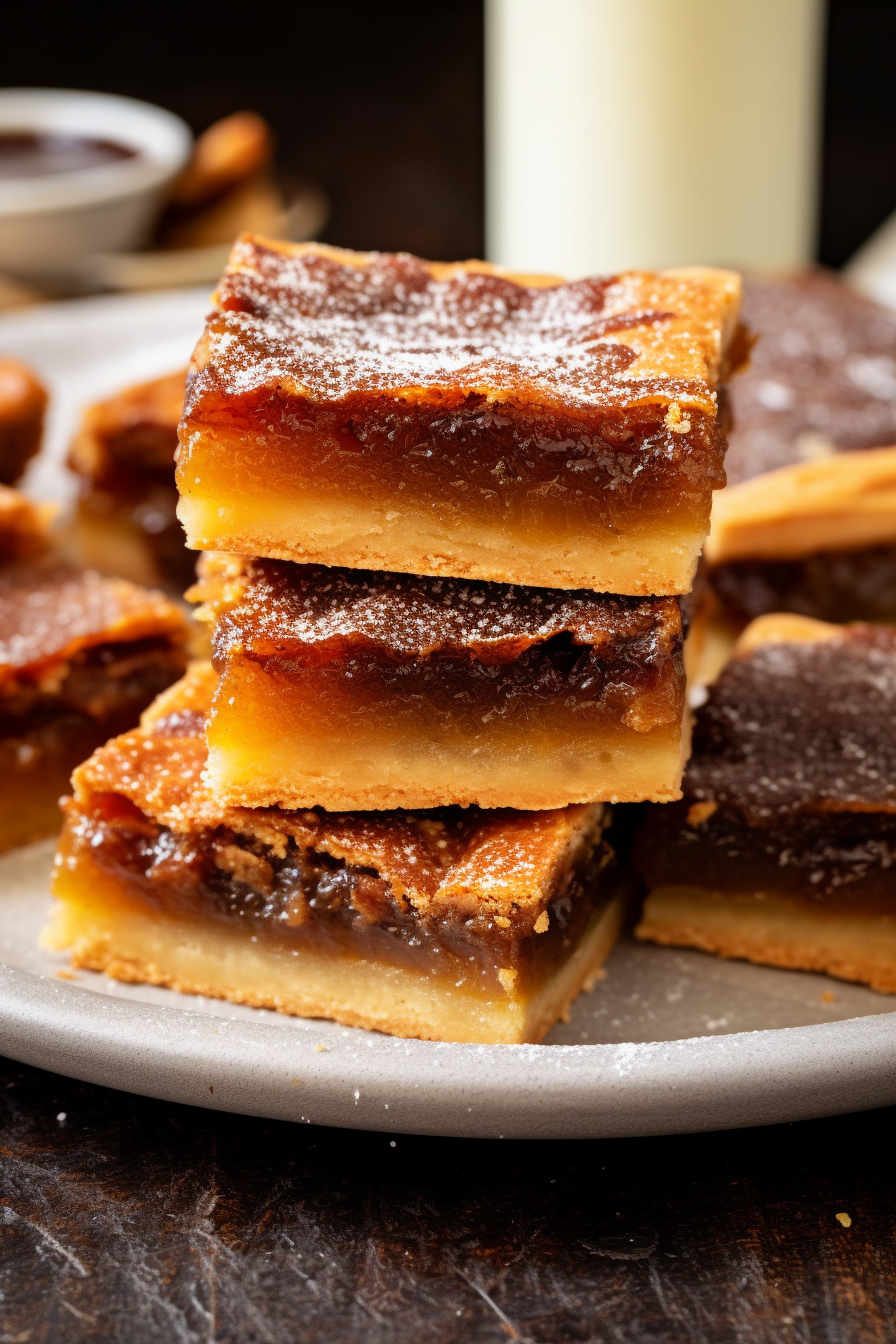
Why You’ll Love Butter Tart Squares:
The Butter Tart Squares are a cut above! What sets them apart?
First off, they have that divine shortbread crust that practically melts in your mouth – we’re talking buttery bliss here, folks.
Then, there’s the gooey brown sugar filling that’s the stuff of dreams; it’s like a warm hug for your taste buds. And let’s not forget the versatility – whether you’re a nut lover, a raisin fan, or a purist, this recipe caters to all.
Plus, they’re a cinch to make. No fiddling with tart pans or worrying about pie crusts. It’s the same great taste as the classic tart but without the fuss, making it the MVP for when you need to whip up something quick and scrumptious!
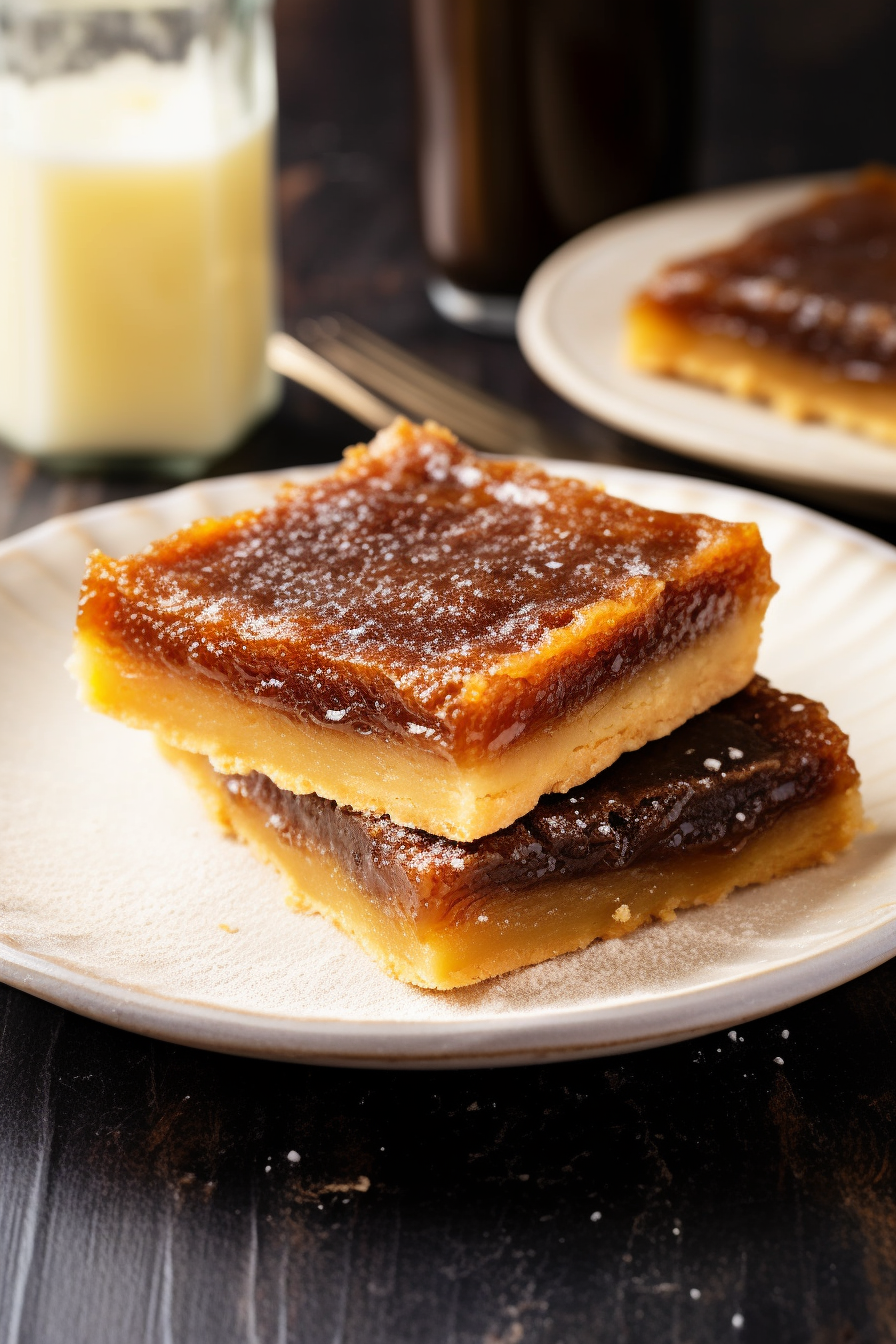
Ingredients Notes For Butter Tart Squares:
- Unsalted Butter: Make sure it’s softened to room temperature so it creams beautifully with the sugar.
- Powdered Sugar: Gives a smooth sweetness to the crust, avoiding the graininess of regular sugar.
- All-purpose Flour: The base of our crust, this pantry staple is all you need for perfect squares.
- Brown Sugar: Whether you go light or dark, it adds that caramel-y, molasses-y depth of flavor.
- Eggs: They’re the glue that holds the filling together, so make sure they’re large and fresh!
- Vanilla Extract: Just a splash for that aromatic sweetness.
- Dark Corn Syrup: It’s the secret to the filling’s signature texture; sticky, rich, and totally divine.
- White Vinegar: A touch of acid to balance the sweetness.
- Optional Mix-ins: Half a cup of currants and walnuts for a bit of texture and nutty flavor, but feel free to get creative!
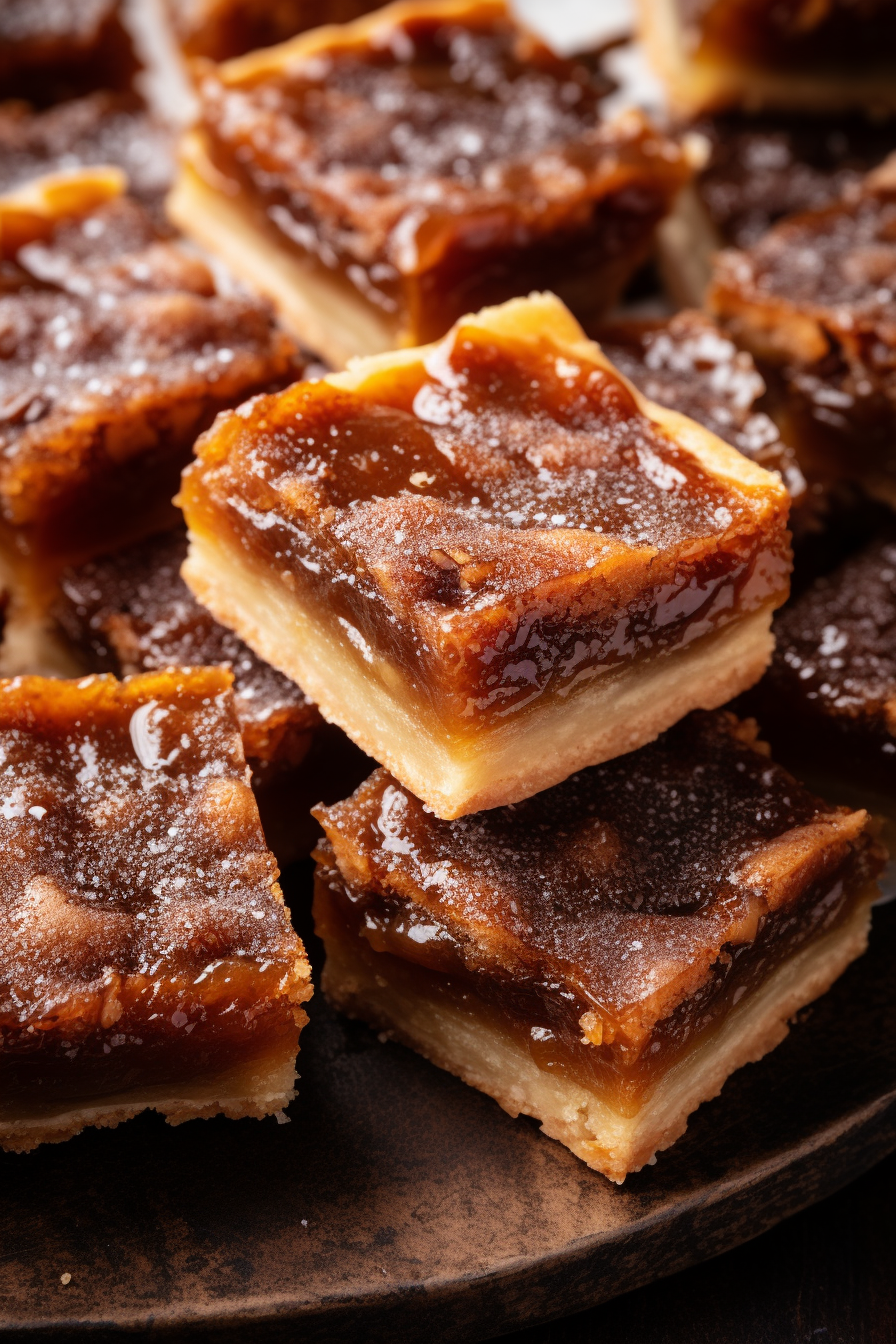
WANT TO SAVE THIS RECIPE?
Step-by-Step Instructions:
- Begin by preheating your trusty oven to a cozy 350F degrees and prep your pan with parchment paper – don’t skip the overhang, it’s your ticket to lift-off later!
- Beat the softened unsalted butter and powdered sugar in a large bowl until it’s fluffier than a cloud on a sunny day.
- Gently mix in the all-purpose flour. It’ll be thick, like the plot of a good mystery novel.
- Press the thick mixture evenly into the bottom of the pan – no rolling pin necessary, just your hands doing the magic.
- Bake that crust for 15-20 minutes. You’re looking for a pale golden ticket to the next layer.
- While that bakes, start on the filling. Cream the butter, brown sugar, and flour until they’re getting along better than old friends.
- Into that, beat the eggs and vanilla, then stir in the corn syrup and white vinegar. Now’s the time to fold in those optional raisins, currants, or walnuts if you’re using them.
- Gently pour this over your par-baked crust. It’s like dressing it up for a night out.
- Bake for another 30-35 minutes. Give the pan a little shimmy – if the filling sets and doesn’t wobble like jelly, it’s done.
- Let it cool completely. Patience, my friend, is a virtue here.
- For slicing, lift out the whole shebang using the parchment paper overhang, place it on a board, and cut with a sharp knife. Crispy edges? Optional. Trim if you prefer a softer bite!
Storage Options:
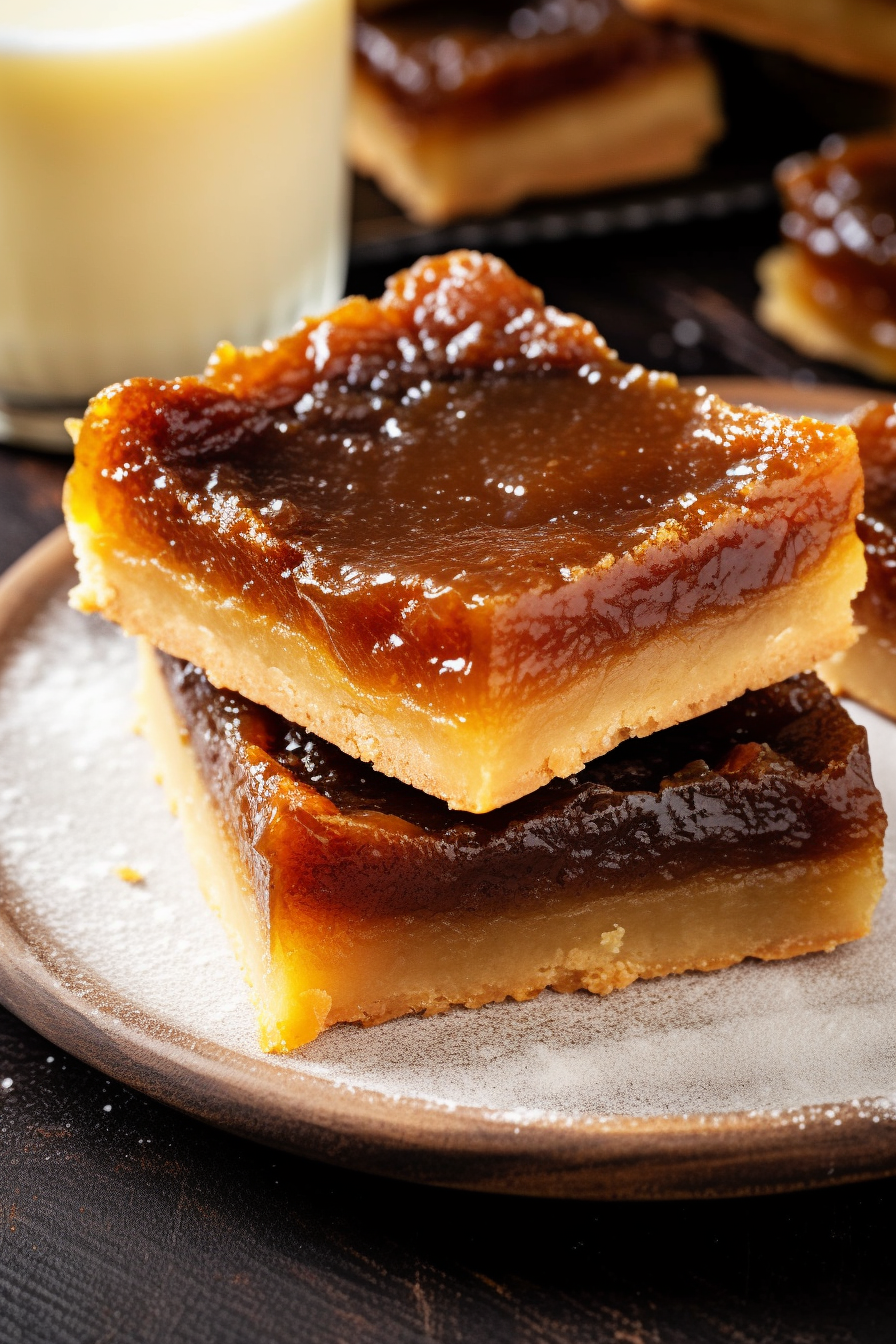
Your Butter Tart Squares are like gold; you gotta store them right. Once they’ve cooled down and been cut, stack them in an airtight container. They’ll be happy at room temperature for a couple of days, but if you want to stretch out the joy, tuck them into the fridge; they’ll last up to a week. For those who plan way ahead, you can freeze these treasures for up to 3 months – just make sure they’re wrapped snugly to avoid the frosty bite of freezer burn. When the craving hits, thaw them at room temperature, and it’s like they’ve come straight from the oven!
Variations and Substitutions:
- Butter Alternative: If you’re dairy-free, try using a plant-based butter.
- Sugar Swap: Not a fan of corn syrup? Maple syrup or honey can step in as a substitute.
- Flour Power: For a gluten-free option, a one-to-one gluten-free flour blend can take center stage.
- Egg-free: Aquafaba or egg replacer will do the trick for our vegan friends.
- Nutty for Nuts: Almonds, pecans, or even macadamia nuts can join the party instead of walnuts.
- Fruit Fling: Beyond raisins and currants, try dried cherries or chopped dates for a twist.
- Vinegar Variations: No white vinegar? Apple cider vinegar can waltz in without missing a beat.
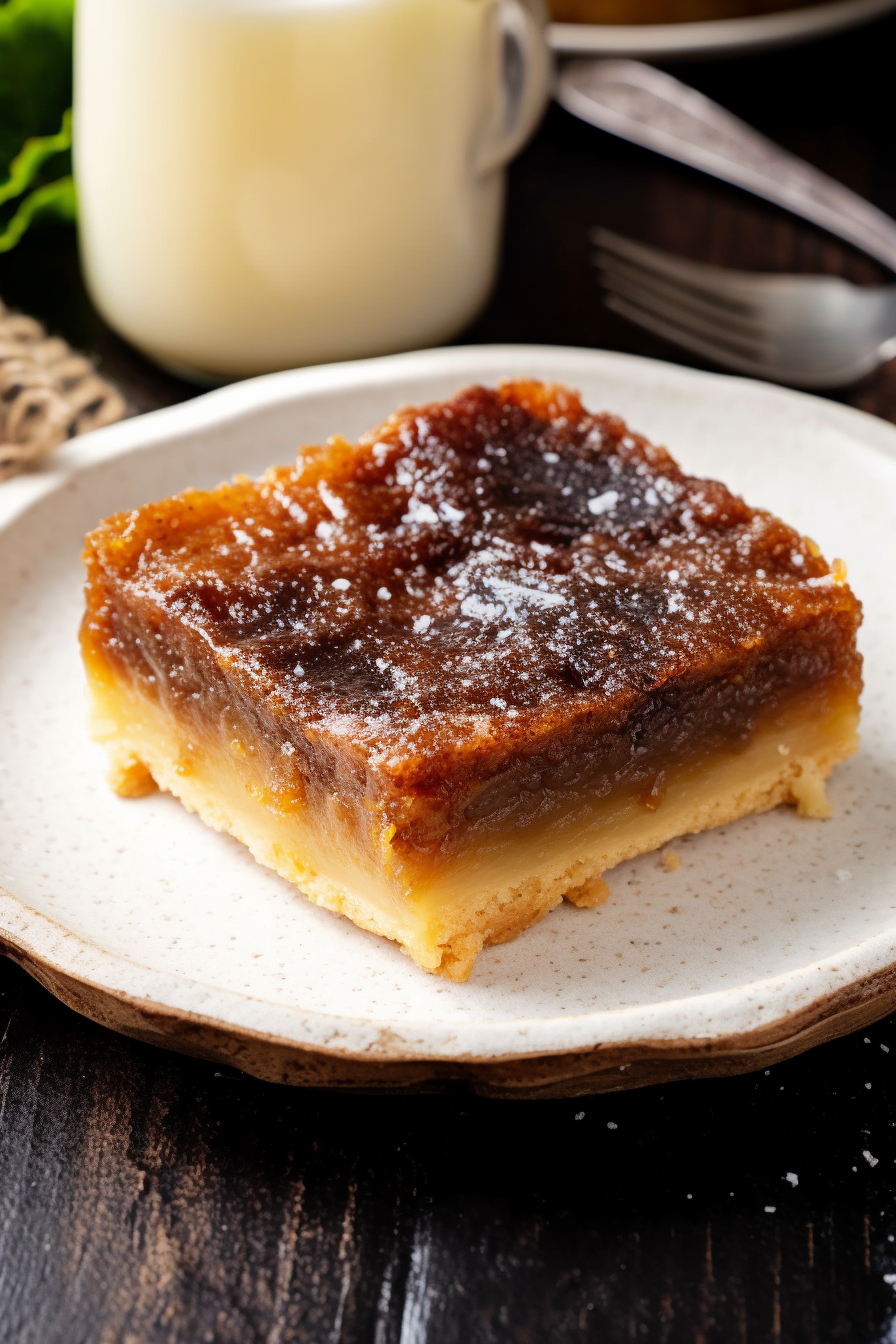
Remember, the kitchen’s your stage, and these Butter Tart Squares are your show-stopping number – improvise as you wish!
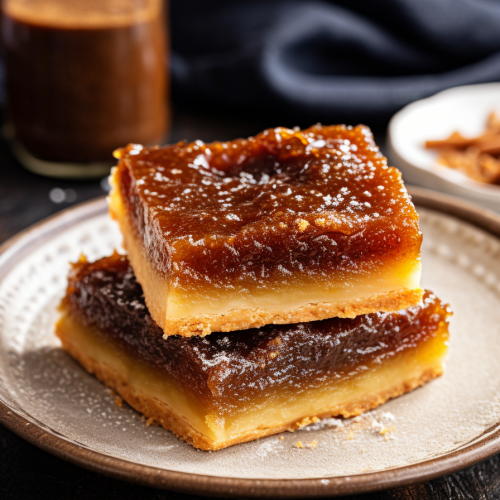
Butter Tart Squares
Ingredients
Base Layer:
- 1 cup of unsalted butter softened to room temperature
- ½ cup of confectioners’ sugar
- 2 ¼ cups of all-purpose flour sifted
Butter Tart Filling:
- ½ cup of unsalted butter softened to room temperature
- 1 cup of light or dark brown sugar firmly packed
- 2 tablespoons of all-purpose flour
- 4 large eggs preferably organic
- 2 teaspoons of pure vanilla extract
- ¾ cup of dark corn syrup
- 2 tablespoons of white vinegar
- 1 cup of optional ingredients such as raisins currants, or chopped walnuts (a combination of ½ cup currants and ½ cup chopped walnuts is recommended)
Instructions
For the Base Layer:
- Preheat the oven to a temperature of 350°F (175°C). Prepare a baking pan by lining it with parchment paper, allowing the paper to overhang on the sides to facilitate easy removal of the baked product.
- In a capacious mixing bowl, cream together the softened unsalted butter and confectioners’ sugar until the mixture achieves a fluffy consistency.
- Gradually incorporate the sifted all-purpose flour into the butter and sugar mixture until it becomes thick and homogenous.
- Transfer the dough into the bottom of the prepared baking pan, pressing it down firmly to create an even base.
- Commence baking in the preheated oven for a duration of 15 to 20 minutes, or until the surface appears to be set and has obtained a pale golden hue. Once achieved, remove from the oven while maintaining the oven’s set temperature.
For the Filling Layer:
- While the base layer is in the oven, prepare the filling. Begin by beating the softened unsalted butter, brown sugar, and all-purpose flour together until fully combined and smooth.
- Continue by adding the eggs and pure vanilla extract to the mixture, ensuring to beat well after each addition.
- Proceed to incorporate the dark corn syrup and white vinegar into the mixture, stirring thoroughly. If opting to include raisins, currants, or chopped walnuts, fold these into the mixture at this juncture.
- Once the base layer has been removed from the oven, pour the prepared filling over it, ensuring an even distribution.
- Return the pan to the oven, allowing it to bake for an additional 30 to 35 minutes. The filling should appear set and should not exhibit a liquid consistency when the pan is gently nudged.
- Upon completion of baking, set aside to cool to room temperature. This step is crucial to ensure the squares are properly set and facilitate clean slicing.
- For serving, utilize the overhanging parchment paper to lift the baked squares from the pan. Transfer to a cutting board and, with a sharp knife, proceed to slice into the desired number of squares. If the edges of the squares seem overly crisp, they may be trimmed at the baker’s discretion.




2 Responses
I was reading a book and one of the characters made butter tarts for a bake sale. I had not heard of these before and was curious, so I looked up this recipe and tried them. I’m Hooked! Love, love, love them.
I love, love, love these. My base is always a little over done so I’ve cut down first bake to 8 to 10 min. These are a favorite with friends and neighbors pot luck!