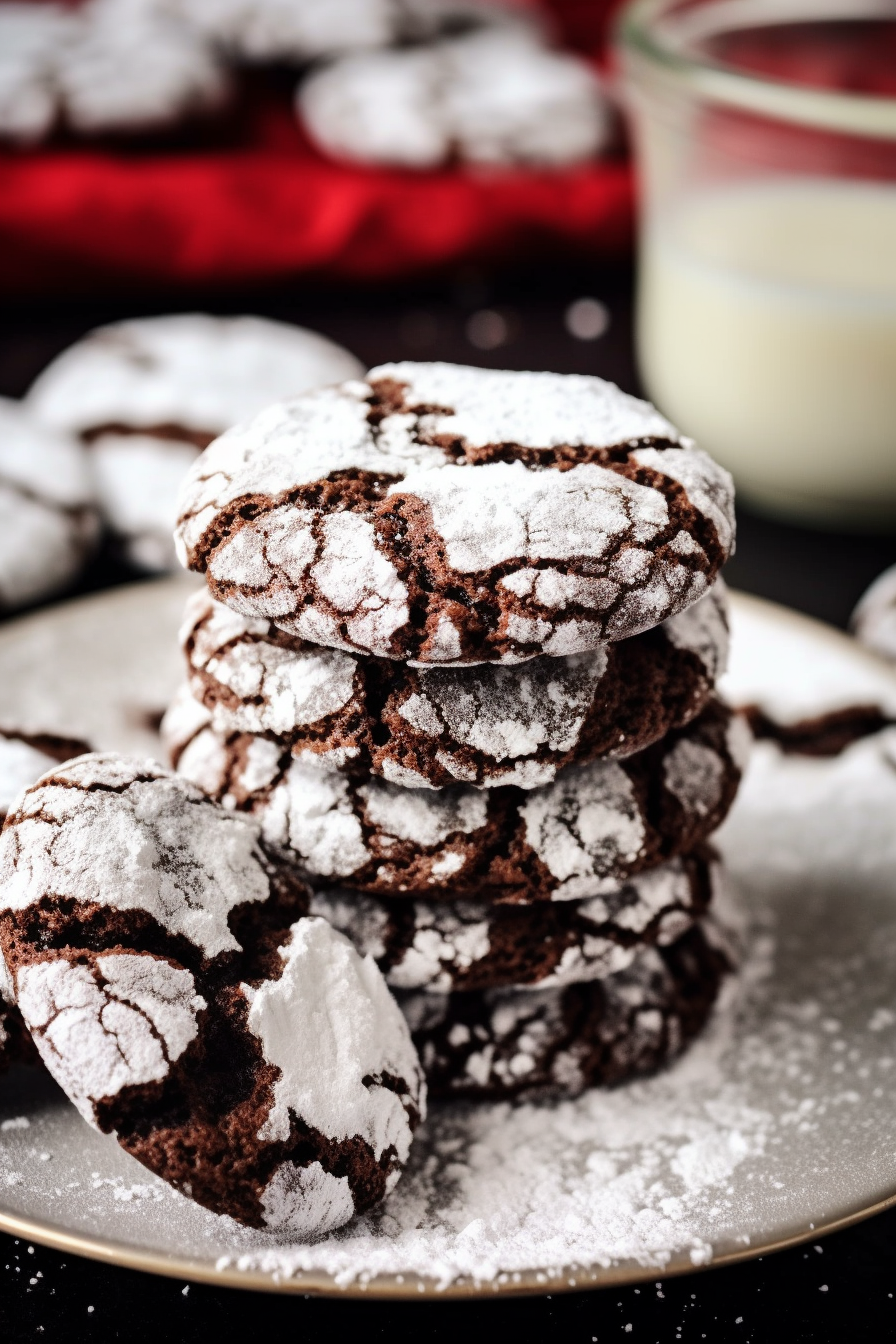
Indulge in these Chocolate Crinkle Cookies, featuring main ingredients like all-purpose flour, cocoa powder, eggs, and a hint of espresso. Perfect for adding a festive touch to any dessert table!
A Warm Memory from Grandma’s Kitchen: Every time I bake these Chocolate Crinkle Cookies, I’m transported back to my grandmother’s cozy kitchen, filled with the rich aroma of cocoa and laughter. She was the queen of holiday baking, her counters always adorned with tins of various cookies. But, it was her Chocolate Crinkle Cookies that stole the show. She had this magical way of making them so perfectly crinkled, with a fudgy center that melted in your mouth. I remember standing on a stool, eagerly waiting to roll the dough in powdered sugar, my fingers getting just as coated as the cookies. It became our little tradition, and now, as I bake these cookies with my own kids, I feel her loving presence in every sugar-dusted crinkle.
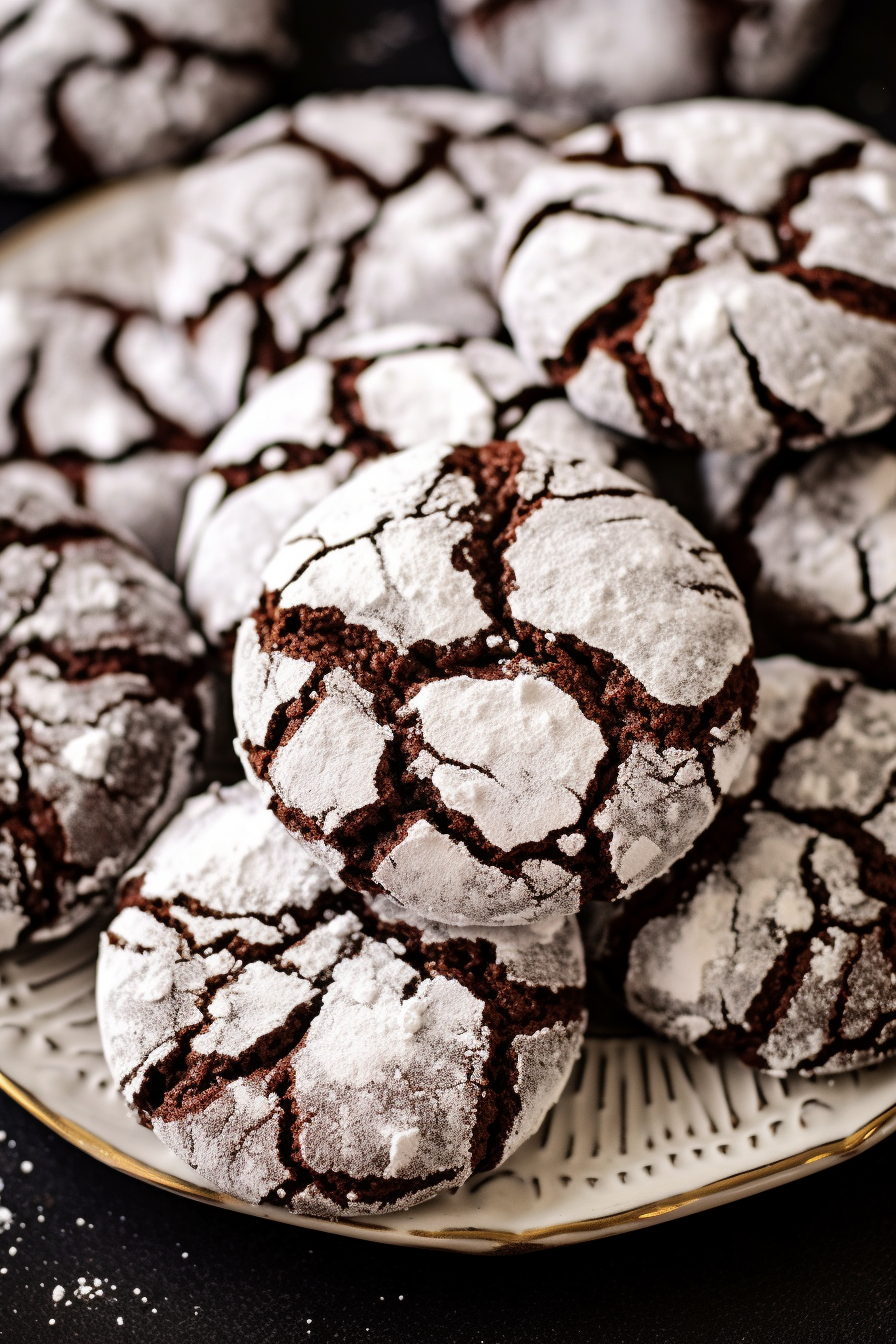
Why You’ll Love Chocolate Crinkle Cookies
- Perfect Texture Combo: These cookies strike the ideal balance between a crispy exterior and a fudgy, brownie-like interior, making them irresistibly moreish.
- Festive Look: With their distinctive crinkled top and dusting of powdered sugar, they are a visually appealing addition to any cookie platter, especially during the holidays.
- Flavorful Twist: The optional espresso powder enhances the chocolate flavor, adding a subtle but rich depth that sets these cookies apart from the usual chocolate treats.
- Versatility: Whether it’s for a cozy family gathering or a fancy holiday party, these cookies fit seamlessly into any occasion.
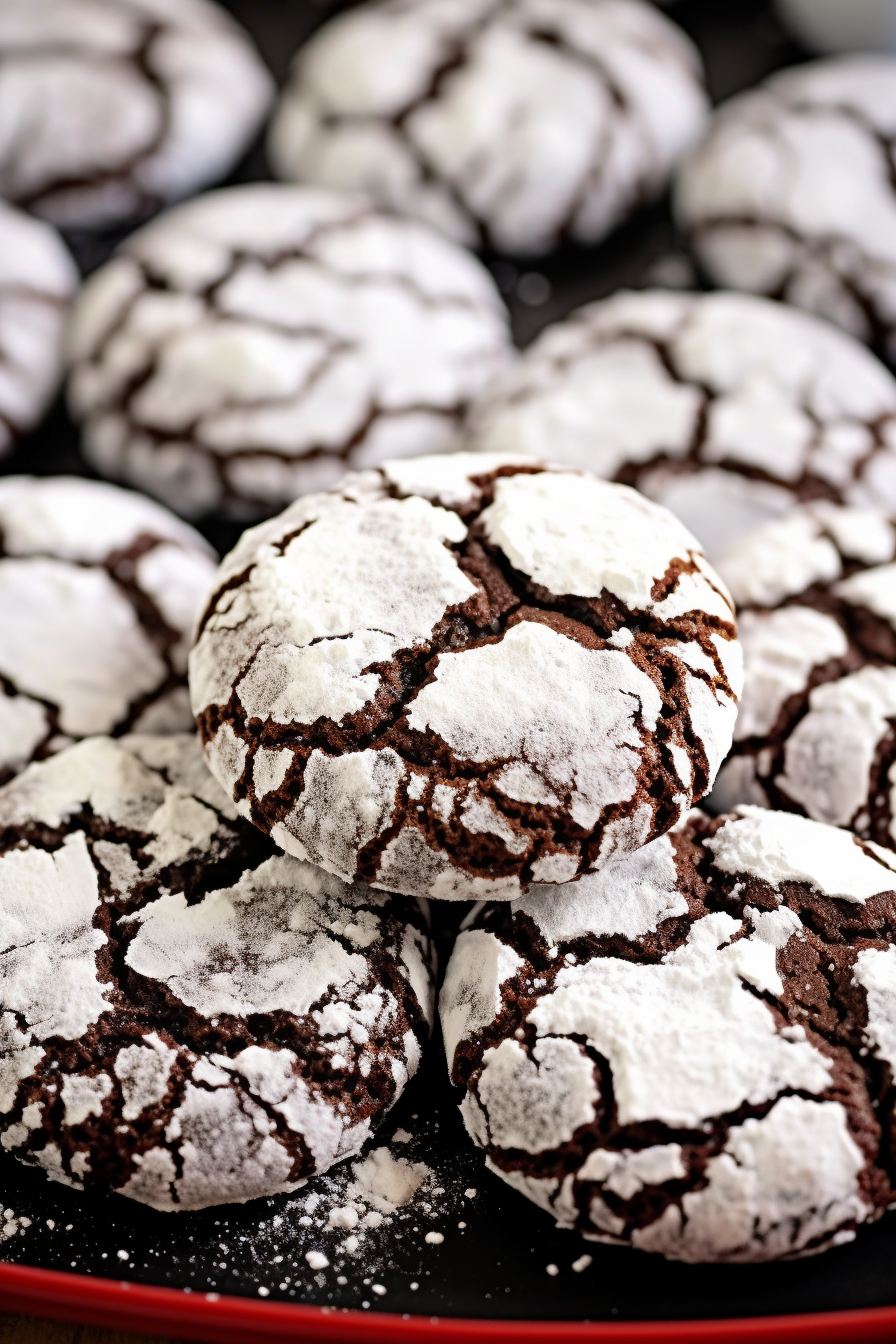
Ingredients Notes For Chocolate Crinkle Cookies:
Let’s Talk Ingredients:
- All-Purpose Flour: The foundation of our cookie structure, it provides the necessary body without making the cookies too heavy.
- Cocoa Powder: A combination of Dutch-process and unsweetened cocoa offers a rich, deep chocolate flavor. Feel free to play around with the ratios depending on your chocolate preference.
- Espresso Powder: This is our secret weapon! It’s optional but highly recommended for amplifying the chocolatey goodness.
- Eggs: Room temperature eggs blend more smoothly into the batter, ensuring a uniform texture.
- Powdered Sugar: This isn’t just for sweetness; it’s what gives our cookies their iconic crinkled look!
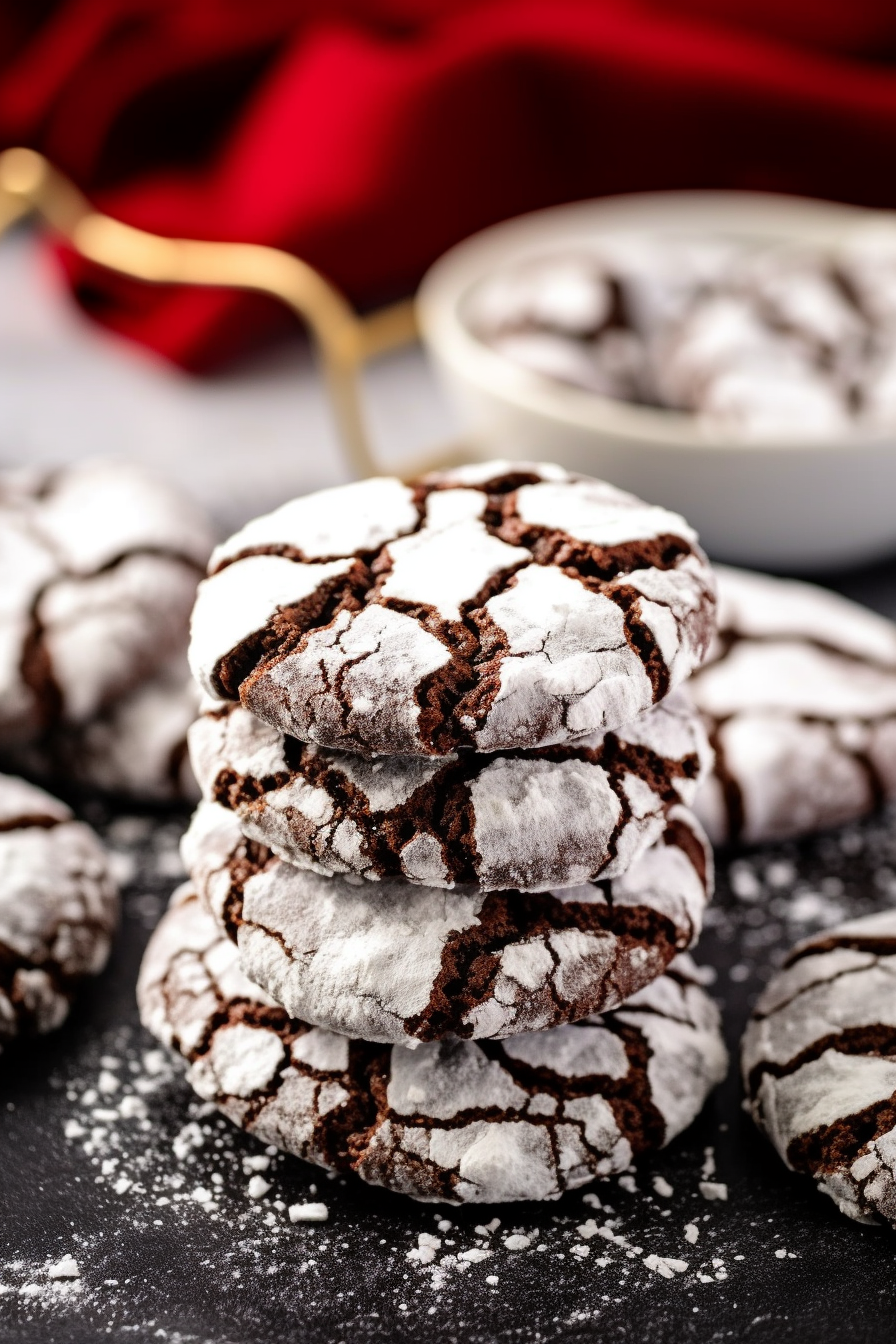
Recipe Instructions:
Let’s Get Baking:
- Prepping the Dry Ingredients: Start by whisking together your flour, baking powder, and salt. This not only mixes these ingredients but also aerates the flour, contributing to a lighter cookie texture.
- Mixing Sugar and Oil: Beat the granulated sugar and canola oil until smooth. This step is crucial for dissolving the sugar and incorporating air into the oil, setting the stage for a tender crinkle cookie.
- Adding Cocoa and Espresso Powder: Next, blend in your cocoa and optional espresso powder. Make sure it’s fully integrated to avoid any cocoa lumps in your dough.
- Incorporating Wet Ingredients: The vanilla and eggs are next. Add eggs one at a time to ensure each is fully incorporated, giving our cookies richness and structure.
- Combining Dry with Wet: Gradually add your flour mixture. Doing this in batches prevents the flour from flying everywhere and ensures a smooth, well-mixed dough.
- Chill Time: Patience is key! Chilling the dough is essential for handling and helps in getting that perfect crinkle effect.
- Prepping for Baking: Preheat your oven and get your baking sheets ready. This ensures a consistent oven temperature for evenly baked cookies.
- Rolling in Sugar: Rolling the dough in powdered sugar not only adds sweetness but also creates the signature crinkled look.
- Baking: Bake just until they are set. Overbaking can lead to hard cookies, and we want them fudgy!
- Cooling: Let them sit a bit on the baking sheet before transferring to a rack. This helps them set without falling apart.
WANT TO SAVE THIS RECIPE?
Just drop your email here and I'll send it right away! Plus you'll get new recipes from me every week. Yes please!
Storage Options:
Keeping Them Fresh:
- Room Temperature: Store these beauties in an airtight container at room temperature, and they’ll stay fresh and delicious for up to a week.
- Freezing: For longer storage, freeze the baked cookies or even the dough. Just wrap them well, and they can last for a couple of months. Thaw at room temperature when ready to serve or bake.
Variations and Substitutions:
Mix It Up:
- Flour Options: Swap out all-purpose flour for a gluten-free blend if needed.
- Sugar Tweaks: Feel free to experiment with different sugars, like brown sugar, for a deeper flavor.
- Oil Choices: Vegetable or coconut oil can be used instead of canola oil.
- Spice It Up: Add cinnamon or nutmeg for a warm, spiced twist.
- Chocolate Chips: Throw in some chocolate chips for an extra chocolatey experience.
- Nutty Addition: Chopped nuts can add a delightful crunch and flavor contrast.
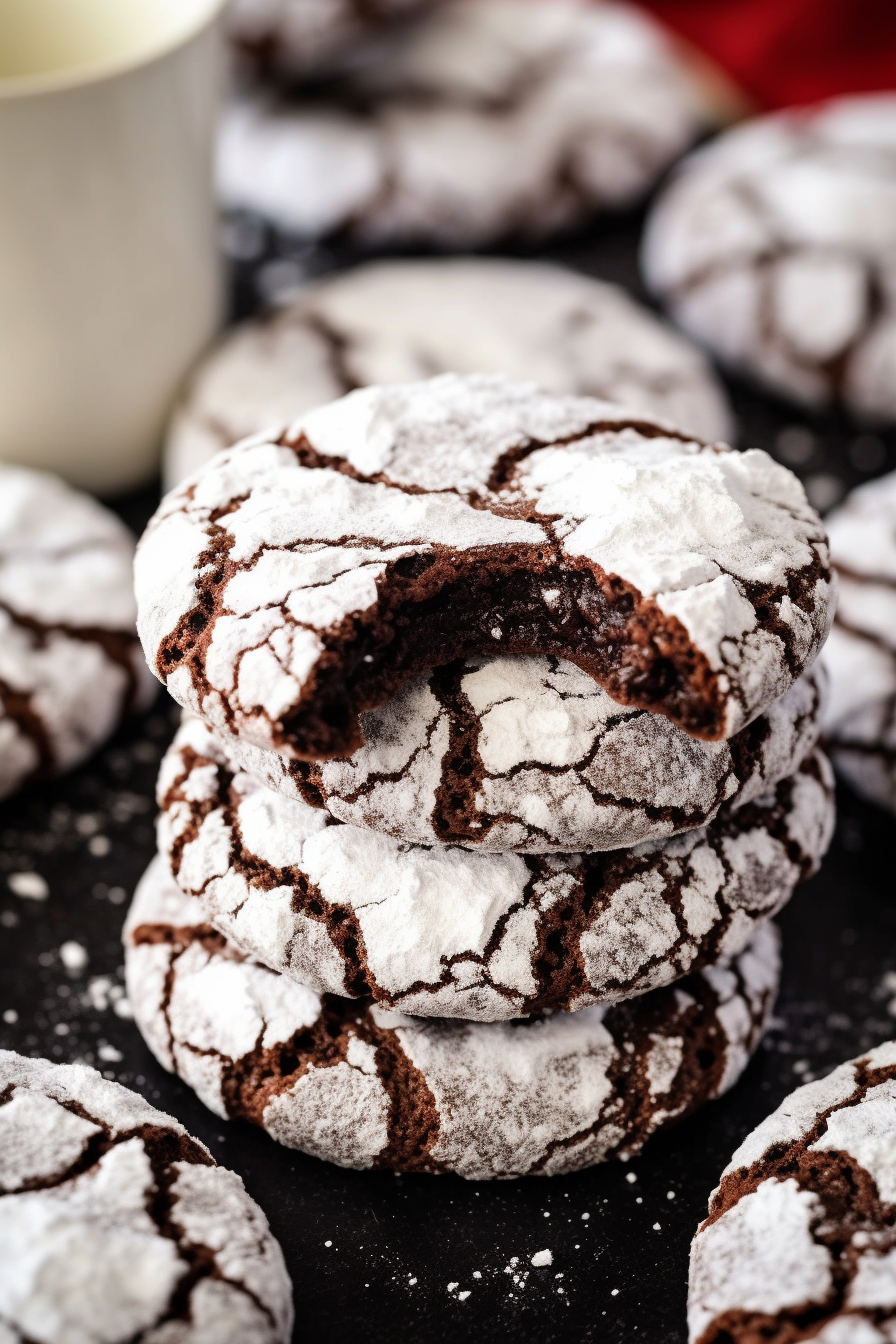
By embracing these variations, you can make this Chocolate Crinkle Cookie recipe truly your own, and who knows, it might just be the start of your own baking tradition! 🍪✨
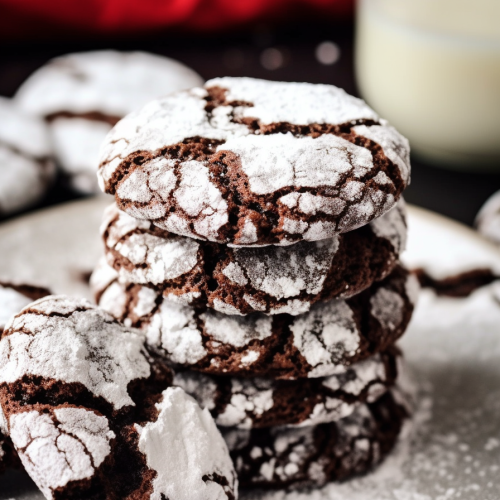
Chocolate Crinkle Cookies
Ingredients
- 1 cup All-Purpose Flour
- 1 teaspoon Baking Powder
- ½ teaspoon Salt
- 1 cup Granulated Sugar
- ⅓ cup Canola Oil
- ⅔ cup Unsweetened Cocoa Powder including ⅓ cup Dutch Process Cocoa and ⅓ cup Unsweetened Cocoa
- ½ teaspoon Espresso Powder optional
- 2 Large Eggs at room temperature
- 1 teaspoon Vanilla Extract
- ½ cup Powdered Sugar for rolling the cookies
Instructions
- Preparation of Dry Ingredients: In a medium-sized bowl, thoroughly whisk together the all-purpose flour, baking powder, and salt. Once combined, set this bowl aside.
- Creaming Sugar and Oil: Utilize either a stand mixer or a large mixing bowl to blend the granulated sugar and canola oil. Mix at a medium to high speed until the mixture is smooth and well-combined.
- Incorporation of Cocoa Powder and Espresso Powder: Add the unsweetened cocoa powder and, if desired, the espresso powder to the sugar and oil mixture. Continue mixing until these ingredients are fully integrated, ensuring to periodically scrape down the sides of the bowl to incorporate all ingredients evenly.
- Adding Eggs and Vanilla Extract: Introduce the vanilla extract to the mixture. Then, add the eggs one at a time, beating the mixture thoroughly after each addition until it achieves a smooth and homogenous texture.
- Combining Dry and Wet Mixtures: Gradually incorporate the previously set aside flour mixture into the wet ingredients. This should be done in two to three additions, mixing on a low speed to just combine the ingredients. Be sure to scrape down the sides of the bowl after each addition to ensure a consistent dough.
- Chilling the Dough: Transfer the cookie dough to an airtight container or cover the mixing bowl with plastic wrap. Refrigerate the dough for a minimum of four hours, or until it is firm enough to be handled. As an alternative, the dough may be chilled in the freezer for at least one hour.
- Preheating and Preparation for Baking: Preheat the oven to 350℉ (175℃). Prepare a large baking sheet by lining it with parchment paper or a silicone baking mat.
- Rolling in Powdered Sugar: Place the powdered sugar into a small, shallow bowl. Scoop approximately 1 ½ tablespoons of the chilled cookie dough and roll it into balls using your hands. Then, gently roll these dough balls in the powdered sugar, ensuring they are fully coated, and place them on the prepared baking sheet, spaced about 2 inches apart.
- Baking the Cookies: Bake the cookies in the preheated oven for 10 to 12 minutes. It is critical to avoid overbaking to ensure the cookies retain their desired texture.
- Cooling: After baking, let the cookies rest on the baking sheet for 2 to 3 minutes before transferring them to a wire rack to cool completely.
- Storage: Once cooled, the cookies can be stacked and stored appropriately.

