Indulge in homemade Bounty Bars crafted with just 4 key ingredients: shredded coconut, sweetened condensed milk, powdered sugar, and luscious dark chocolate. 30-minute prep time, 100% satisfaction!
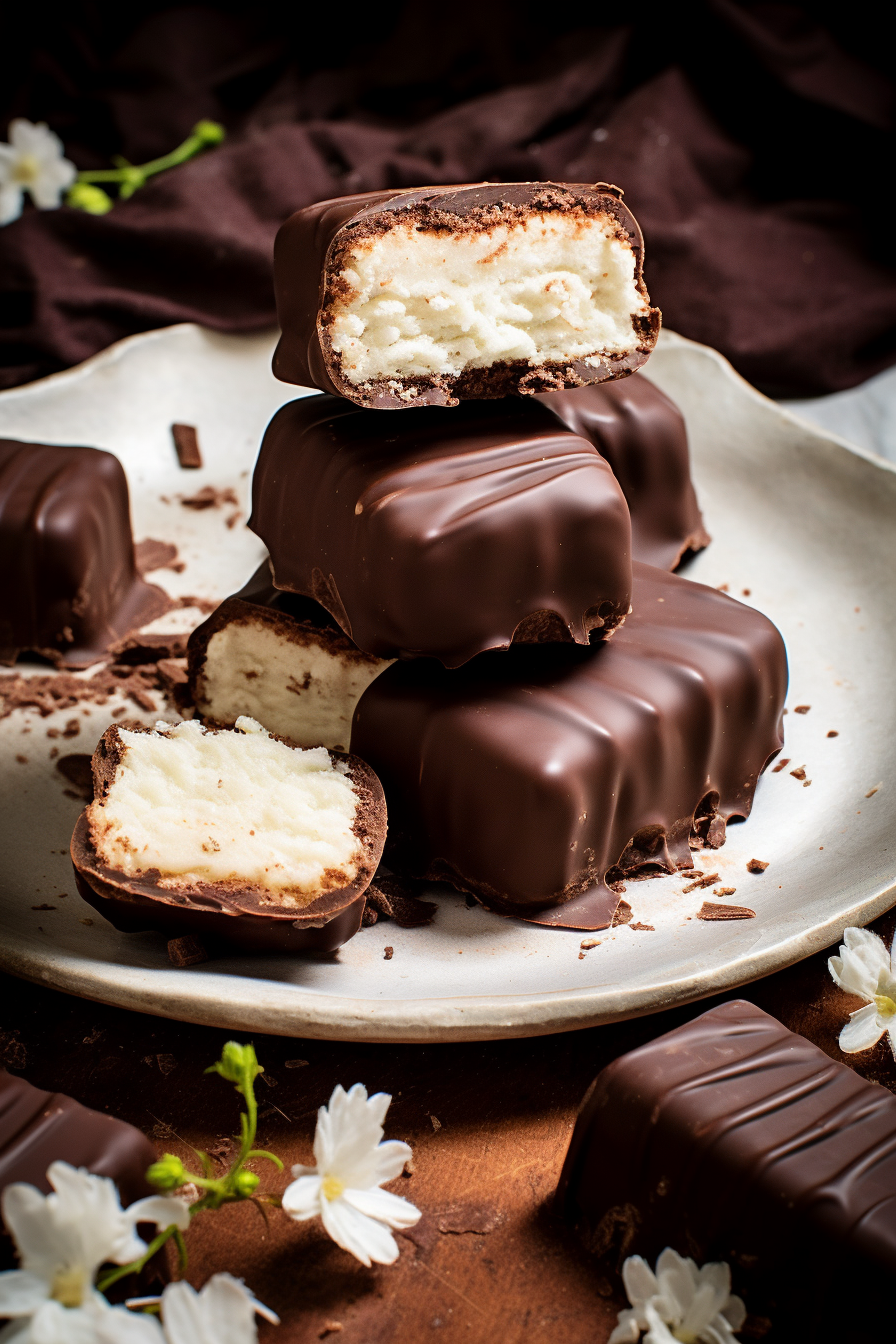
Every summer during my childhood, I’d spend lazy afternoons with my grandmother. After our ritual of reading stories and gardening, she’d hand me a candy bar. Not just any bar, but the exquisitely coconutty Bounty Bar! She believed every good story deserved a good treat. As I grew older, I yearned to recreate these sweet moments. So, after much trial and error (and countless chocolate-covered kitchens), I present my very own homemade Bounty Bars, or as our American friends charmingly dub it, “Mounds Bars”. A tribute to cherished memories, this recipe takes me back to sun-soaked afternoons and heartwarming stories.
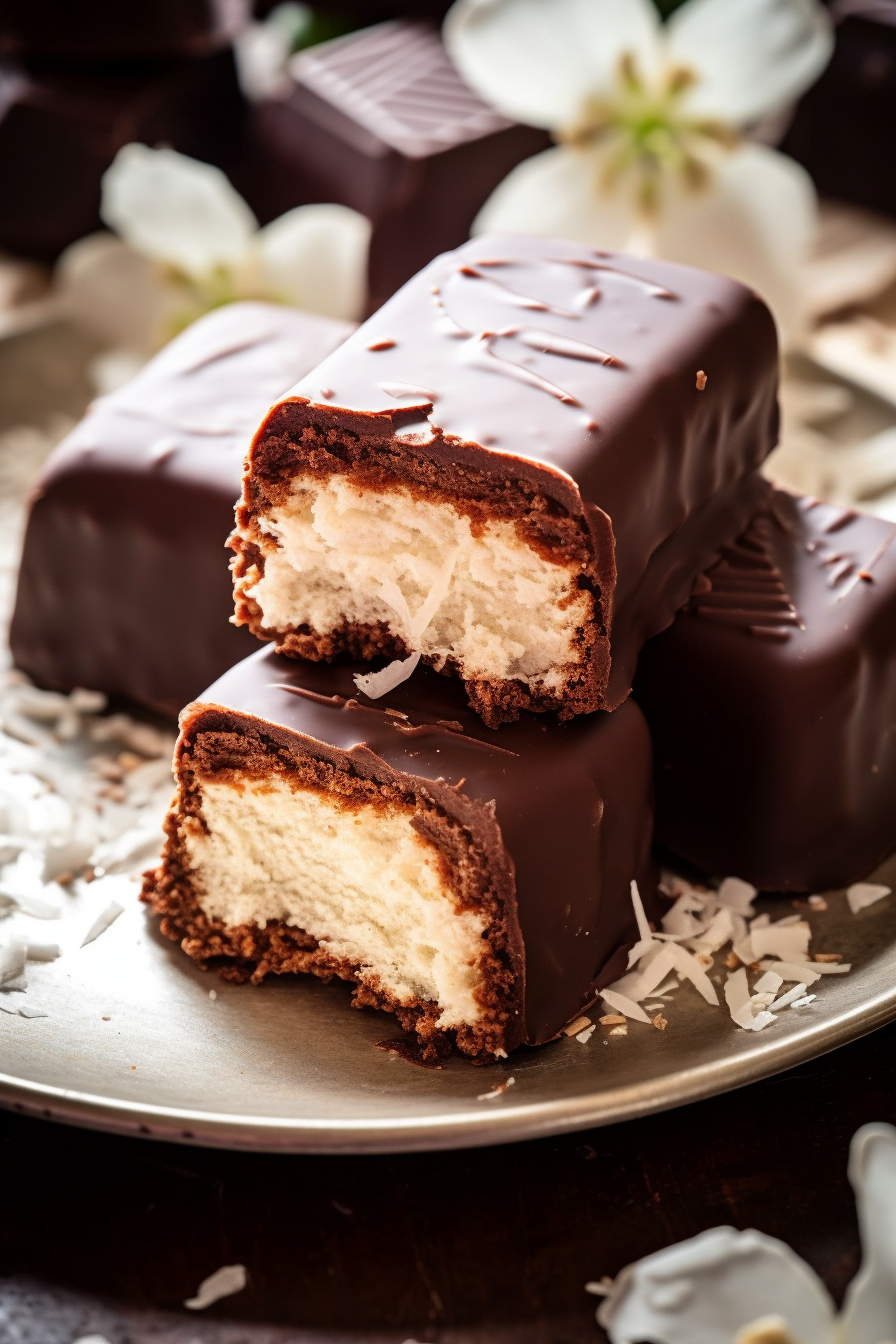
Why You’ll Love Homemade Bounty Bars (Mounds Bars):
Looking for a trip down memory lane or just a simple, divine treat? Here’s what sets our Homemade Bounty Bars apart:
- Unadulterated Simplicity: Just 4 ingredients! That’s right. No preservatives, no additives. Pure, unadulterated indulgence.
- Time-efficient: Got 30 minutes? That’s all the prep time you need. A sweet escape is never too far away!
- Close-to-Original: Ever bit into a store-bought Bounty and wished you could replicate it at home? Look no further. This recipe is as close to the original as you can get, minus the commercial additives.
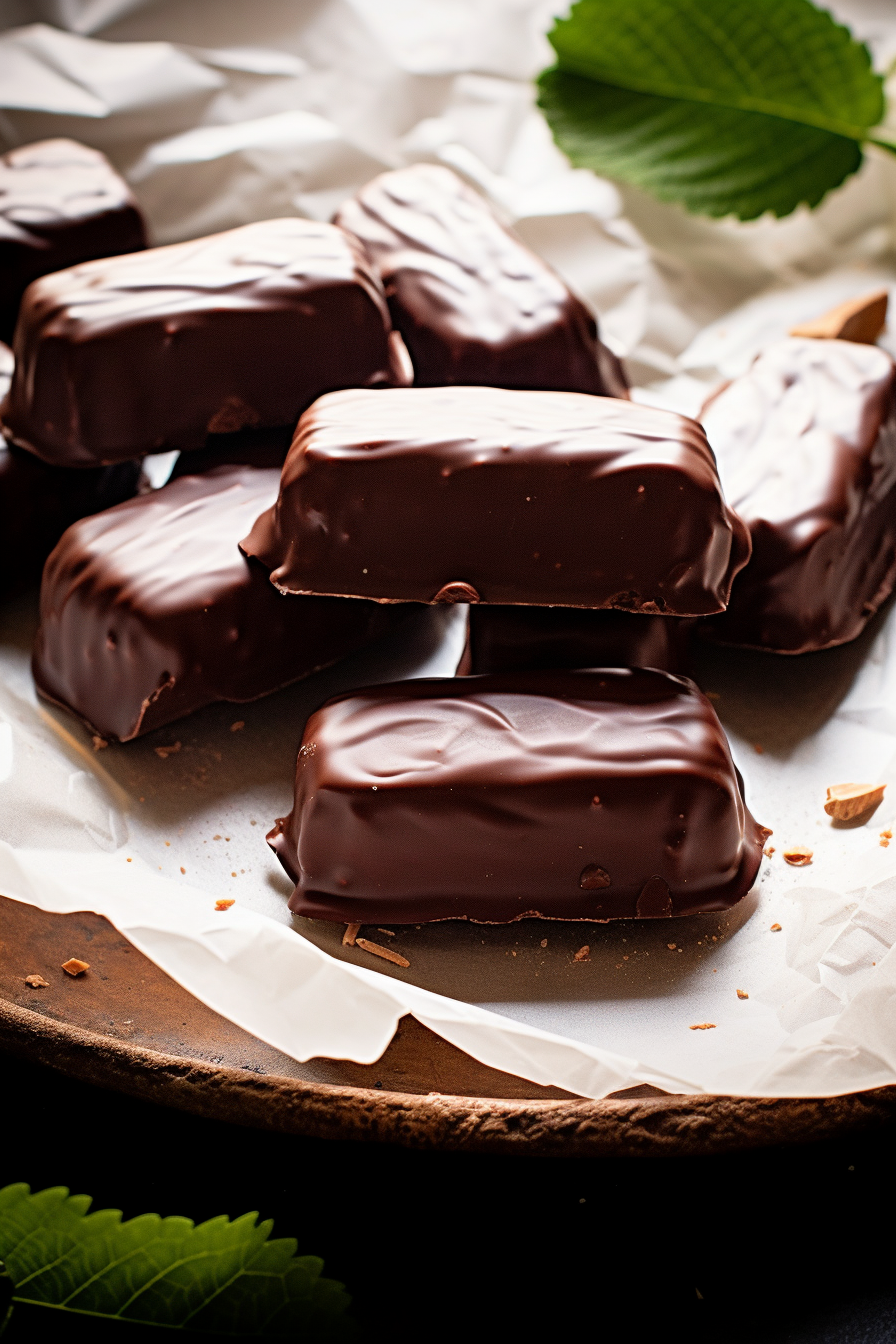
Ingredient Notes For Homemade Bounty Bars (Mounds Bars):
- Shredded Coconut: Opt for sweetened, as it lends that familiar Bounty taste. Unsweetened might be healthier but might make your bars feel like they’re on a diet too.
- Sweetened Condensed Milk: The sticky, sweet bond holding our bars together. No substitutes here, please!
- Powdered Sugar: Also known as icing sugar or confectioners sugar. This isn’t just for sweetness; it adds texture too.
- Dark Chocolate: Chips or chunks, your call. But make sure it’s quality dark chocolate. Your bars deserve the best!
WANT TO SAVE THIS RECIPE?
Just drop your email here and I'll send it right away! Plus you'll get new recipes from me every week. Yes please!
How To Make Homemade Bounty Bars (Mounds Bars):
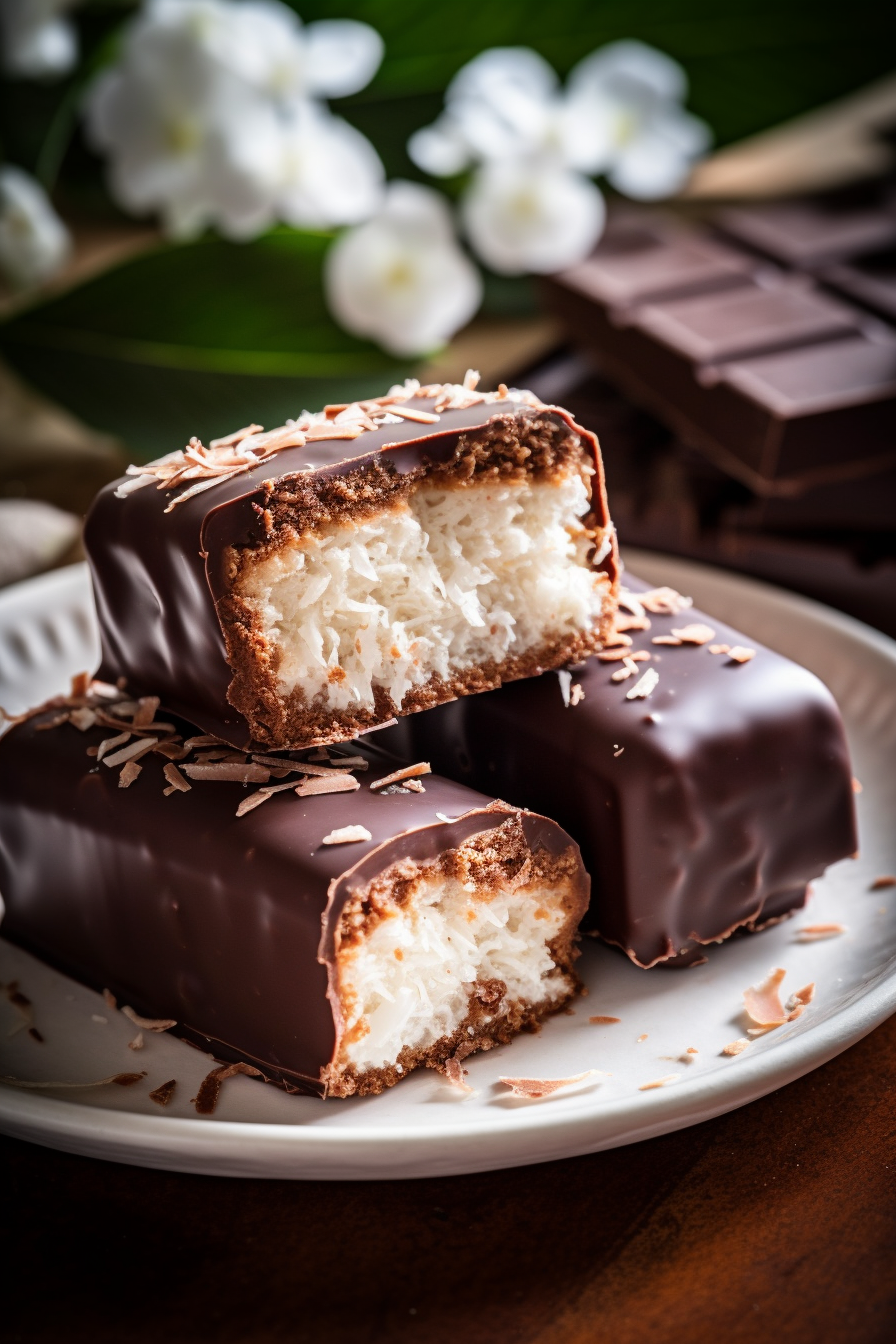
- Creating the Coconutty Core: Grab a large bowl and dive right in. Mix the shredded coconut, condensed milk, and powdered sugar. Aim for a mix that’s friendly – holding together but with a hint of rebellion (read: a tad sticky).
- Shaping those Beauties: Time to give shape to your desires. Mold the mix into rounded rectangles about 2-3 inches long. Here’s a tip: wet hands are your best friends here! They prevent sticking and make molding easier. After your bars have shape, send them to chill in the fridge. A one-hour cold spa treatment should do the trick.
- Chocolate Dip: Melt your dark chocolate, following its package’s heart (or instructions). Look for that silky gloss. Now, one by one, introduce each bar to the chocolate bath, ensuring they’re completely enveloped. Lay them on a wire rack or parchment paper and let them chillax in the fridge for another 30 minutes. Patience, my friend. Good things come to those who wait!
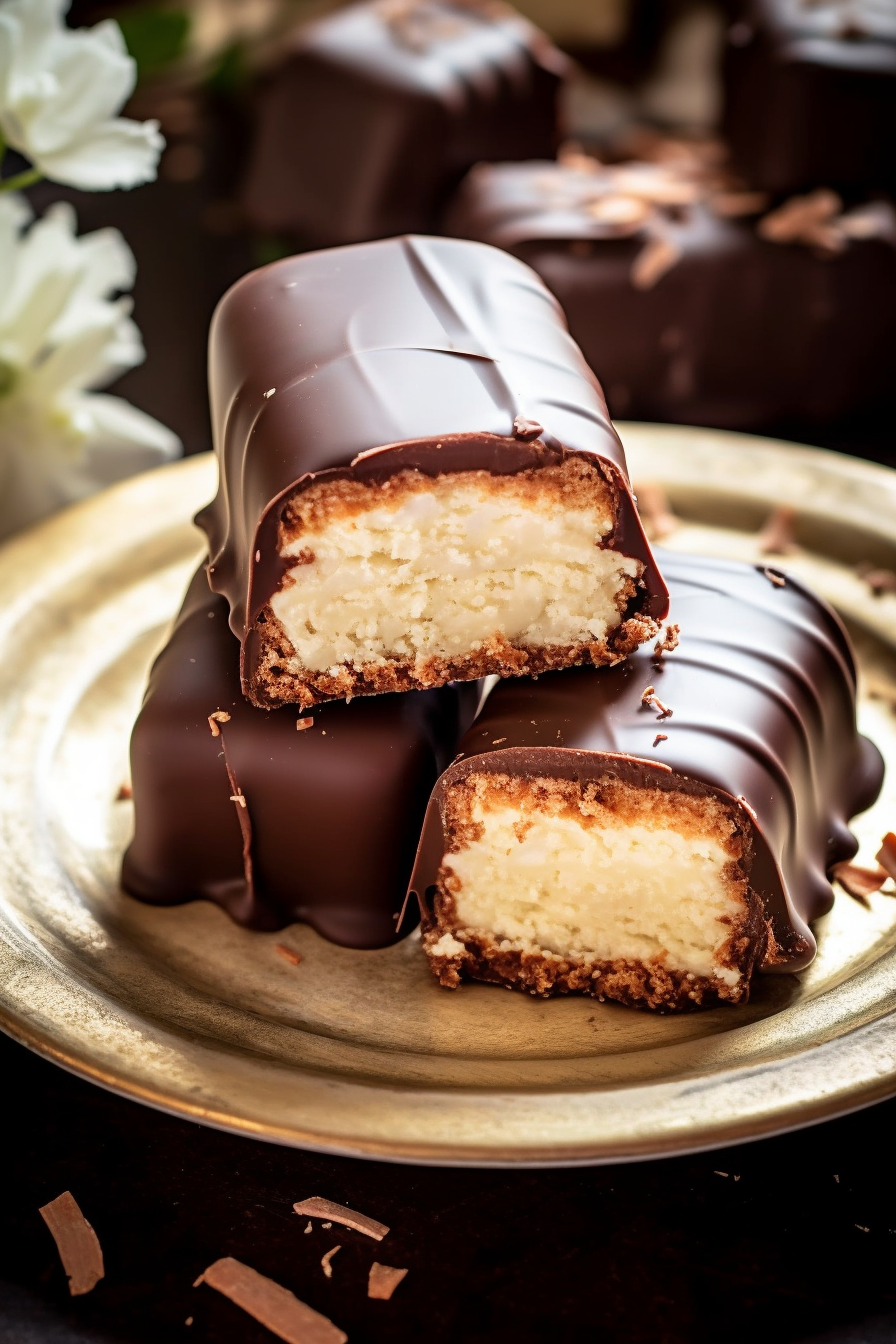
Storage Options:
You can store these coconut darlings in an airtight container in the refrigerator for up to a week (if they last that long without being devoured!). For longer storage, consider freezing them. Simply place them in a single layer in a container, separating layers with parchment paper. When the chocolate craving strikes, just thaw and enjoy!
Variations and Substitutions:
Feeling experimental or missing an ingredient? No worries:
- Coconut: If you’re feeling audacious, toasted coconut can add a delightful twist.
- Chocolate: Not a dark chocolate fan? Swap it for milk or white chocolate. Heck, sprinkle some sea salt on top for a gourmet touch!
- Sweetness: Want to control sugar? Adjust powdered sugar to taste or experiment with natural sweeteners. But remember, changing sugar might affect the consistency, so tread with caution.
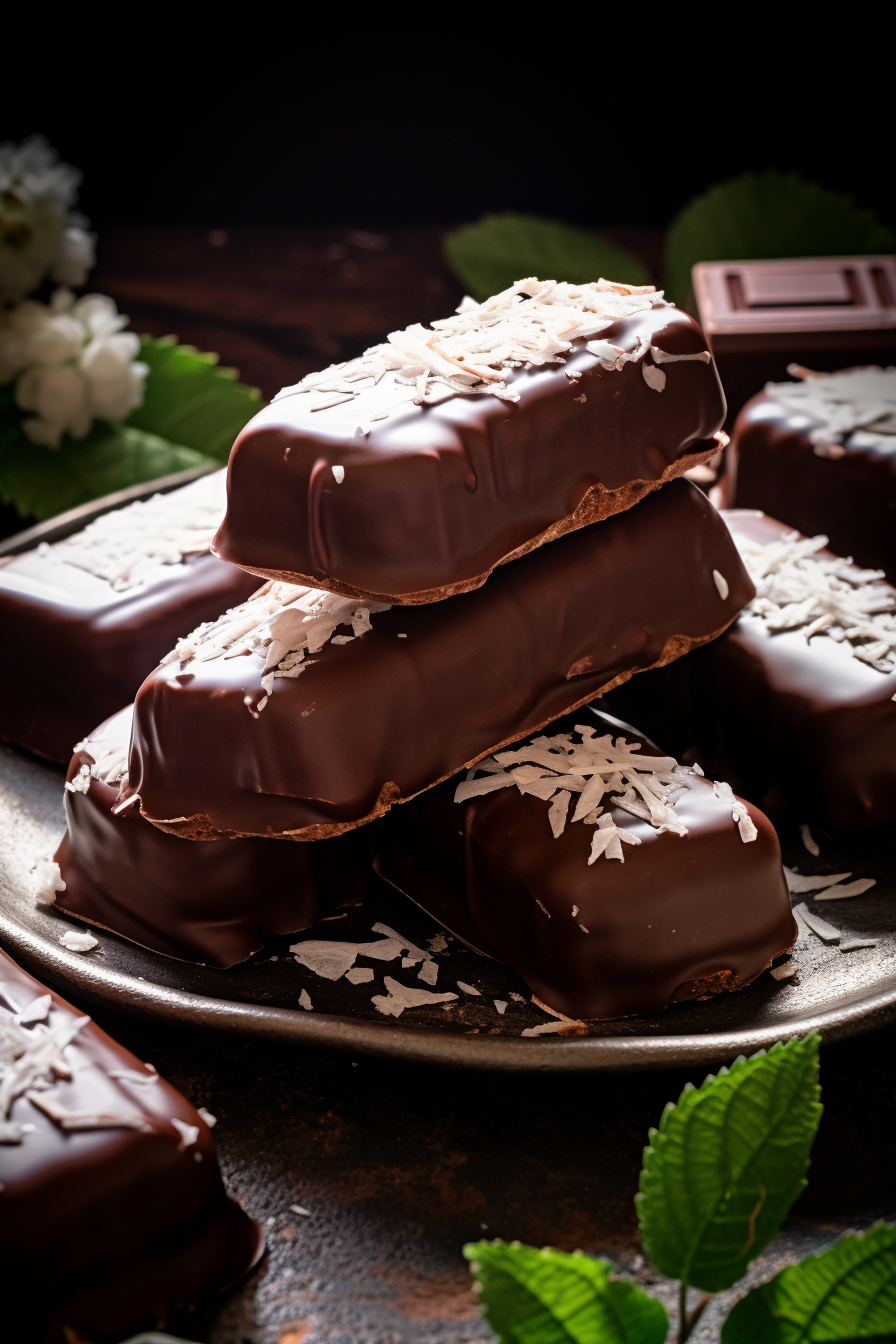
Remember, food isn’t just about following a recipe to the T. It’s about pouring love and laughter into every dish. So, go ahead, make these bars your own and relive your sweetest memories. Happy munching! 🍫🥥🤤
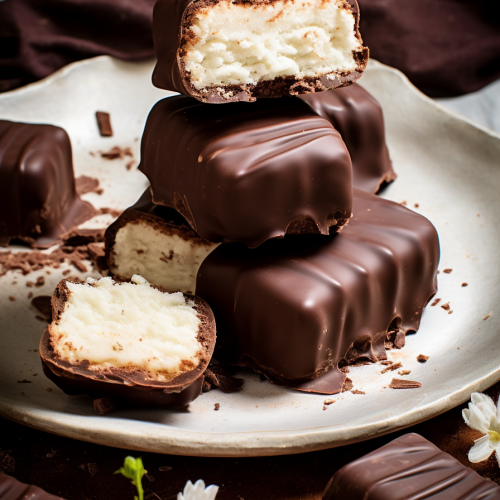
Homemade Bounty Bars (Mounds Bars)
Ingredients
- 3 cups of sweetened shredded coconut
- ⅔ cup of sweetened condensed milk
- ½ cup of confectioners’ sugar
- 12 ounces of quality dark chocolate in chip or chunk form
Instructions
Preparation of the Coconut Filling:
- a. In a suitably sized mixing bowl, combine the shredded coconut with the sweetened condensed milk and confectioners’ sugar.
- b. The resultant mixture should be cohesive, albeit with a degree of stickiness.
Formation and Chilling of Bars:
- a. Mold the above-prepared mixture into uniform, rounded rectangular shapes approximately 2 to 3 inches in length.
- b. To facilitate ease of handling, dampening one’s hands is advisable.
- c. Once shaped, the bars should be placed in a refrigerator to set for an hour.
Chocolate Coating Procedure:
- a. Proceed to melt the dark chocolate, adhering to the instructions provided on its packaging.
- b. The melted chocolate should exhibit a smooth and glossy texture.
- c. Submerge each individual bar into the melted chocolate, ensuring a thorough coating.
- d. Place the coated bars on a wire rack or a parchment paper surface to allow for setting.
- e. A subsequent refrigeration period of 30 minutes is recommended prior to serving.

