Transform the simplest of ingredients into a magical delight! Dive into a buttery Depression Era Water Pie made with water, flour, sugar, vanilla, and butter, showcasing the wonders of culinary simplicity. Who said water is just for drinking?
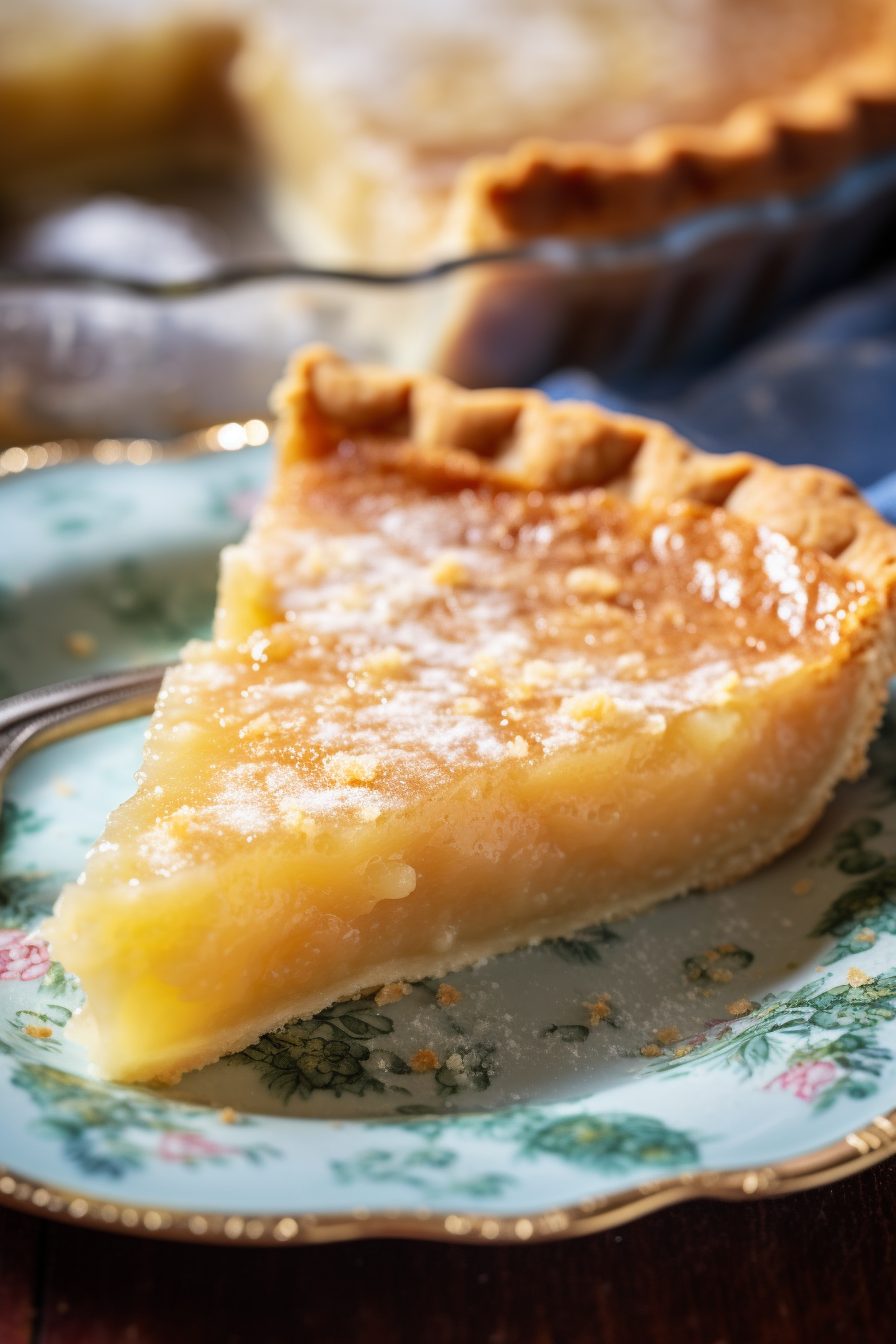
Ah, Water Pie. Every time I gaze upon its glistening surface, I’m whisked back to my grandmother’s cozy kitchen, where tales of the Great Depression intermingled with the rich aromas of baked goods. The world back then was a challenging playground. Luxuries were scant and folks had to get creative. Amongst tales of hardships, hope, and relentless spirit, the story of the Water Pie was born. On days where pantry shelves echoed the minimalist art of the times, granny would gather us, revealing the secret wonders of this surprisingly rich treat. “Sometimes, the simplest ingredients create the most magical results,” she’d say, her eyes twinkling like stars. This pie wasn’t just a dessert for us; it was a symbol of resilience, resourcefulness, and the beauty of simplicity.
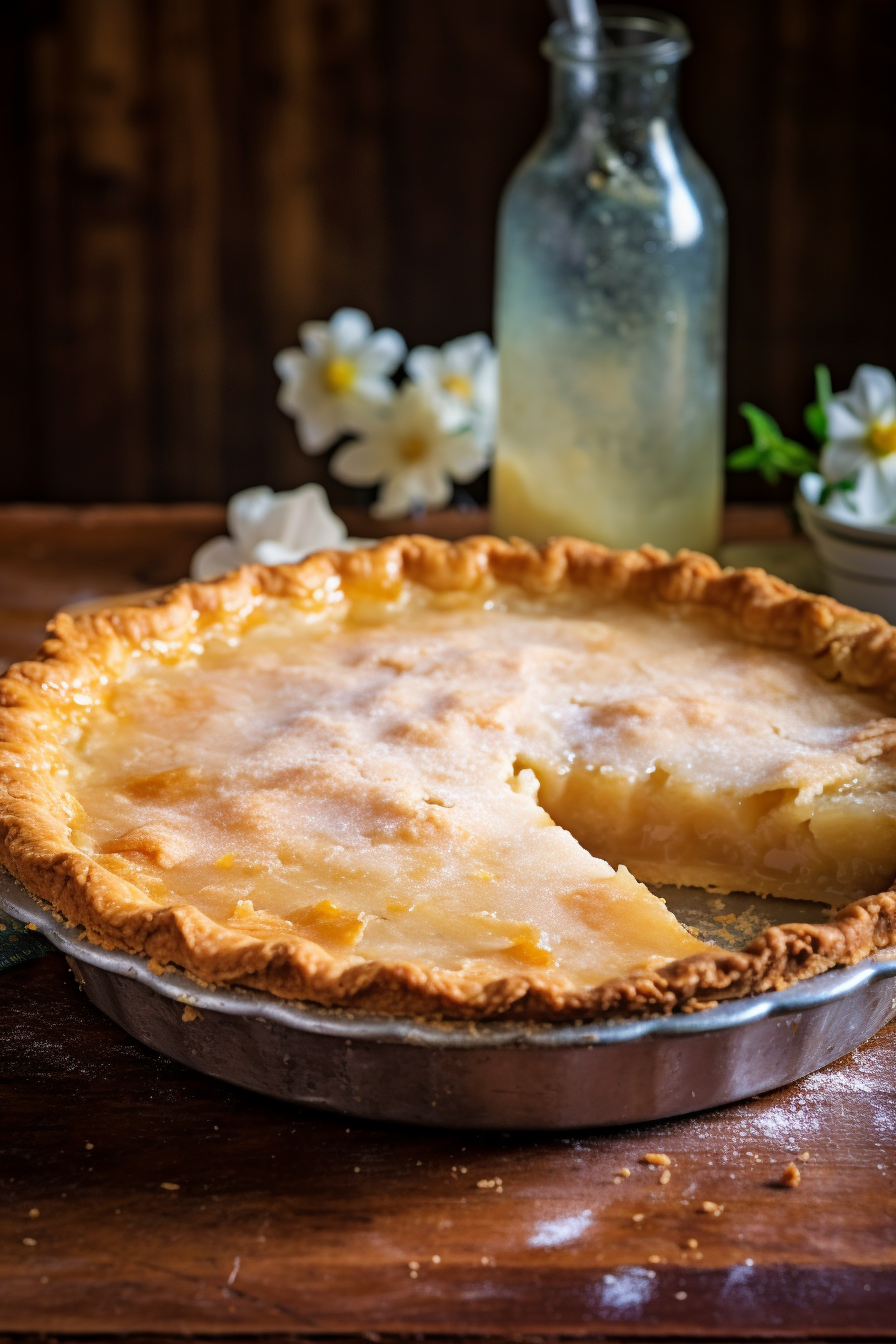
What makes this Water Pie stand out?
Water Pie isn’t just any pie; it’s a testament to the power of minimalism and ingenuity. First, it takes you back to a time where resilience transformed ordinary into extraordinary. Second, with barely-there ingredients, it’s budget-friendly while still being a mouth-watering marvel. And third, the fusion of water with basic pantry staples crafts a flavor that’s unexpected and nostalgically delicious. In essence, this pie’s a lesson in making magic from the mundane.
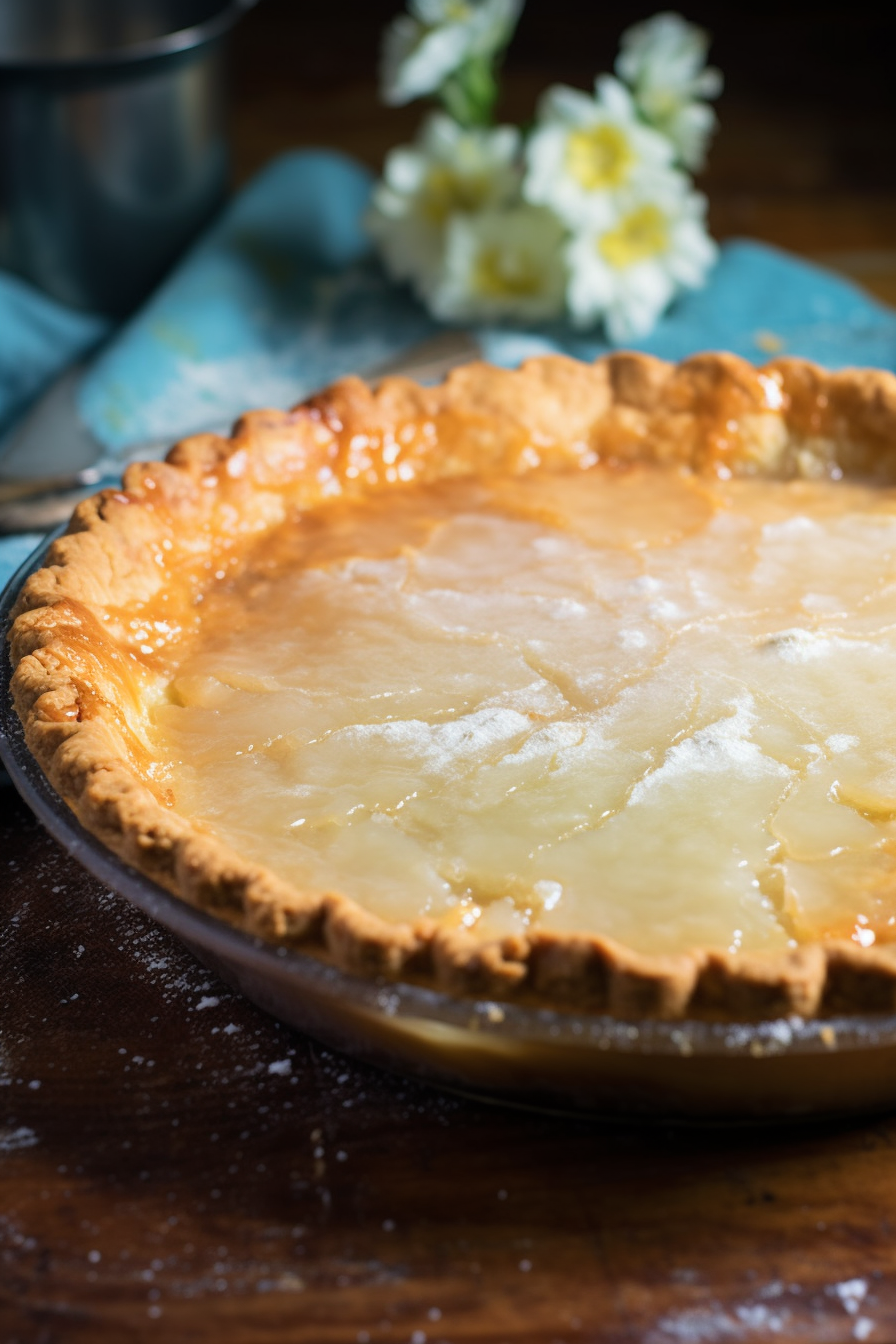
Ingredients for the “Water Pie”:
Aha! Preparing to dive into this watery wonder, are we? Here’s a little insight:
- 9-inch deep-dish pie crust, unbaked: Go for a homemade crust for that authentic touch, or buy a store version for convenience.
- Water: The essence of life and this pie. Preferably filtered, unless you’re going for that rustic touch.
- All-purpose flour: The unsung hero adding a tad bit of structure.
- Sugar: Sweetness, because life’s better with a sprinkle of sugar.
- Vanilla extract: For that whisper of nostalgia in every bite.
- Butter: Because, why not? Everything’s better with butter, even water!
WANT TO SAVE THIS RECIPE?
How to make the Water Pie:
All set for a culinary adventure? Here’s the treasure map:
- Heating Matters: Start by preheating that oven to 400°F. Meanwhile, let your unbaked pie crust just chill (or rather, stay room temp) on a baking sheet.
- Watery Foundations: Now, let’s fill our pie’s heart (or rather, belly) by pouring those 1 and a half cups of water. Remember, it’s water pie, not a dry desert.
- Flourish with Flour: In a dainty bowl, channel your inner mixologist by mingling the flour and sugar. Sprinkle this dynamic duo onto the water. But resist the urge to stir; let nature do its thing!
- Vanilla & Butter Symphony: Daintily drizzle that vanilla over your watery canvas. For the pièce de résistance, place those buttery pats like royalty atop their watery throne.
- Baking Ballet: Pop that pie into the oven, and let it dance at 400°F for about 30 minutes. Then, like a considerate maestro, turn down the heat to 375°F. If you notice the crust trying to tan too quickly, cover its sides to prevent over-crisping. Continue this gentle ballet for another 30 minutes.
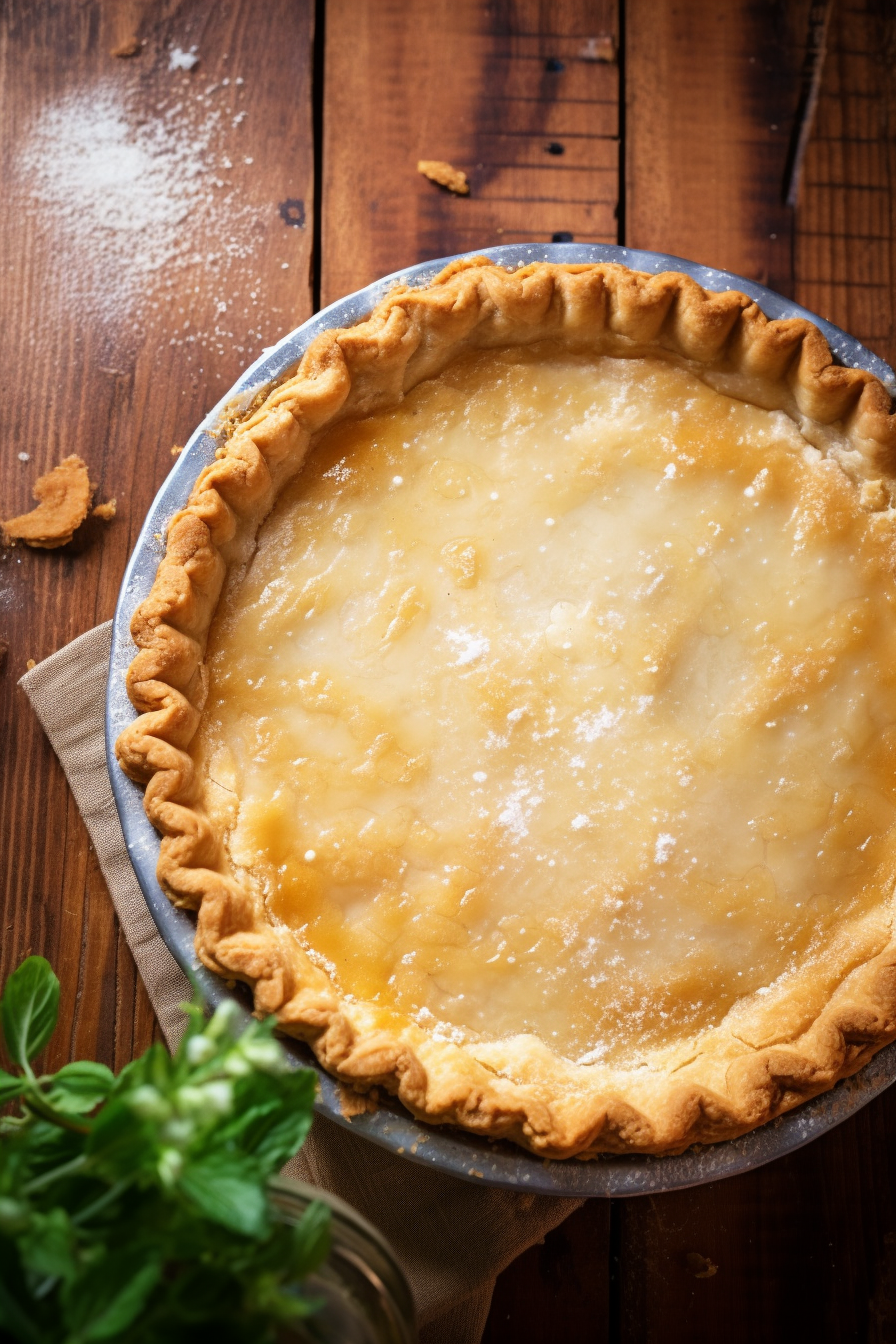
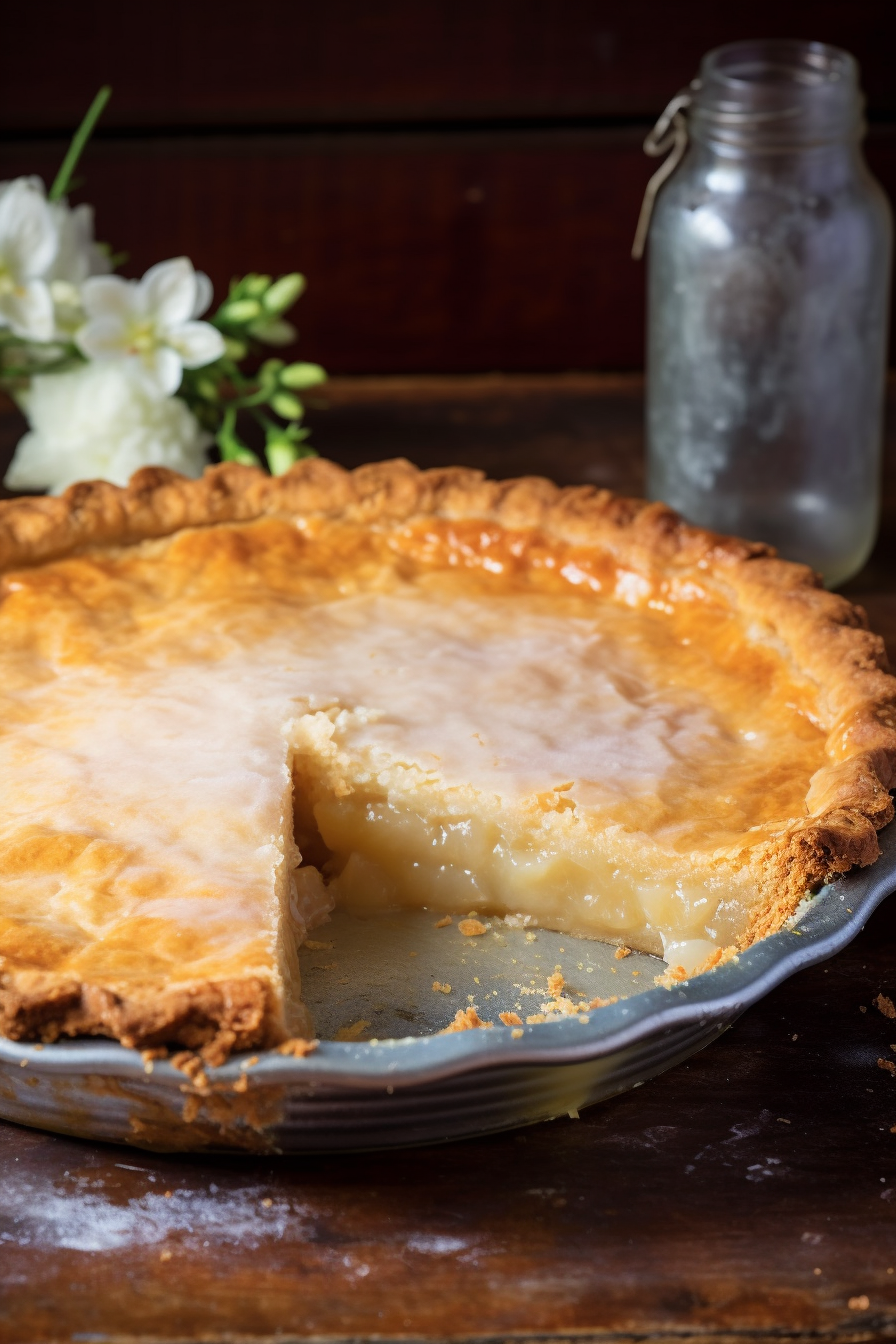
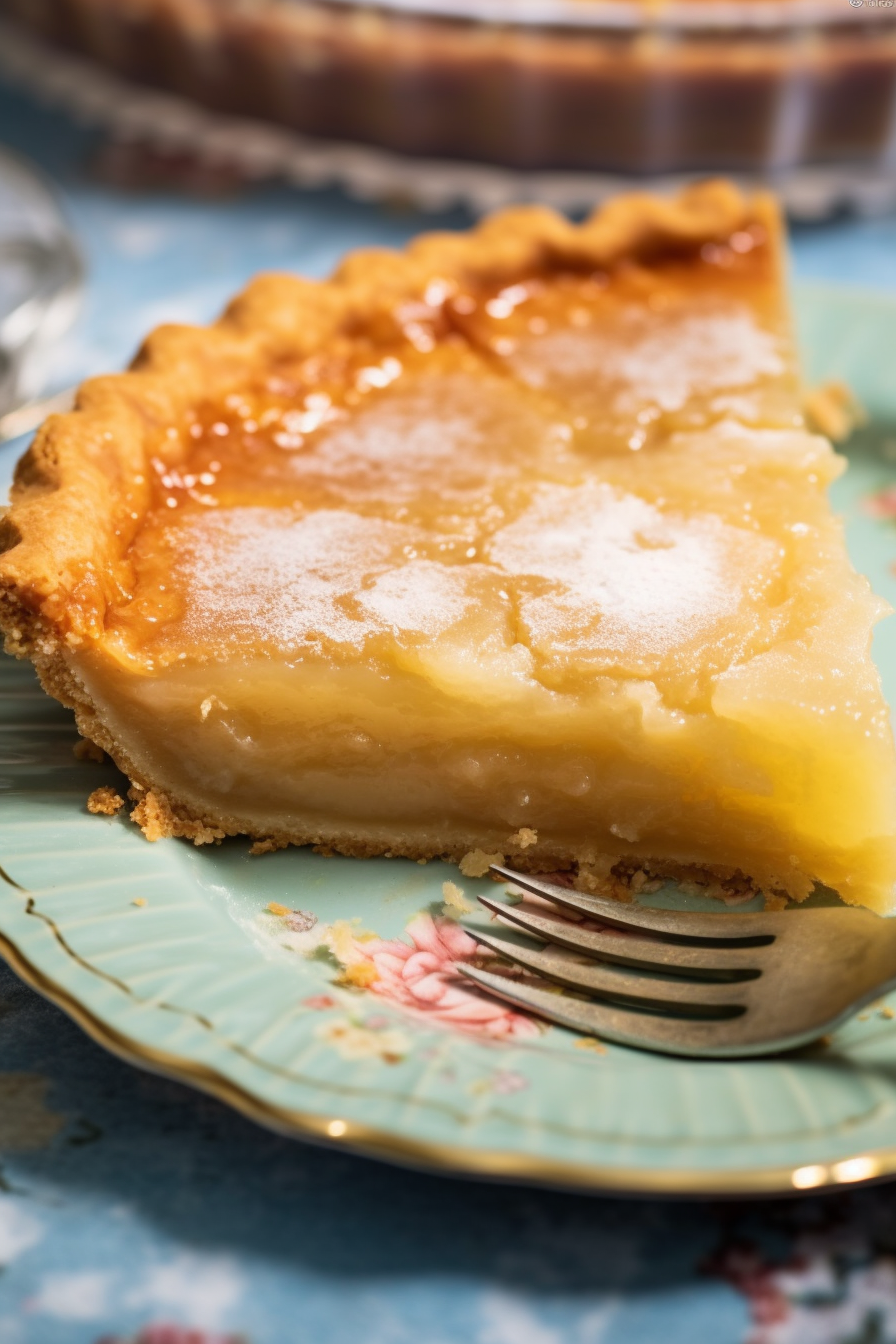
- Patience, Darling: On its grand exit from the oven, the pie might look like it’s been on a water diet, but it will thicken as it cools down. Once at room temp, let it chill in the fridge, setting into perfection before you dive in.
Storing Leftovers:
Post-creation, if you can resist gobbling it all down, store your masterpiece in the fridge covered in plastic wrap or inside an airtight container. It’s like a fine wine; it just gets better with a little chill time (up to 3 days, though who waits that long?).
Variations and Substitutions:
Feeling adventurous? Here are some twists on our classic:
- Sweeten Differently: Swap sugar with honey or maple syrup for a different kind of sweetness.
- Crust Variations: Try a gluten-free or almond crust for a nutty undertone.
- Flavor Play: Spice it up! A pinch of cinnamon or nutmeg can add warmth to your pie.
- Dairy-free: Swap butter for coconut oil for a tropical hint.
Remember, while granny’s Water Pie was a symbol of simpler times, feel free to add your own chapter to the tale!
Water Pie
Ingredients
- 1 9- inch deep-dish pie crust unbaked
- 1 1/2 cups purified water
- 4 tablespoons all-purpose flour
- 1 cup granulated sugar
- 2 teaspoons pure vanilla extract
- 5 tablespoons unsalted butter divided into 5 equal portions
Instructions
- Preheat the oven to 400°F (205°C). Position the unbaked pie crust on a sturdy baking sheet.
- Carefully pour 1.5 cups of purified water into the pie crust.
- In a separate mixing bowl, combine the all-purpose flour and granulated sugar. Ensure they are mixed thoroughly.
- Evenly distribute the flour and sugar mixture over the water in the pie crust. It’s important not to stir after this step.
- Gently drizzle the vanilla extract over the ingredients in the pie crust.
- Arrange the portions of unsalted butter uniformly atop the mixture.
- Insert the pie into the preheated oven and bake at 400°F (205°C) for approximately 30 minutes.
- After the initial baking period, reduce the oven’s temperature to 375°F (190°C). Monitor the edges of the pie crust and shield them if they appear to be browning too rapidly. Continue baking for another 30 minutes.
- Upon removal from the oven, the pie may exhibit a liquid consistency. This is expected. As the pie cools, it will solidify. Allow the pie to reach room temperature. Thereafter, for optimal texture, cover and refrigerate until thoroughly chilled before serving.






One Response
Cooking this pie today, for the second times. Loved it the first and going for a repeat !